Initial Fixup
I’ve got a new, interesting project here! A friend of mine found this Creality Ender 3 V2 at a thrift store for $40, and I couldn’t pass it up! As an owner of a well-modified Ender 3 Neo, I’m very familiar with the crazy process of gradually working out all the kinks of an Ender 3. Whether or not you’re aware of all the little factors, every single one counts – and being a second-hand 3D printer, I’ve no doubt this adventure is going to be an interesting little bumpy road!
Here in this video, I give it a look-over, and a brief little test, with full expectation that something would go totally wonky. Of course, that’s exactly what happened! Here’s a list of issues I’ve noticed thus far:
- Z-axis endstop switch & bed location are mismatched
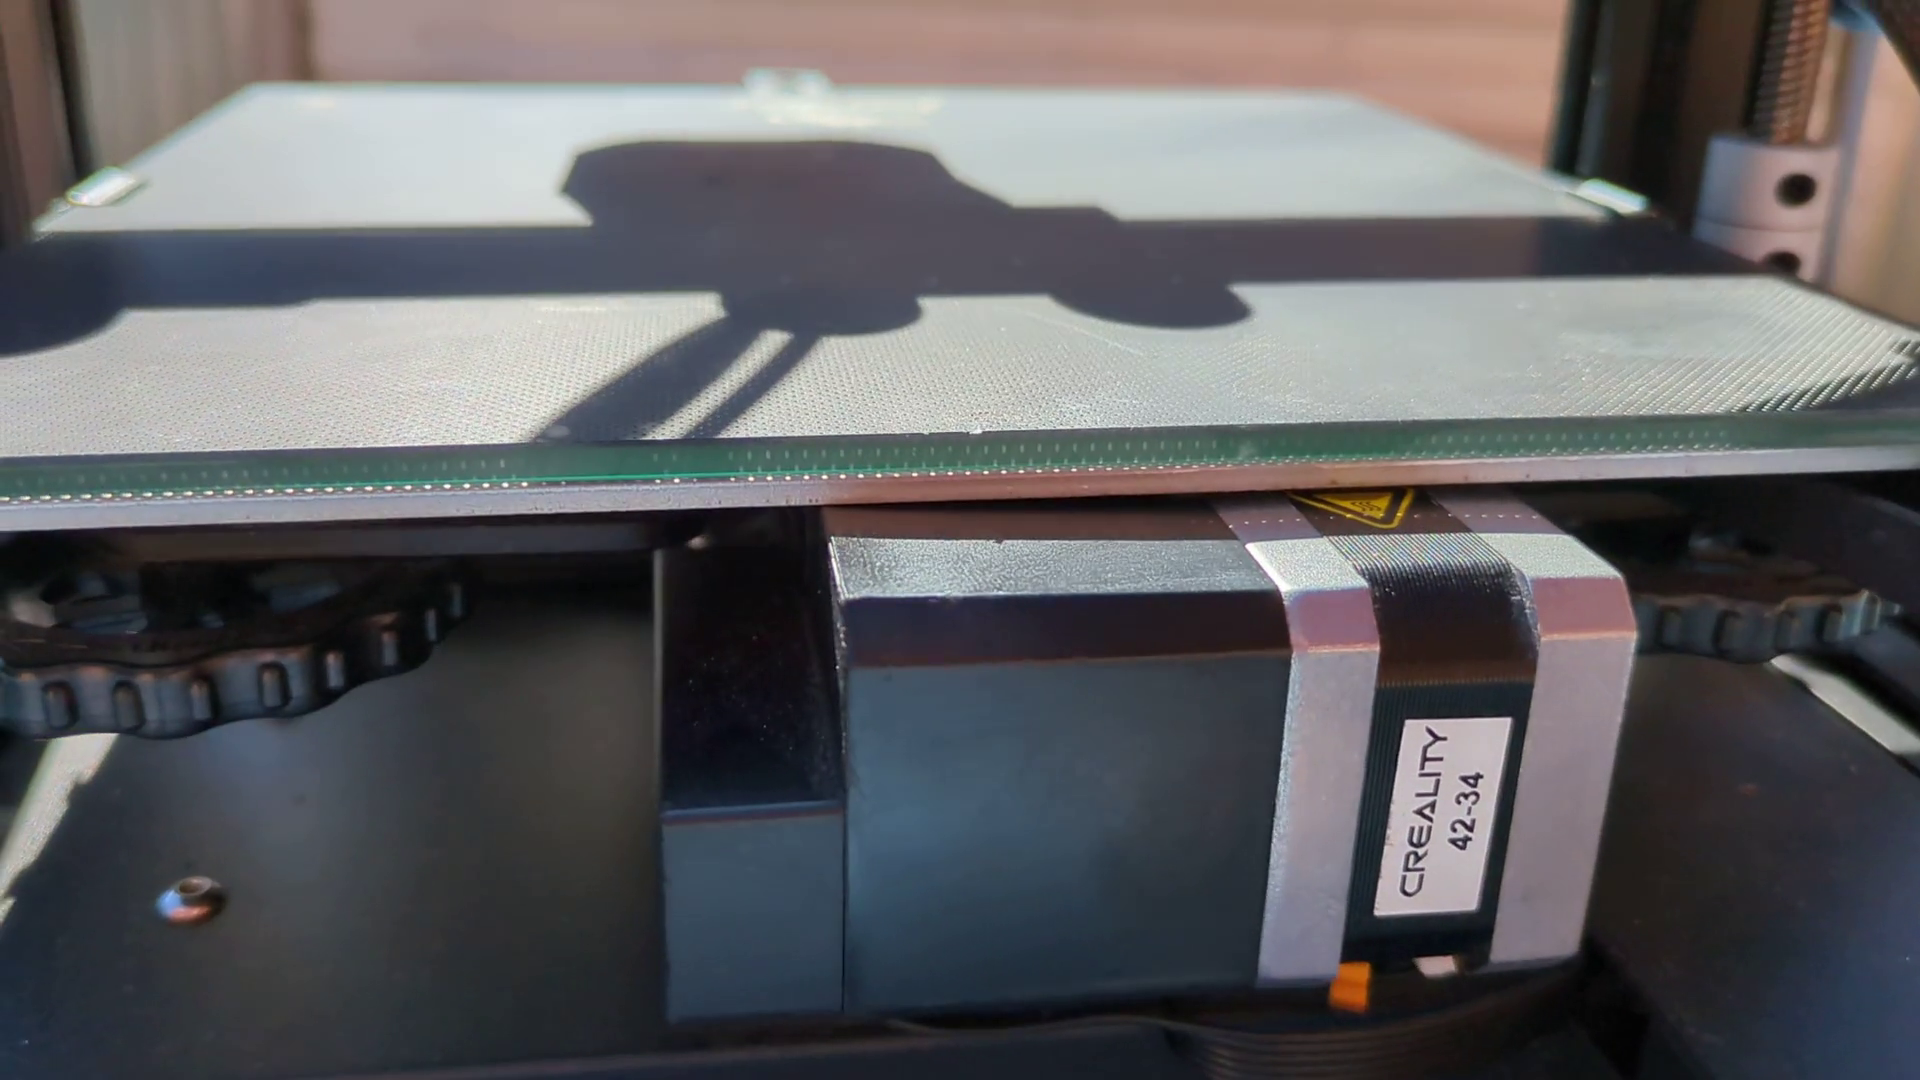
- Print bed is so low, it hits the Y-axis motor
- X-carriage and Y-carriage wheel(s) have bumps in them, causing them to stop in place along their routes
- Frame needs rework, it’s not square and the X-gantry badly wobblews as a result
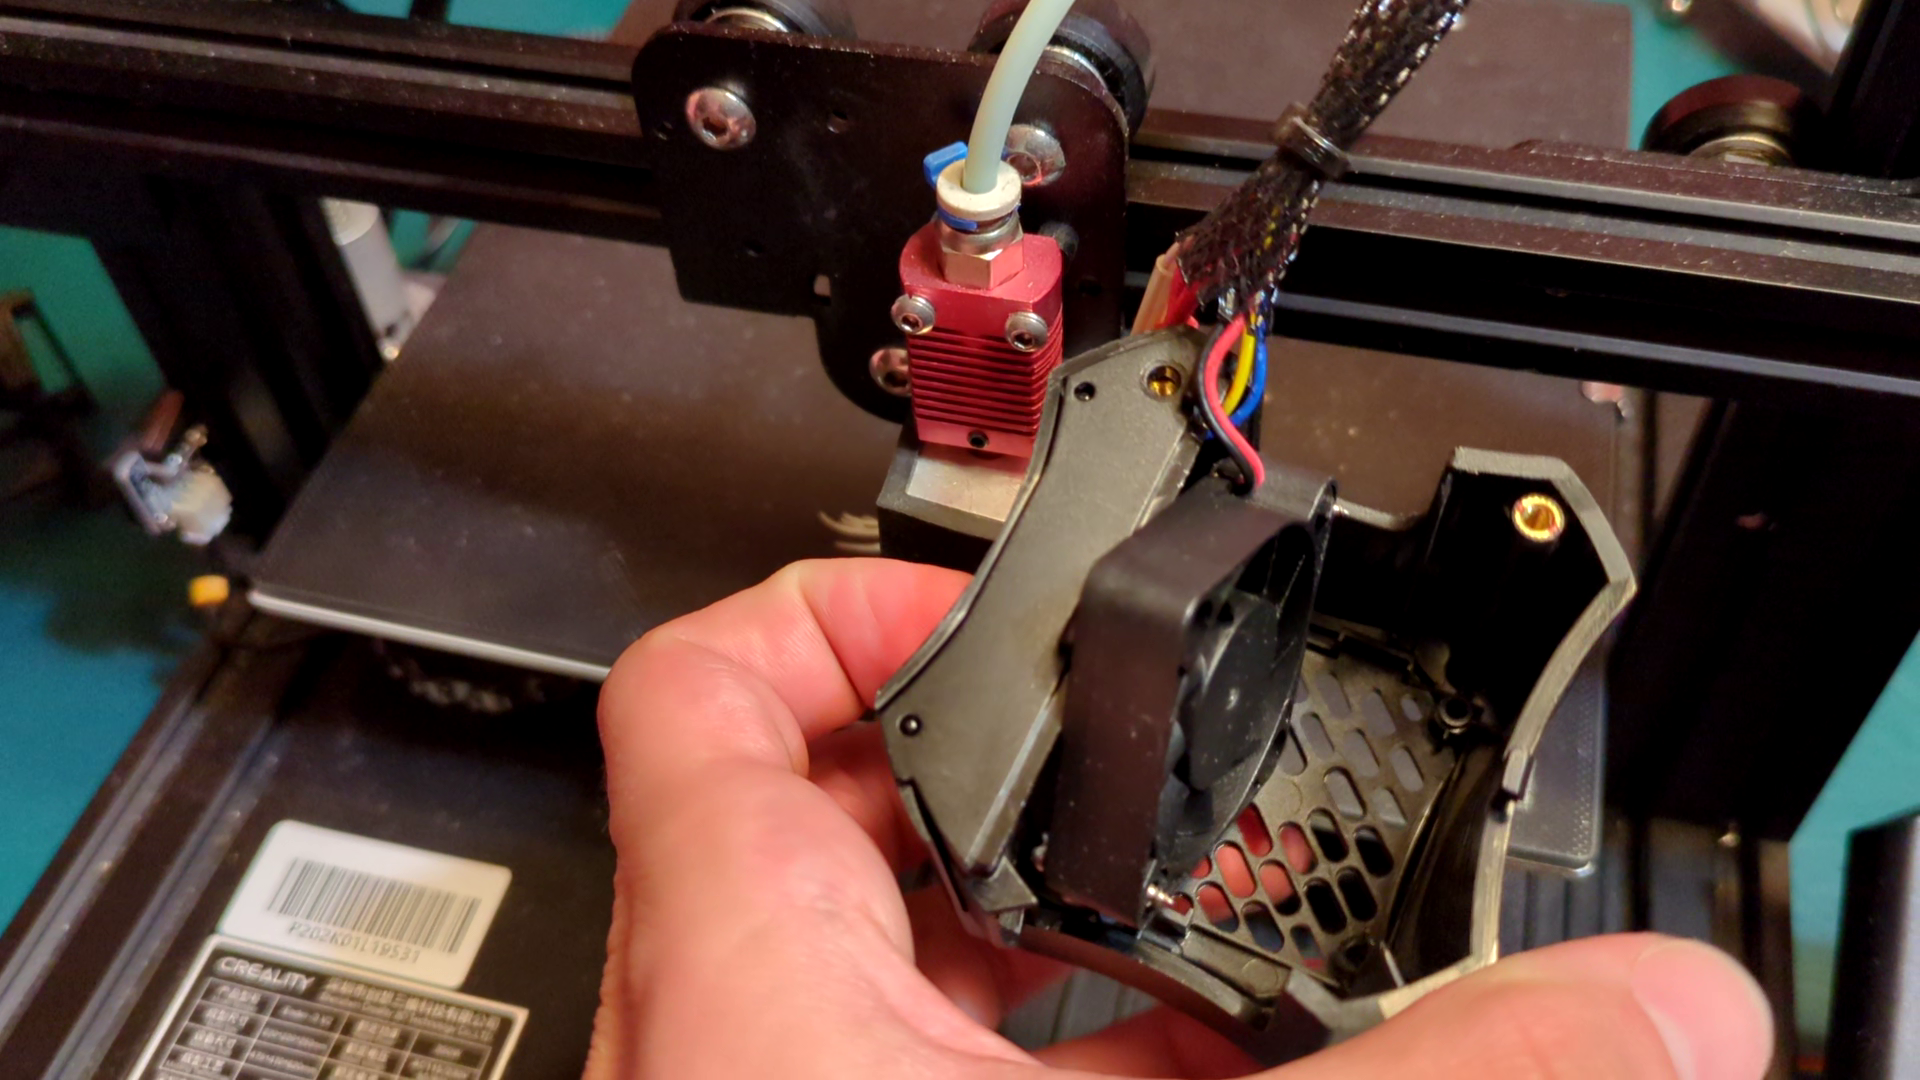
- Hotend cooling fan is loose inside its shroud
- Extruder gear is completely broken off, and the brass gear is dislocated
- Last and least, there’s missing little cosmetic pieces in a few places
It helps that I’ve got so many spare parts from my main printer! And for anything else I need, I’ll be happily 3D printing replacements. This printer’s in good hands! Here I’ll show a couple of those flaws – below, you can see that the previous person torqued the wheels fully, making the print bed go so low, that it scrapes along the top of the Y-axis belt shroud here. Not good! Additionally, the hotend cooling shroud has broken screw anchors, leaving the fan loosely jiggling around inside.
For starters, I’m going to clean and re-lubricate the Z-rod. It has a lot of gunky, gross grease hanging from its grommet, which can’t be helping any matters! I simply remove the Z-rod and its grommet, put them in a basin filled with water and dish soap, and scrub with an old toothbrush, followed by a good rinse. After this, I give them a fresh coat of lithium grease!
Following this, I’ll take apart the extruder assembly. The stock Creality extruder on this is made of thin plastic, it’s flimsy as hell and it’s good for just about nothing now. I’m going to replace this with my spare solid metal extruder!
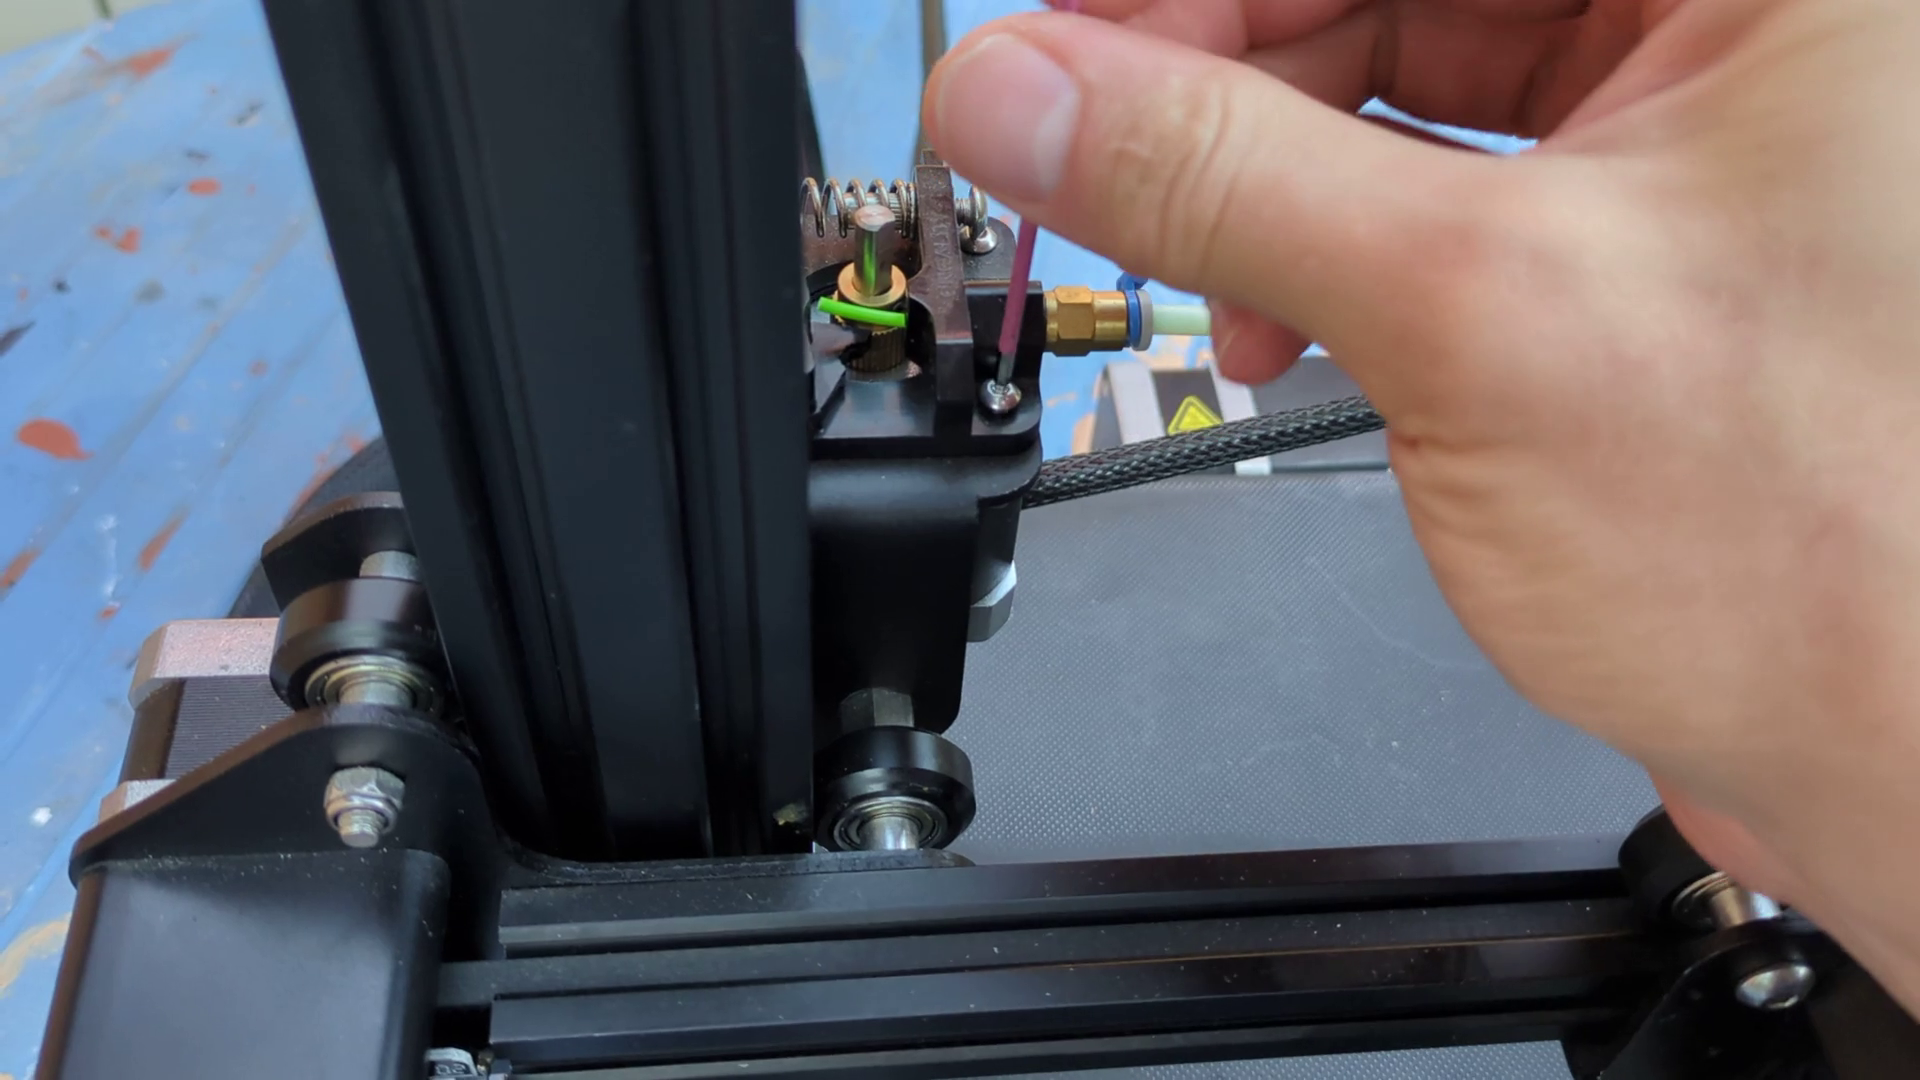
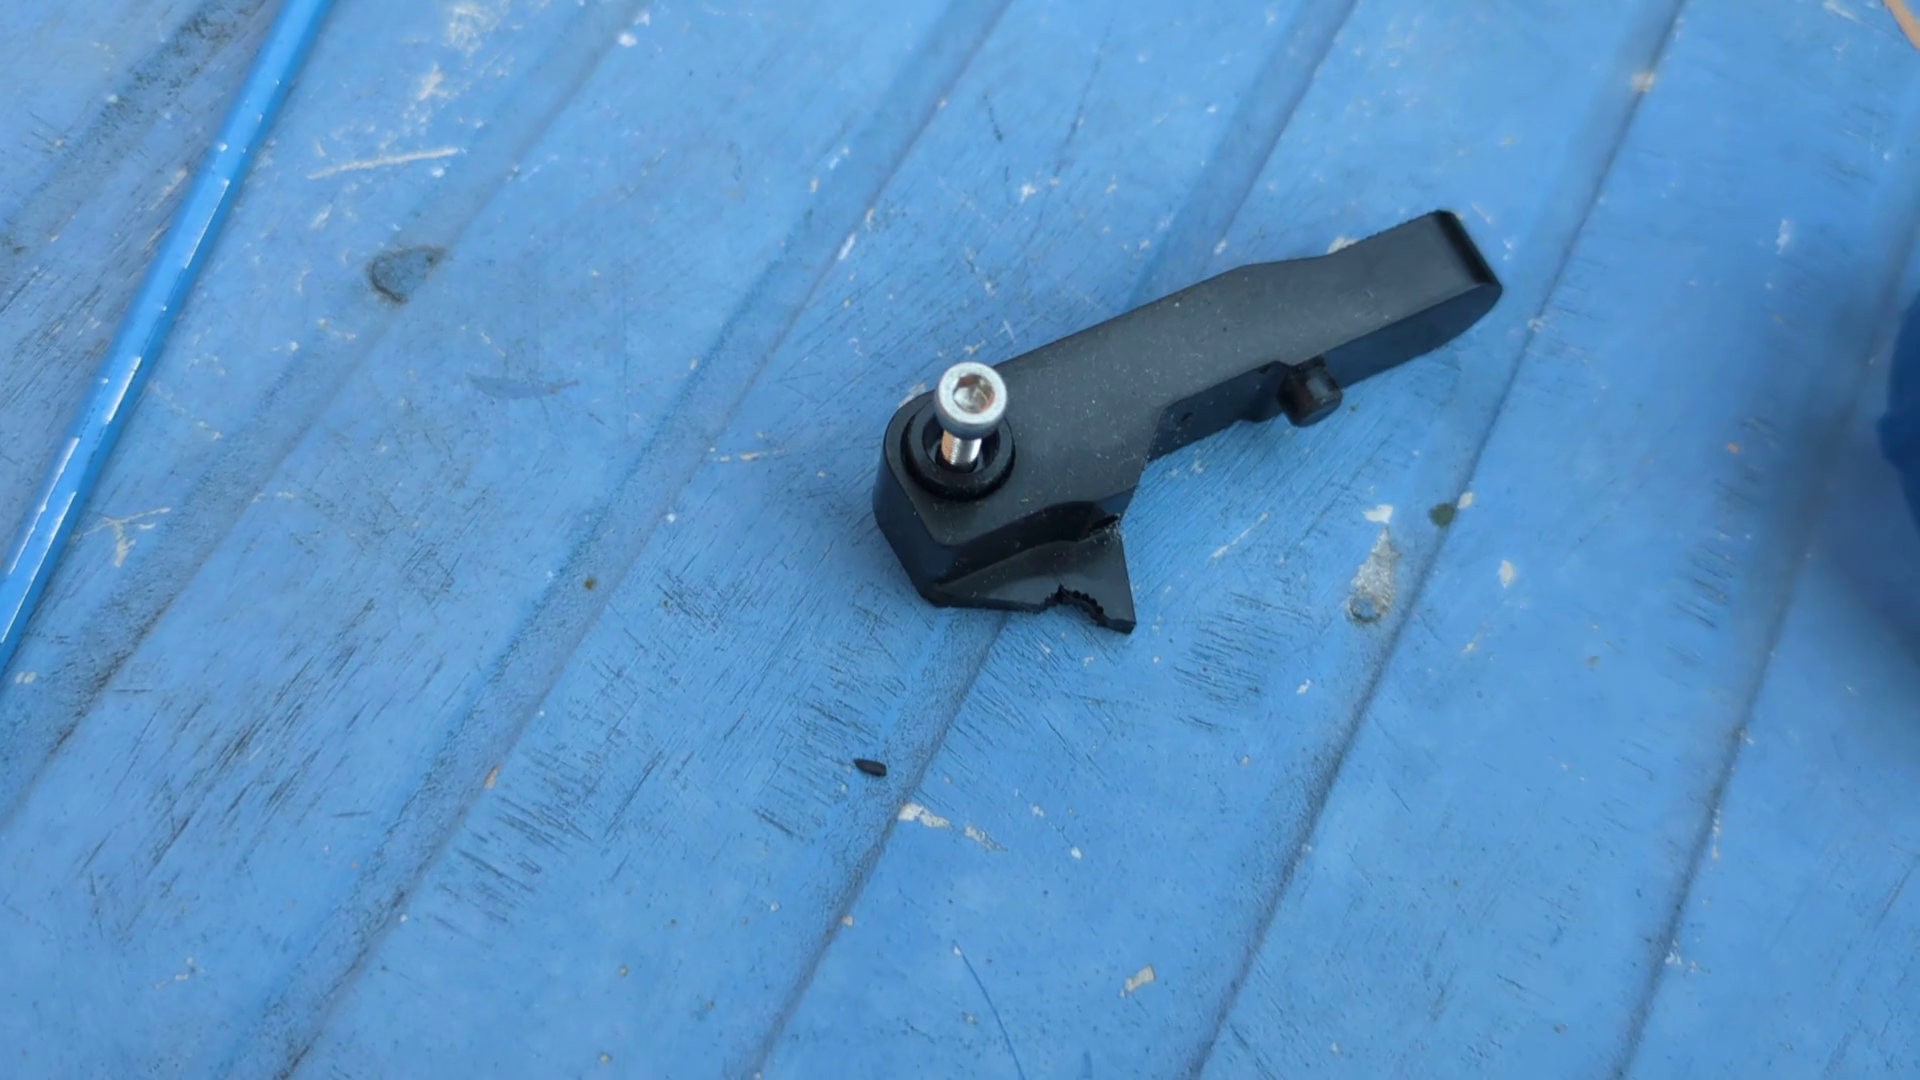
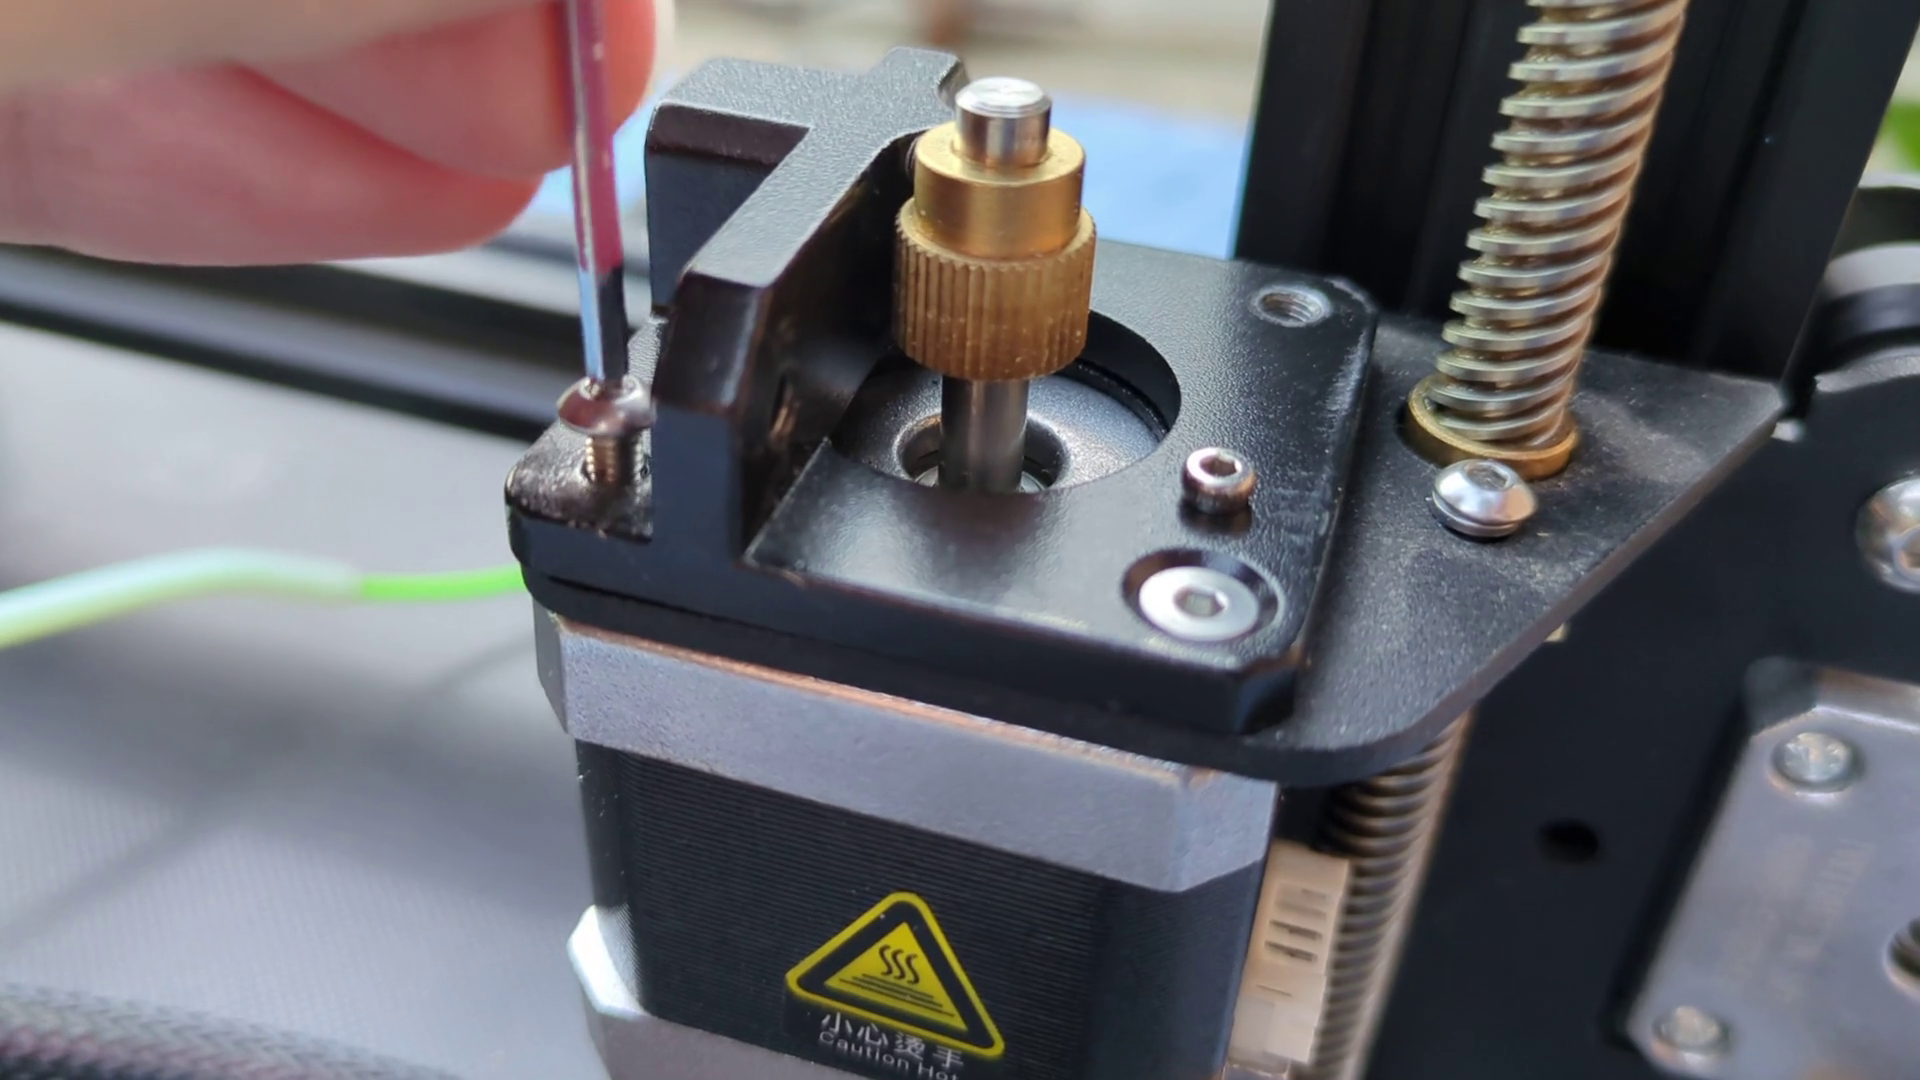
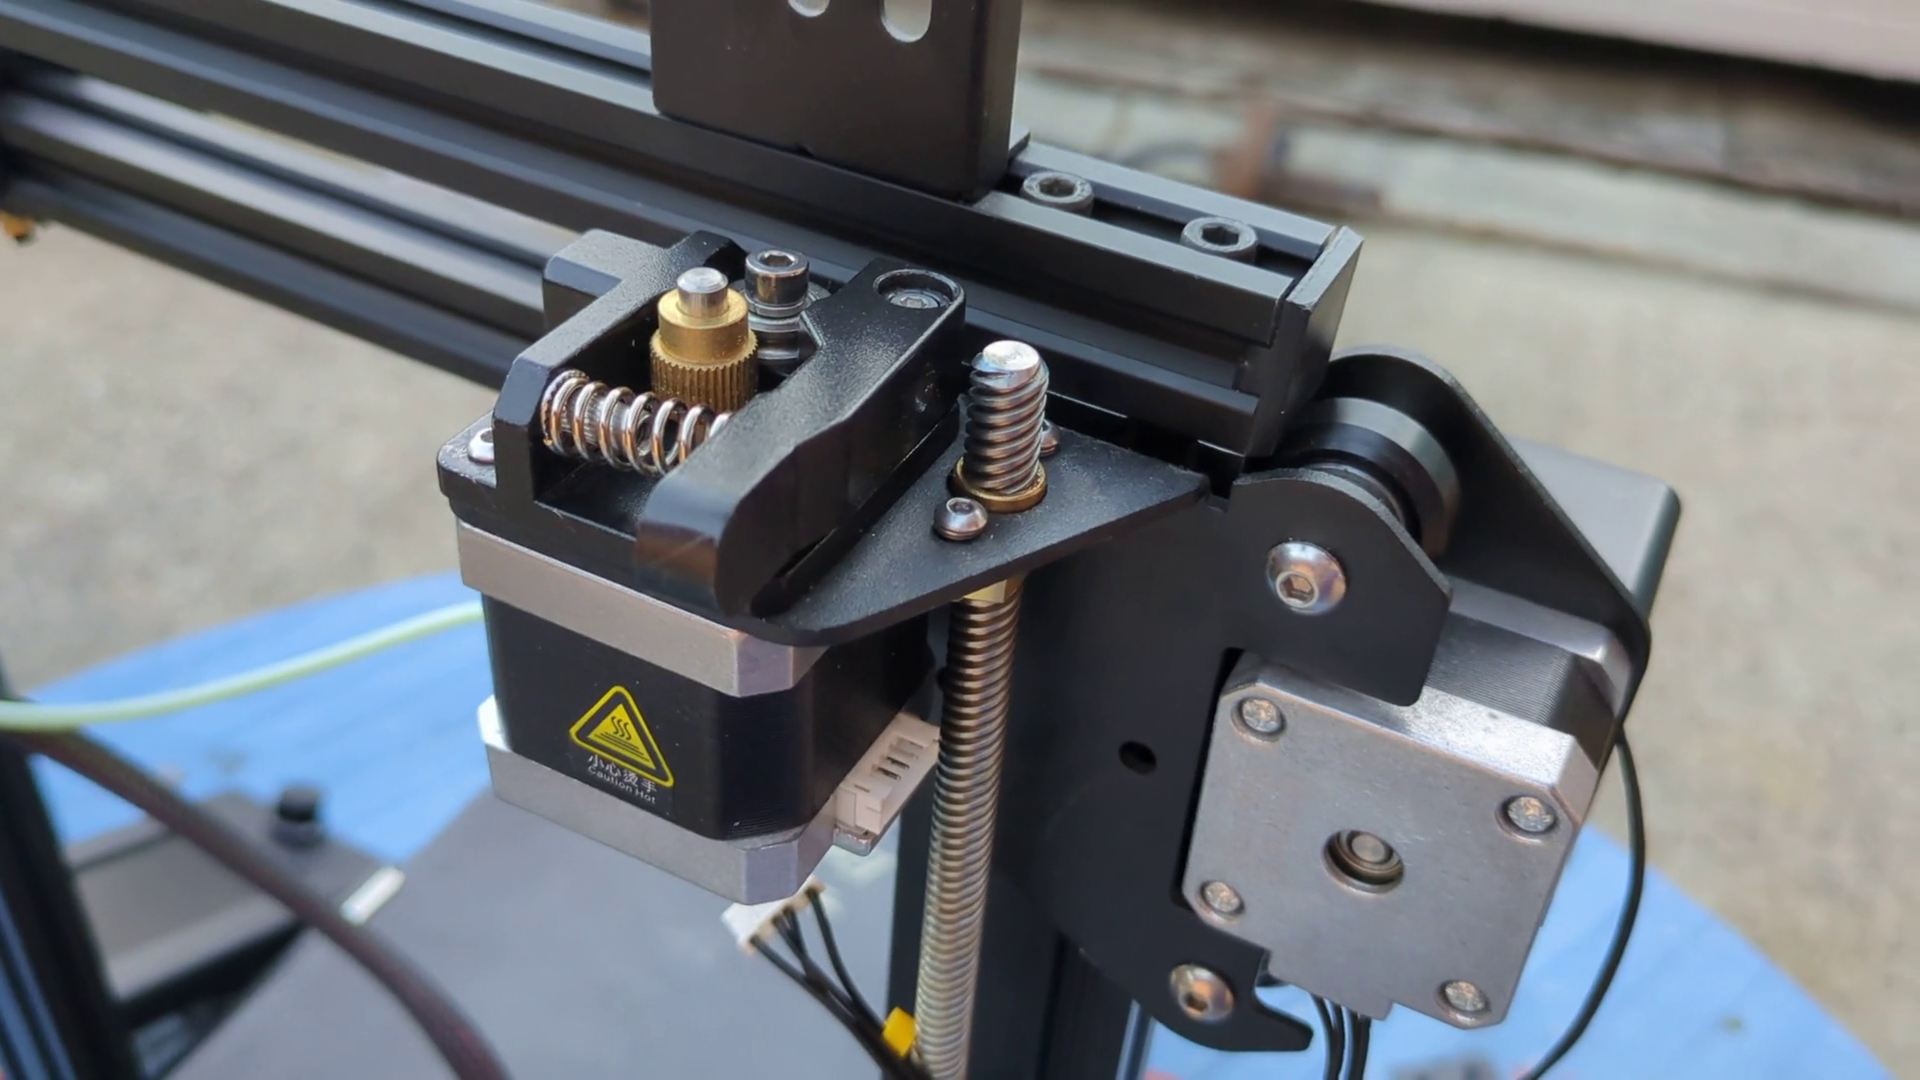
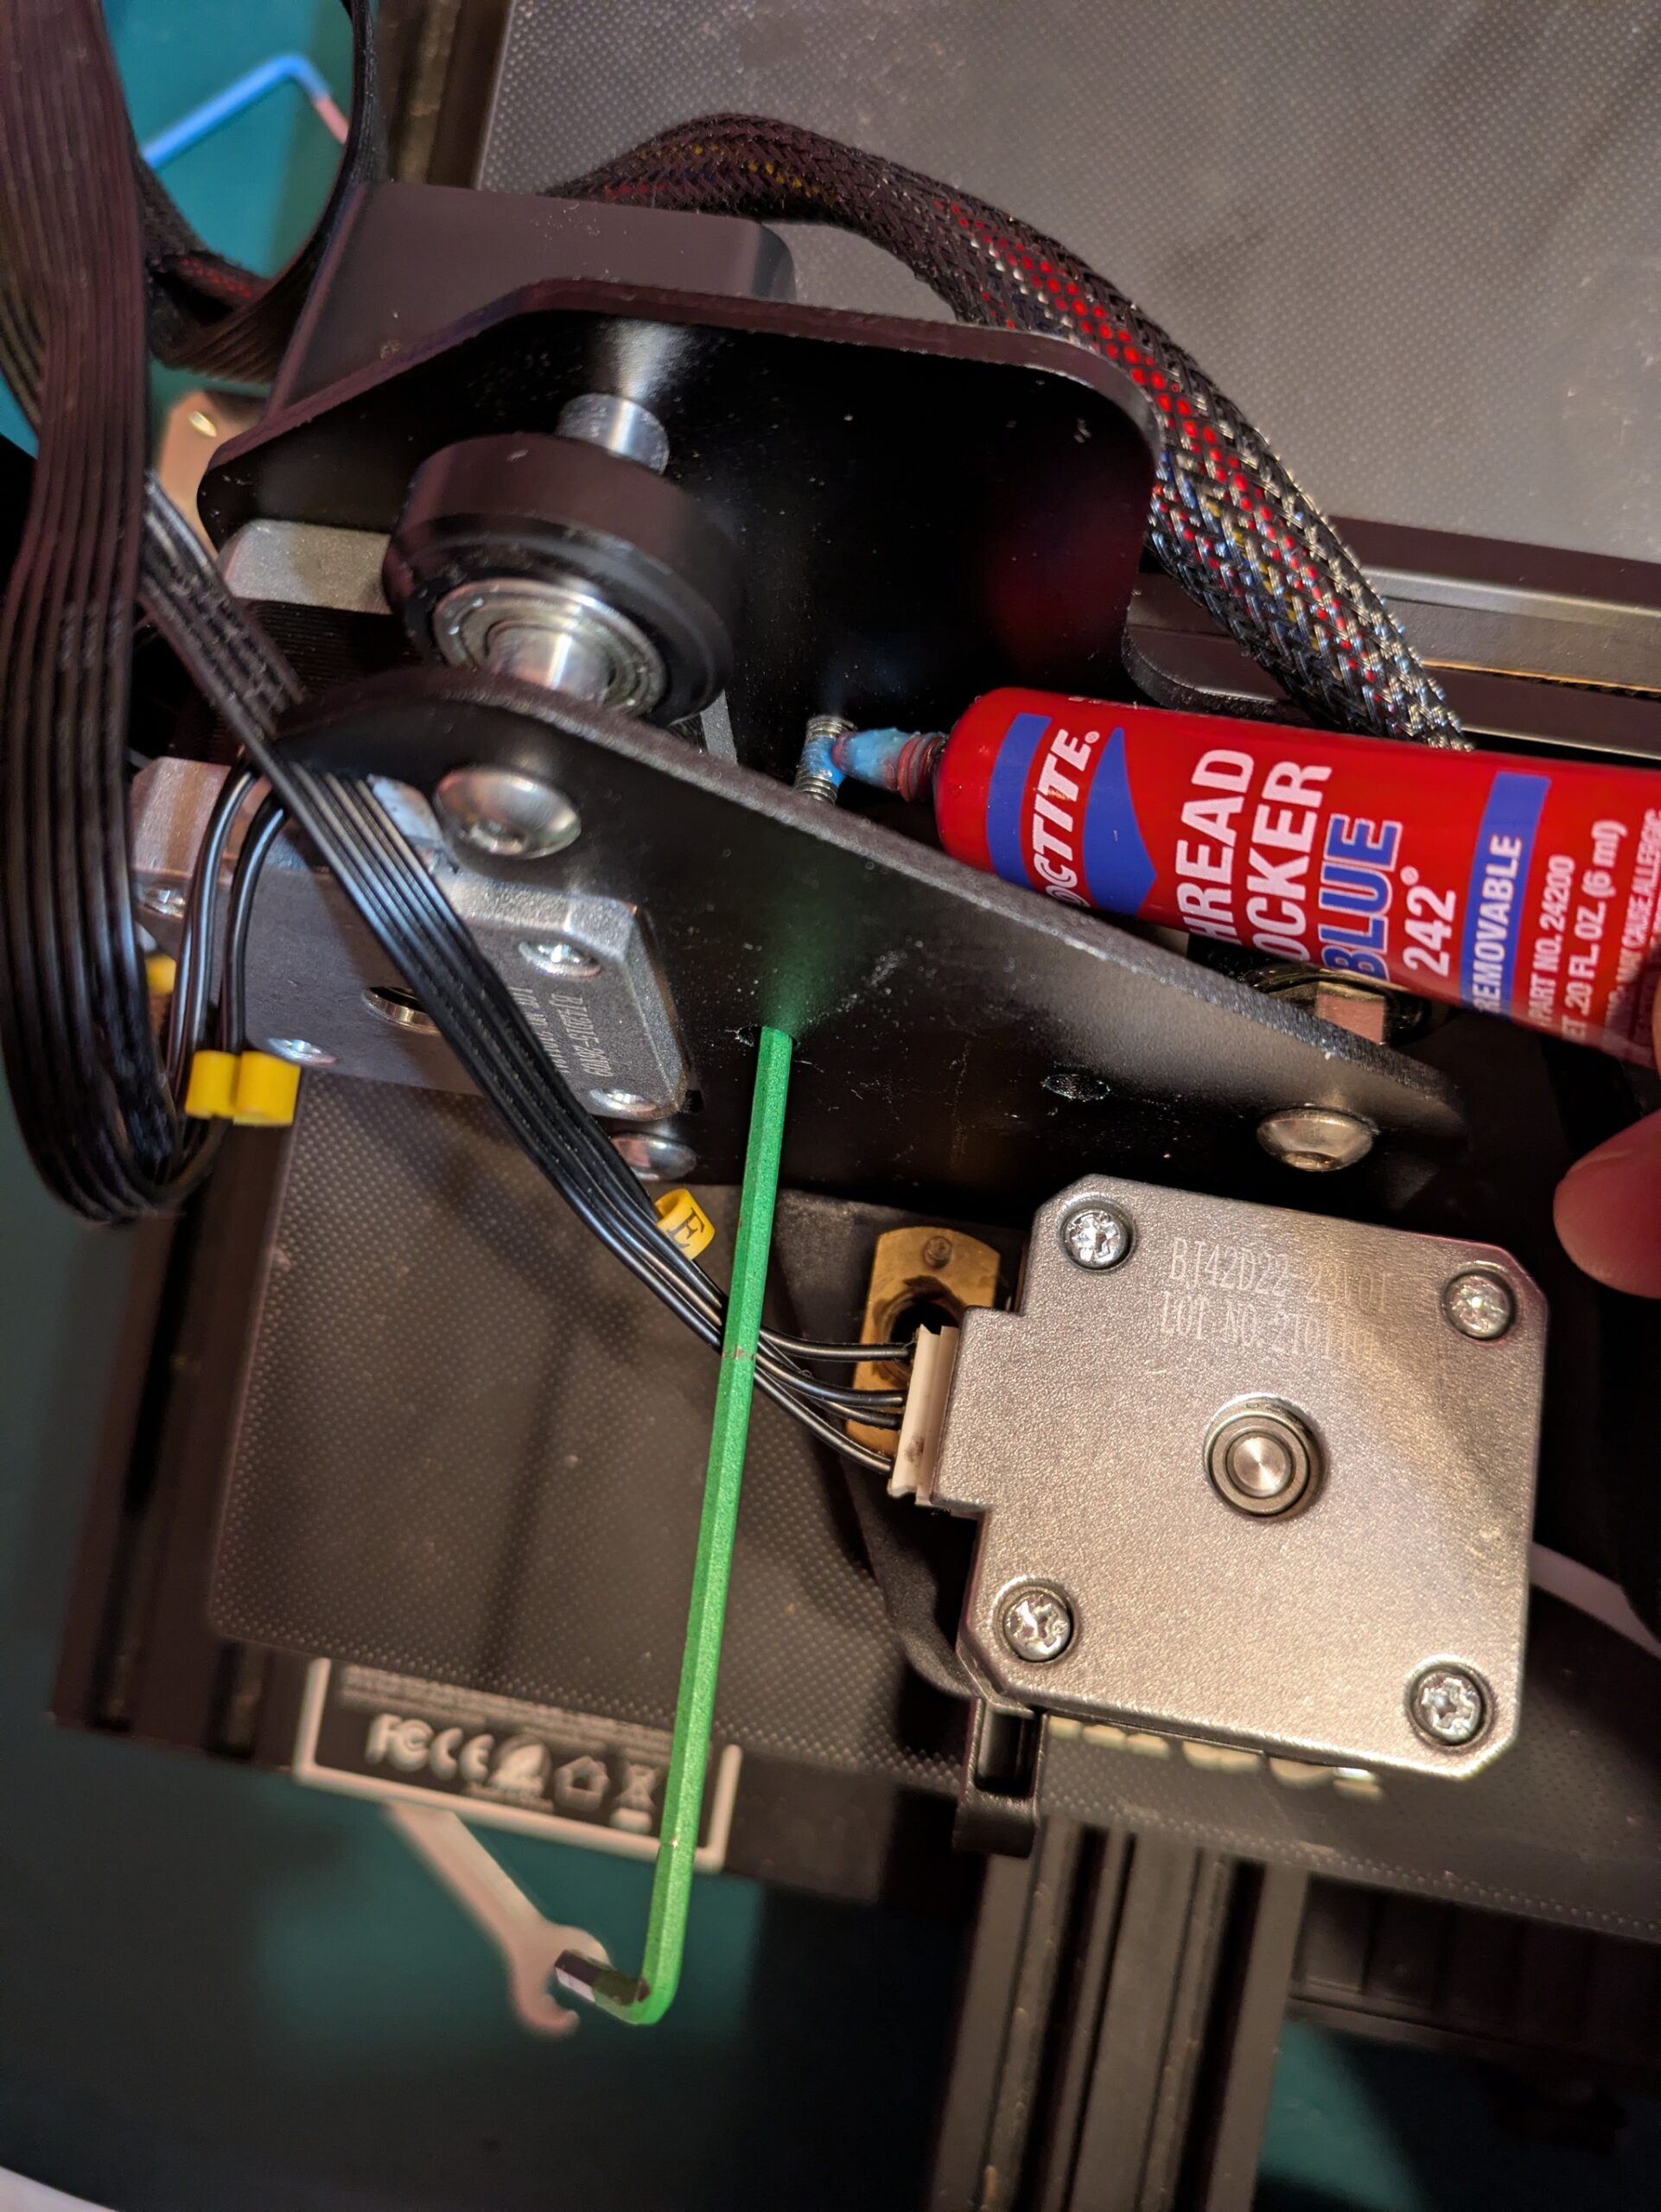
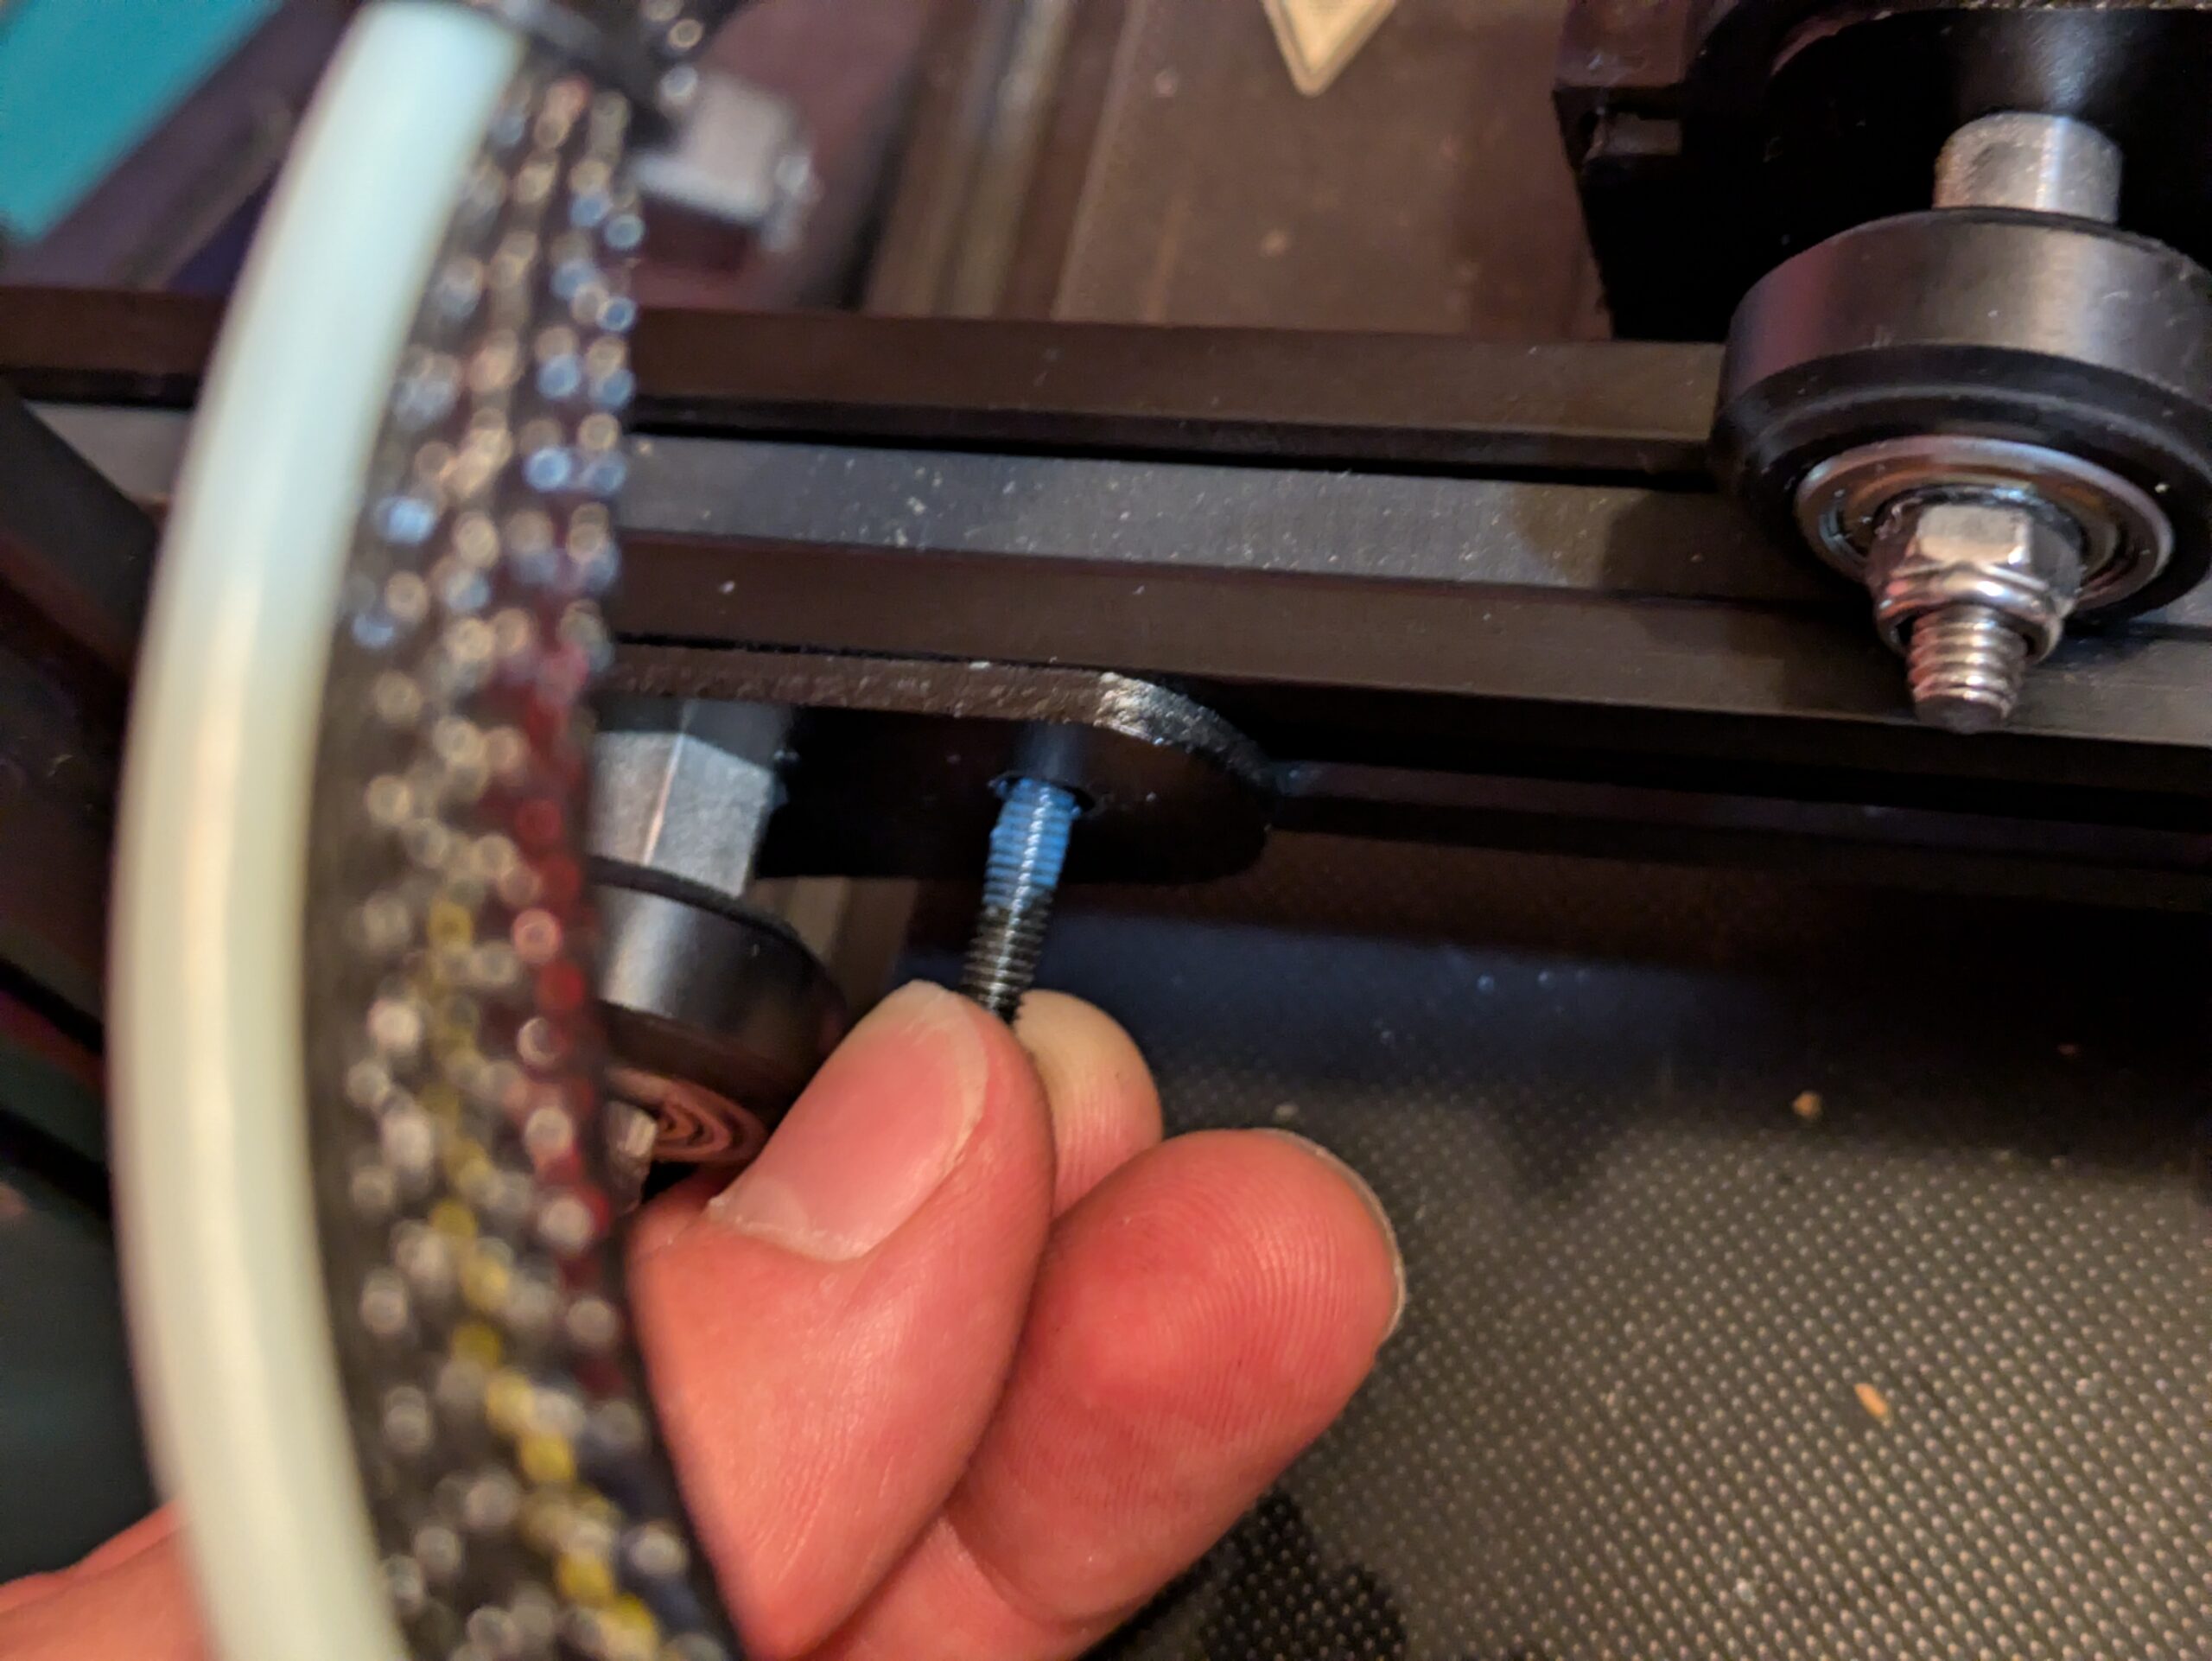
Next, I’ll tighten up the extremely loose X-gantry, and square the uprights (the vertical beams) as it goes back together, making the X-axis solid as it should be. This is done by removing the upper crosspiece, rising the X-gantry past its boundary and carefully setting it down, then making sure its screws are properly torqued. Though lock washers come preinstalled, I use blue (removable) Loctite to really ensure it doesn’t slide out over time. It’s an effective extra precaution, it’s easy to do now, and sure can’t hurt things!
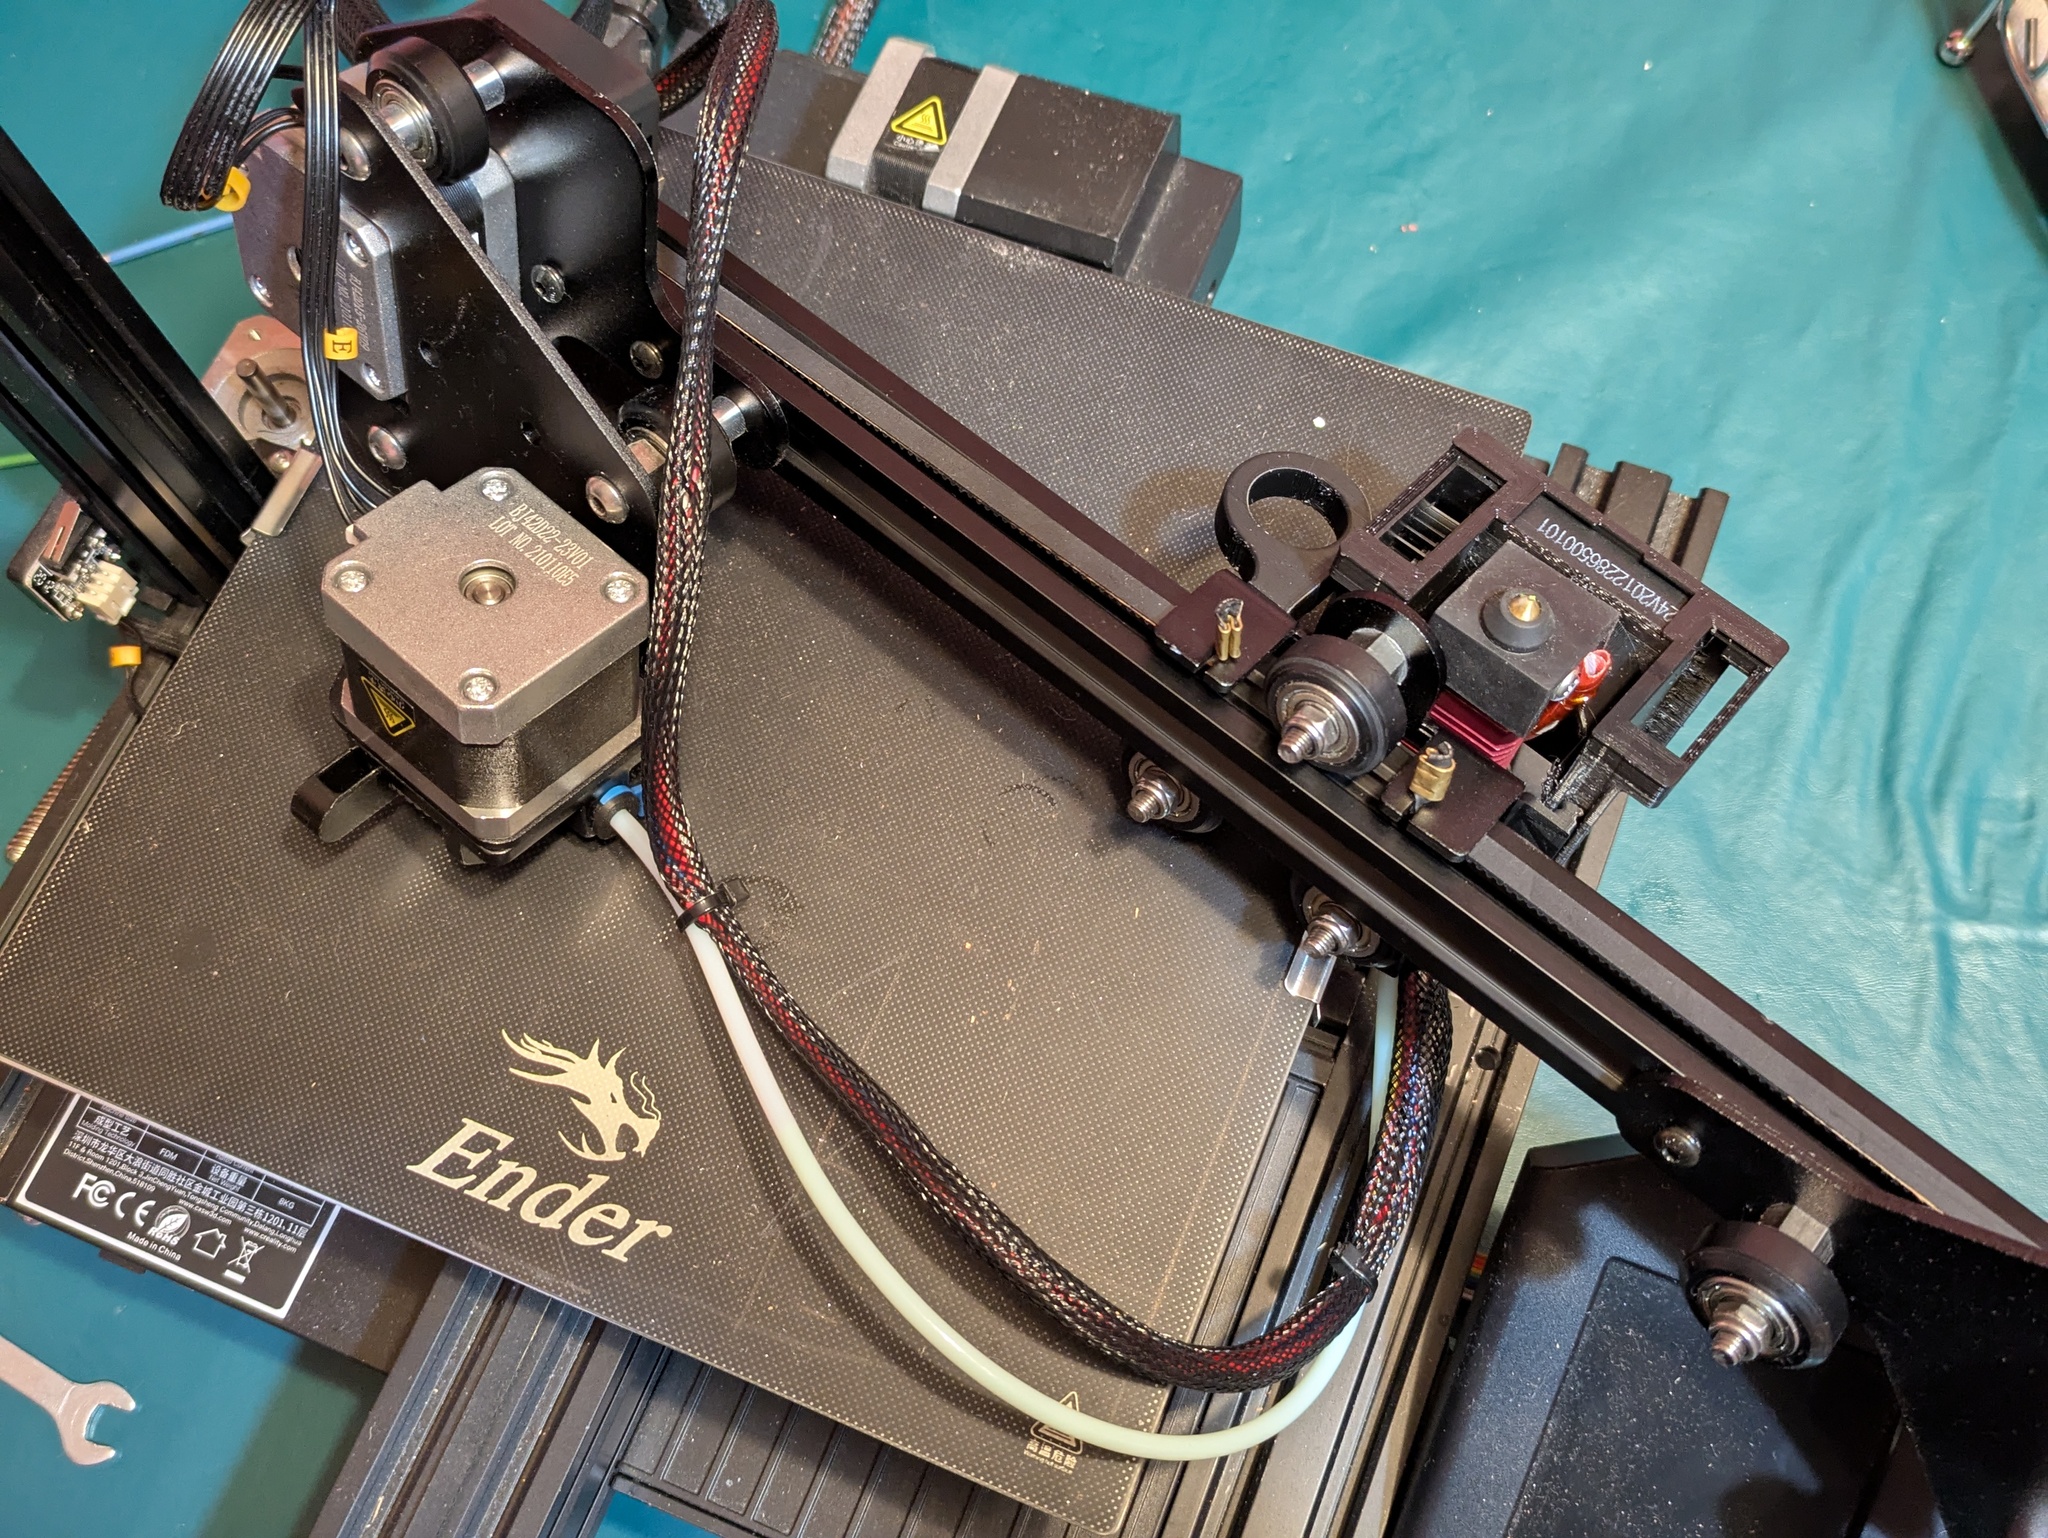
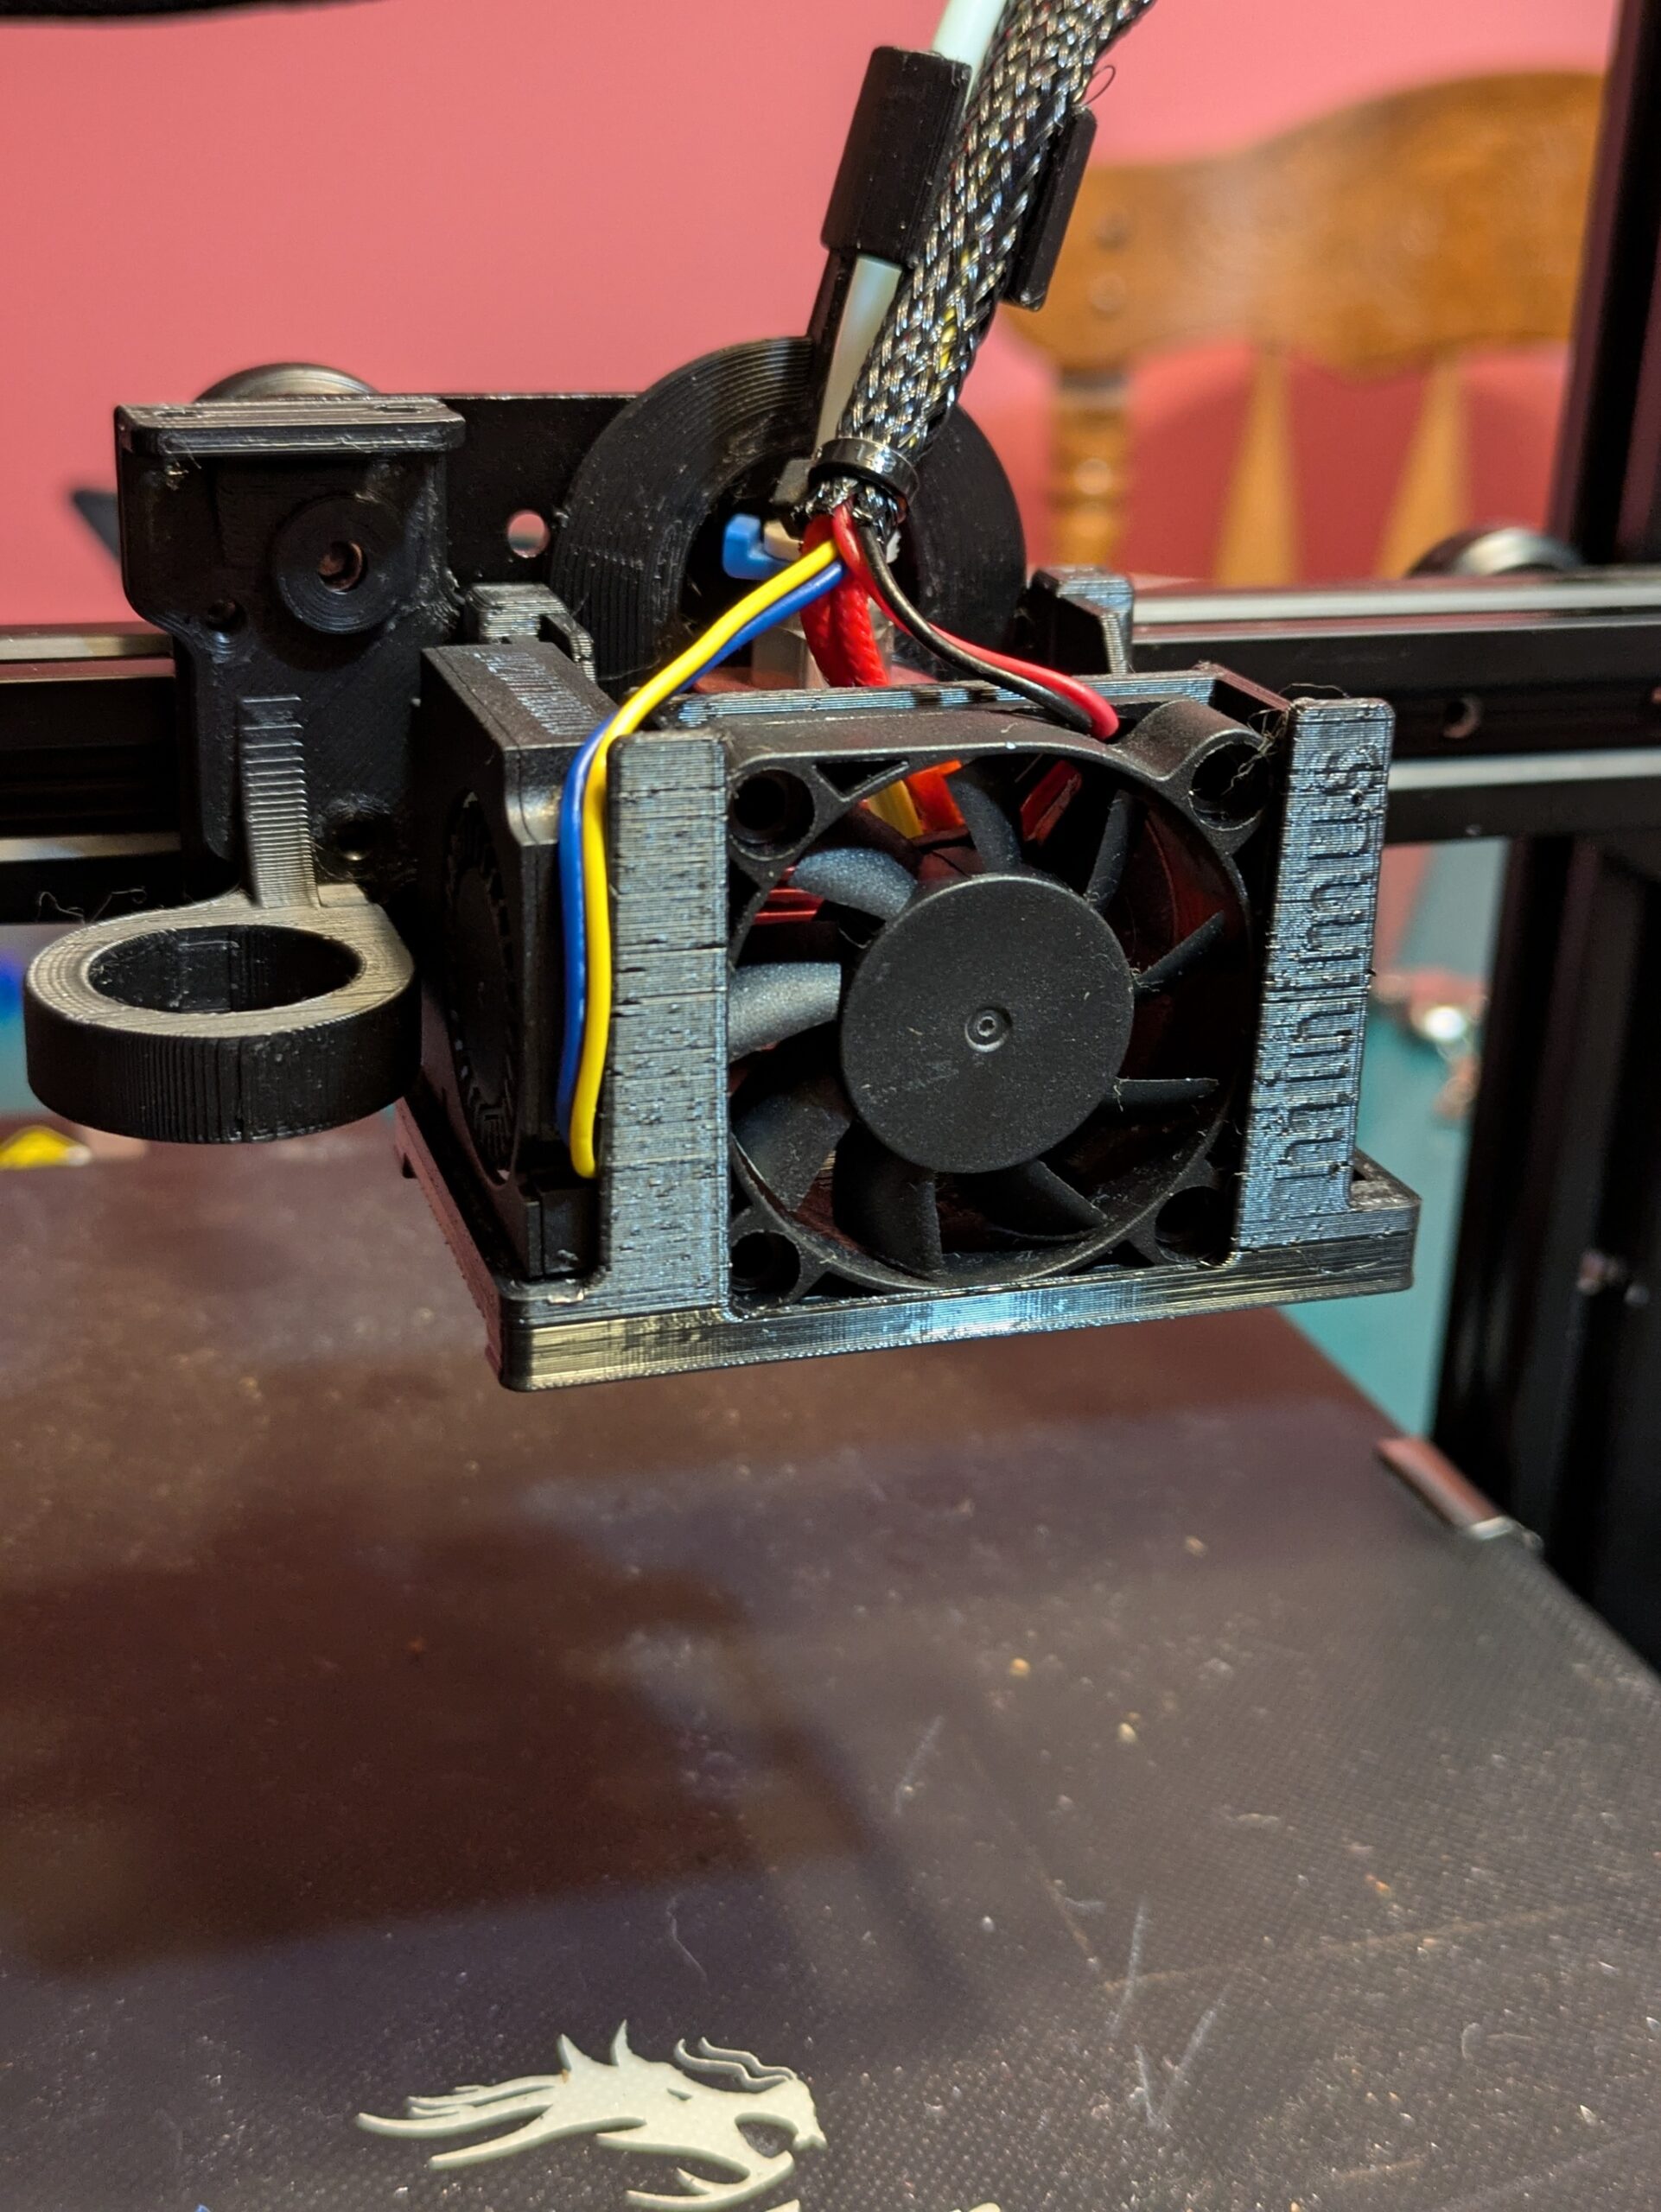
Now with that out of the way, I’ll install the Minimus Hotend Cooler, square up the frame, and fix the bumpy X-gantry ride! Rather than being a very pretty print, the one I’m using here is a spare part from some time ago. I actually intend to use another in the long run, but this is what I’ve got for now.
For the wheel bearings on each axis’ ride I’m to mend, I’m going to reuse older wheel bearings I have stored away from my other printer. While this may not be perfect, I figured anything would be better than what this printer has – particularly for the X-axis! I’ll be sure to weed out all baddies and I’ll verify that the ride feels nice and smooth!
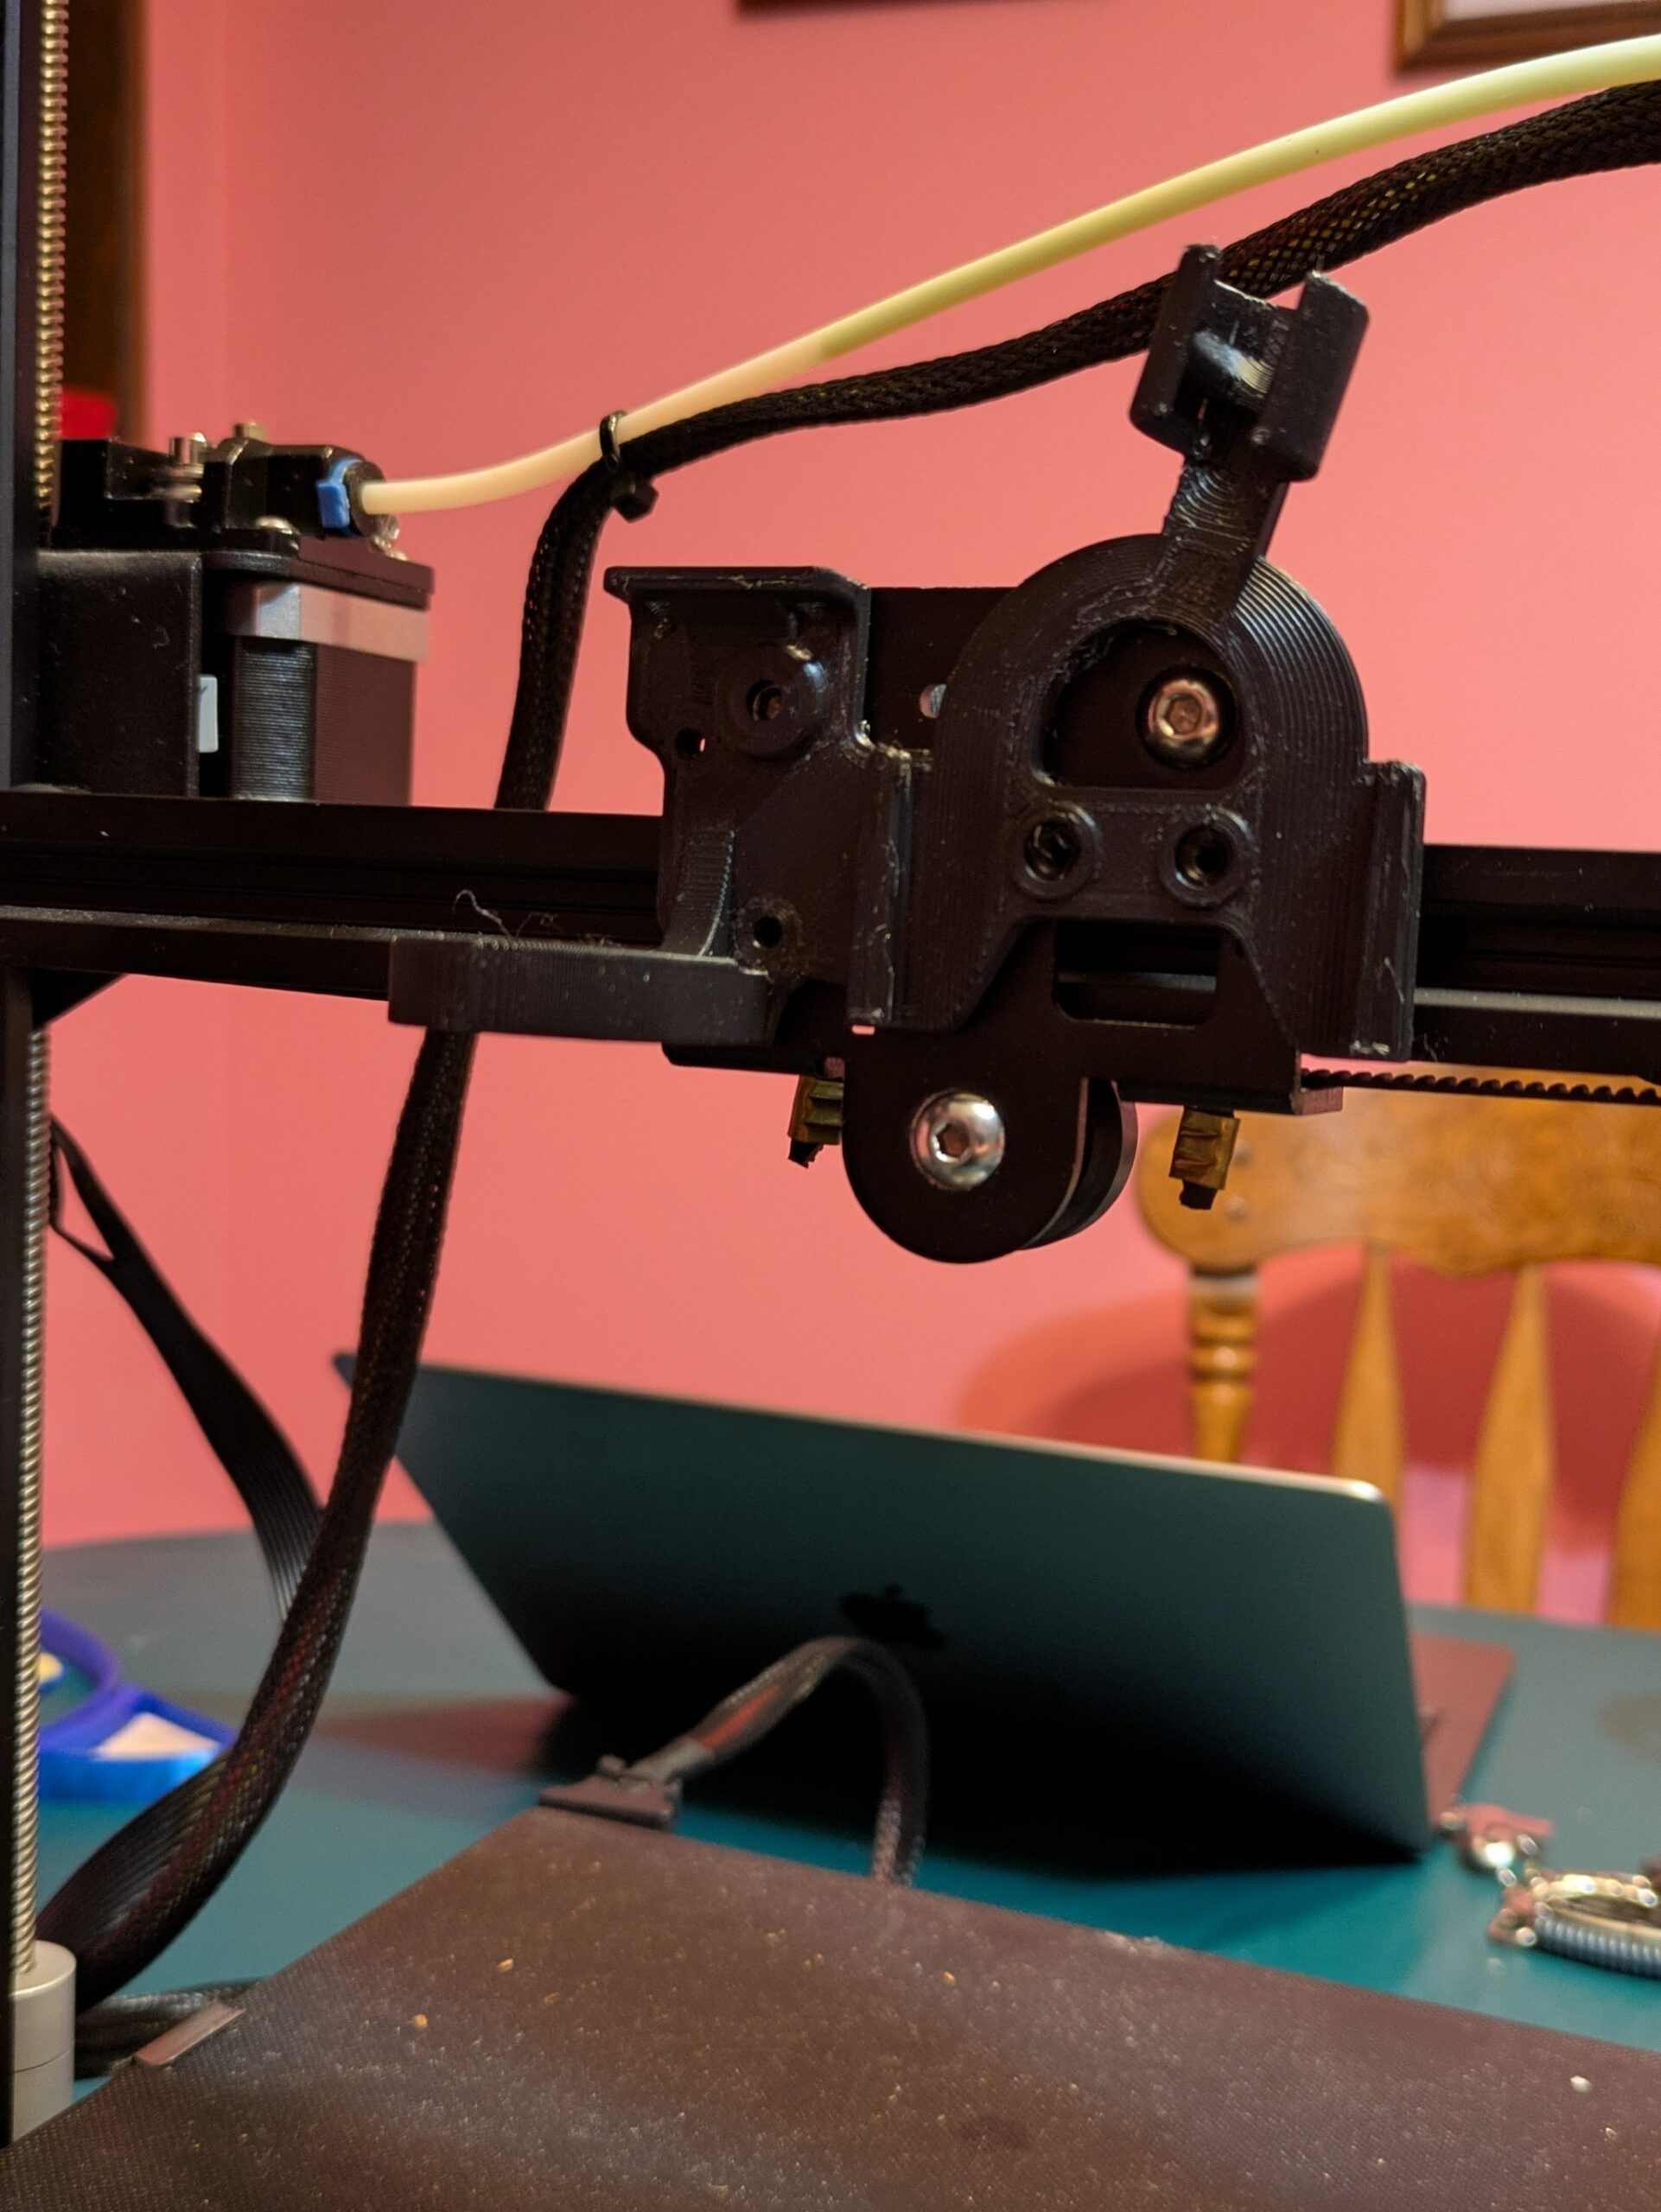
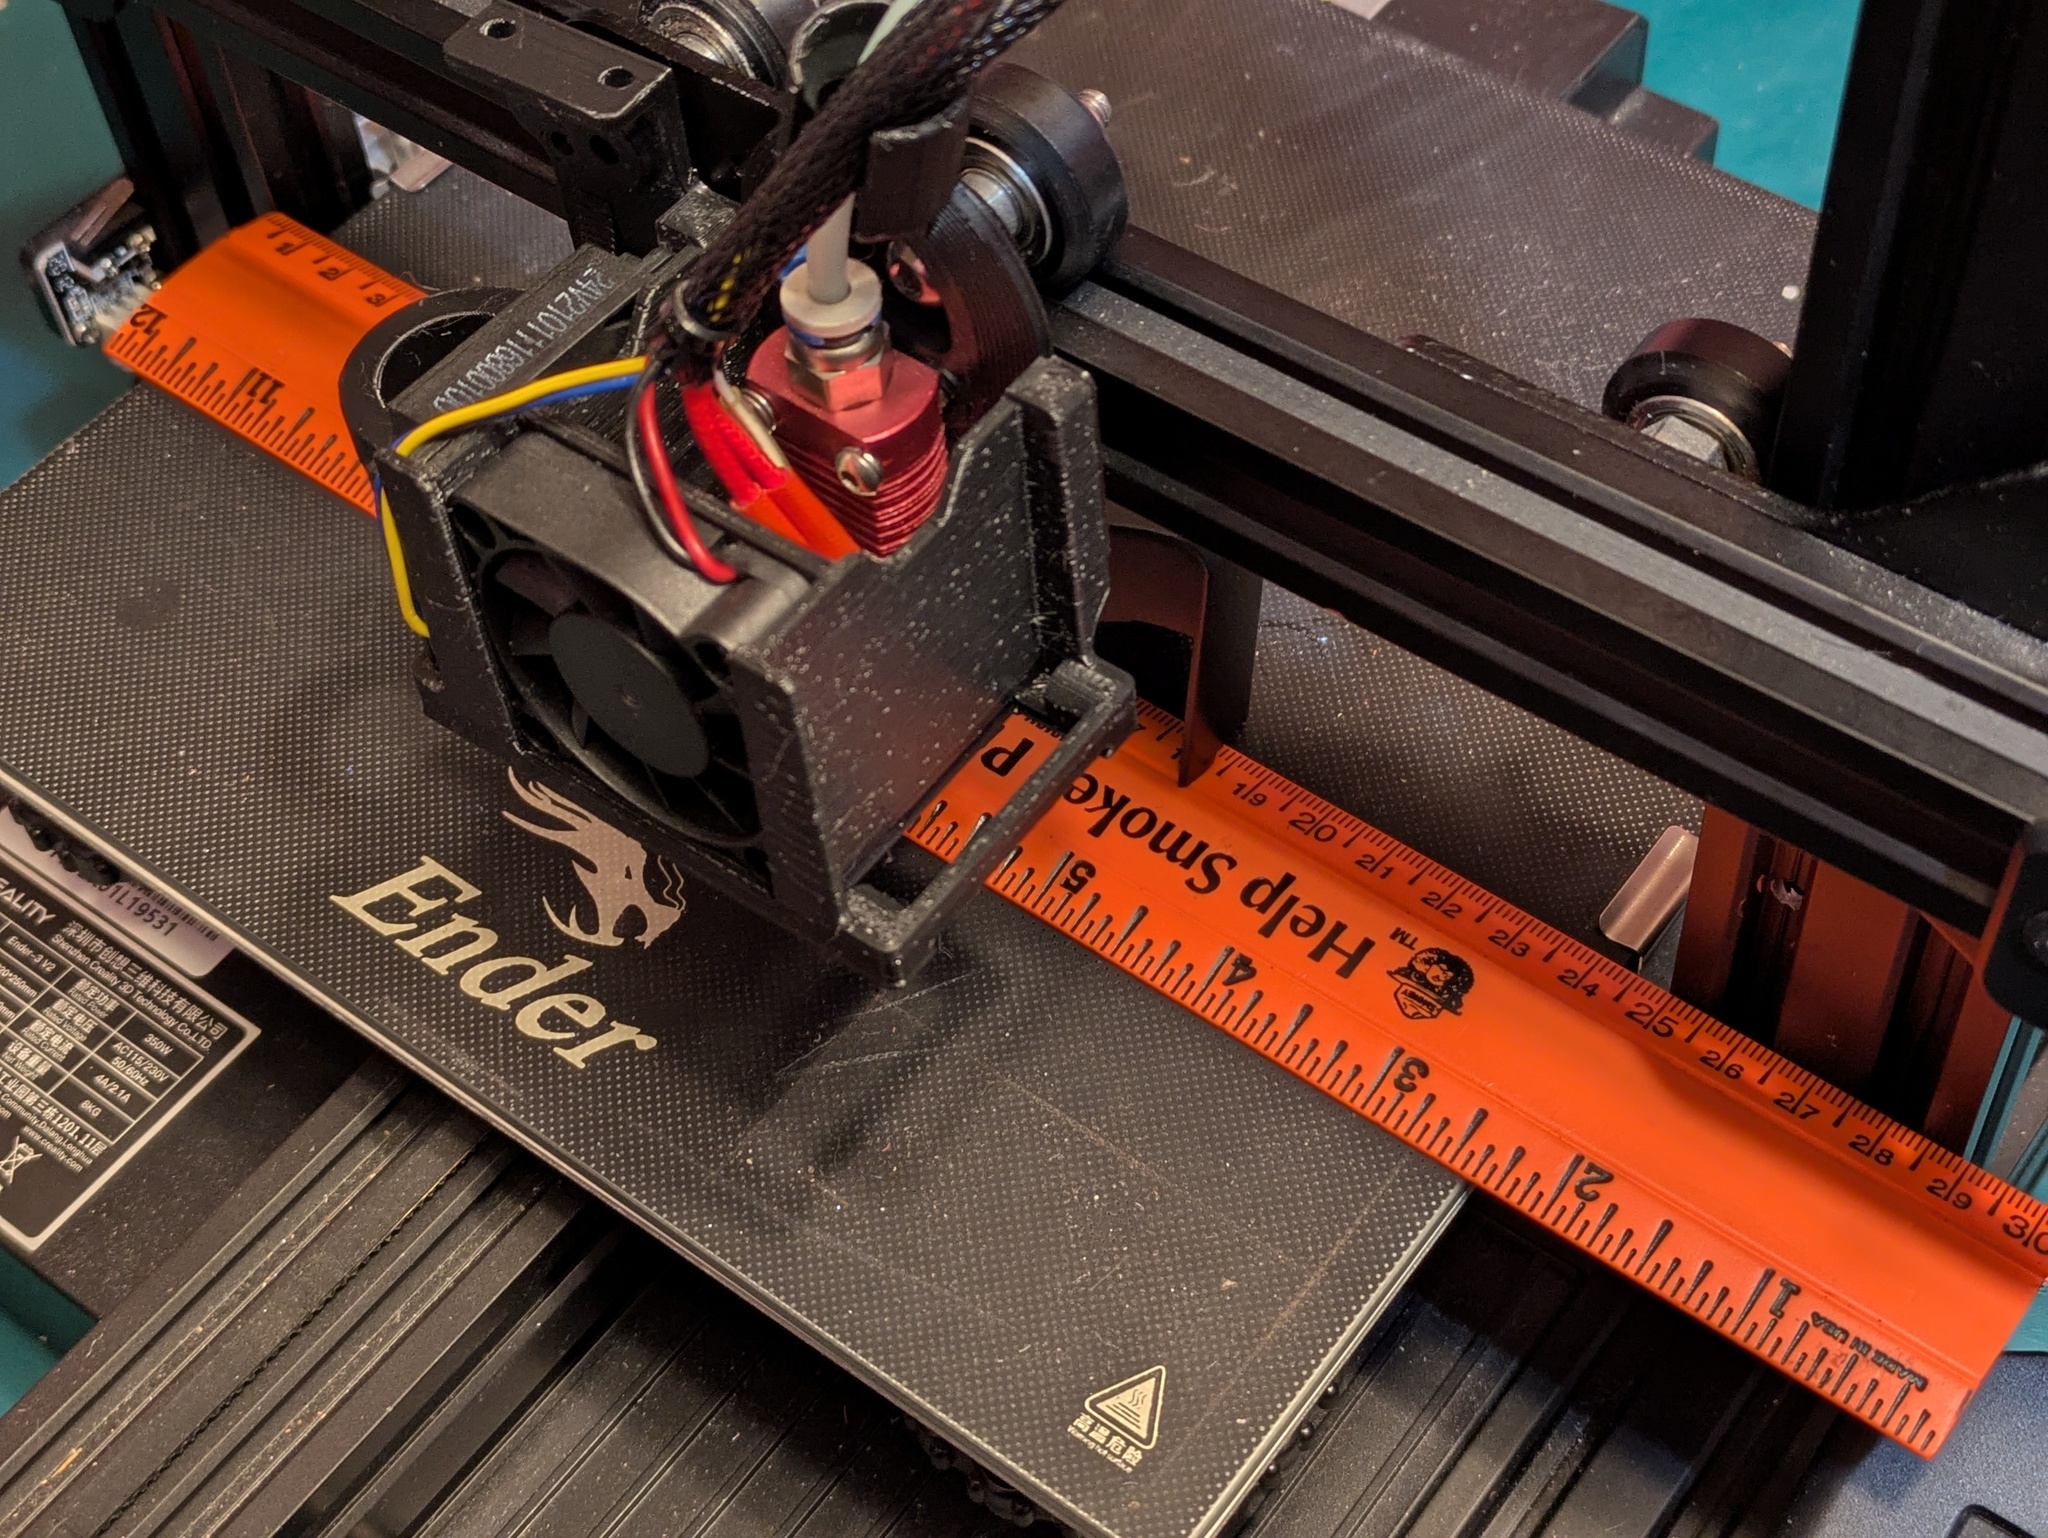
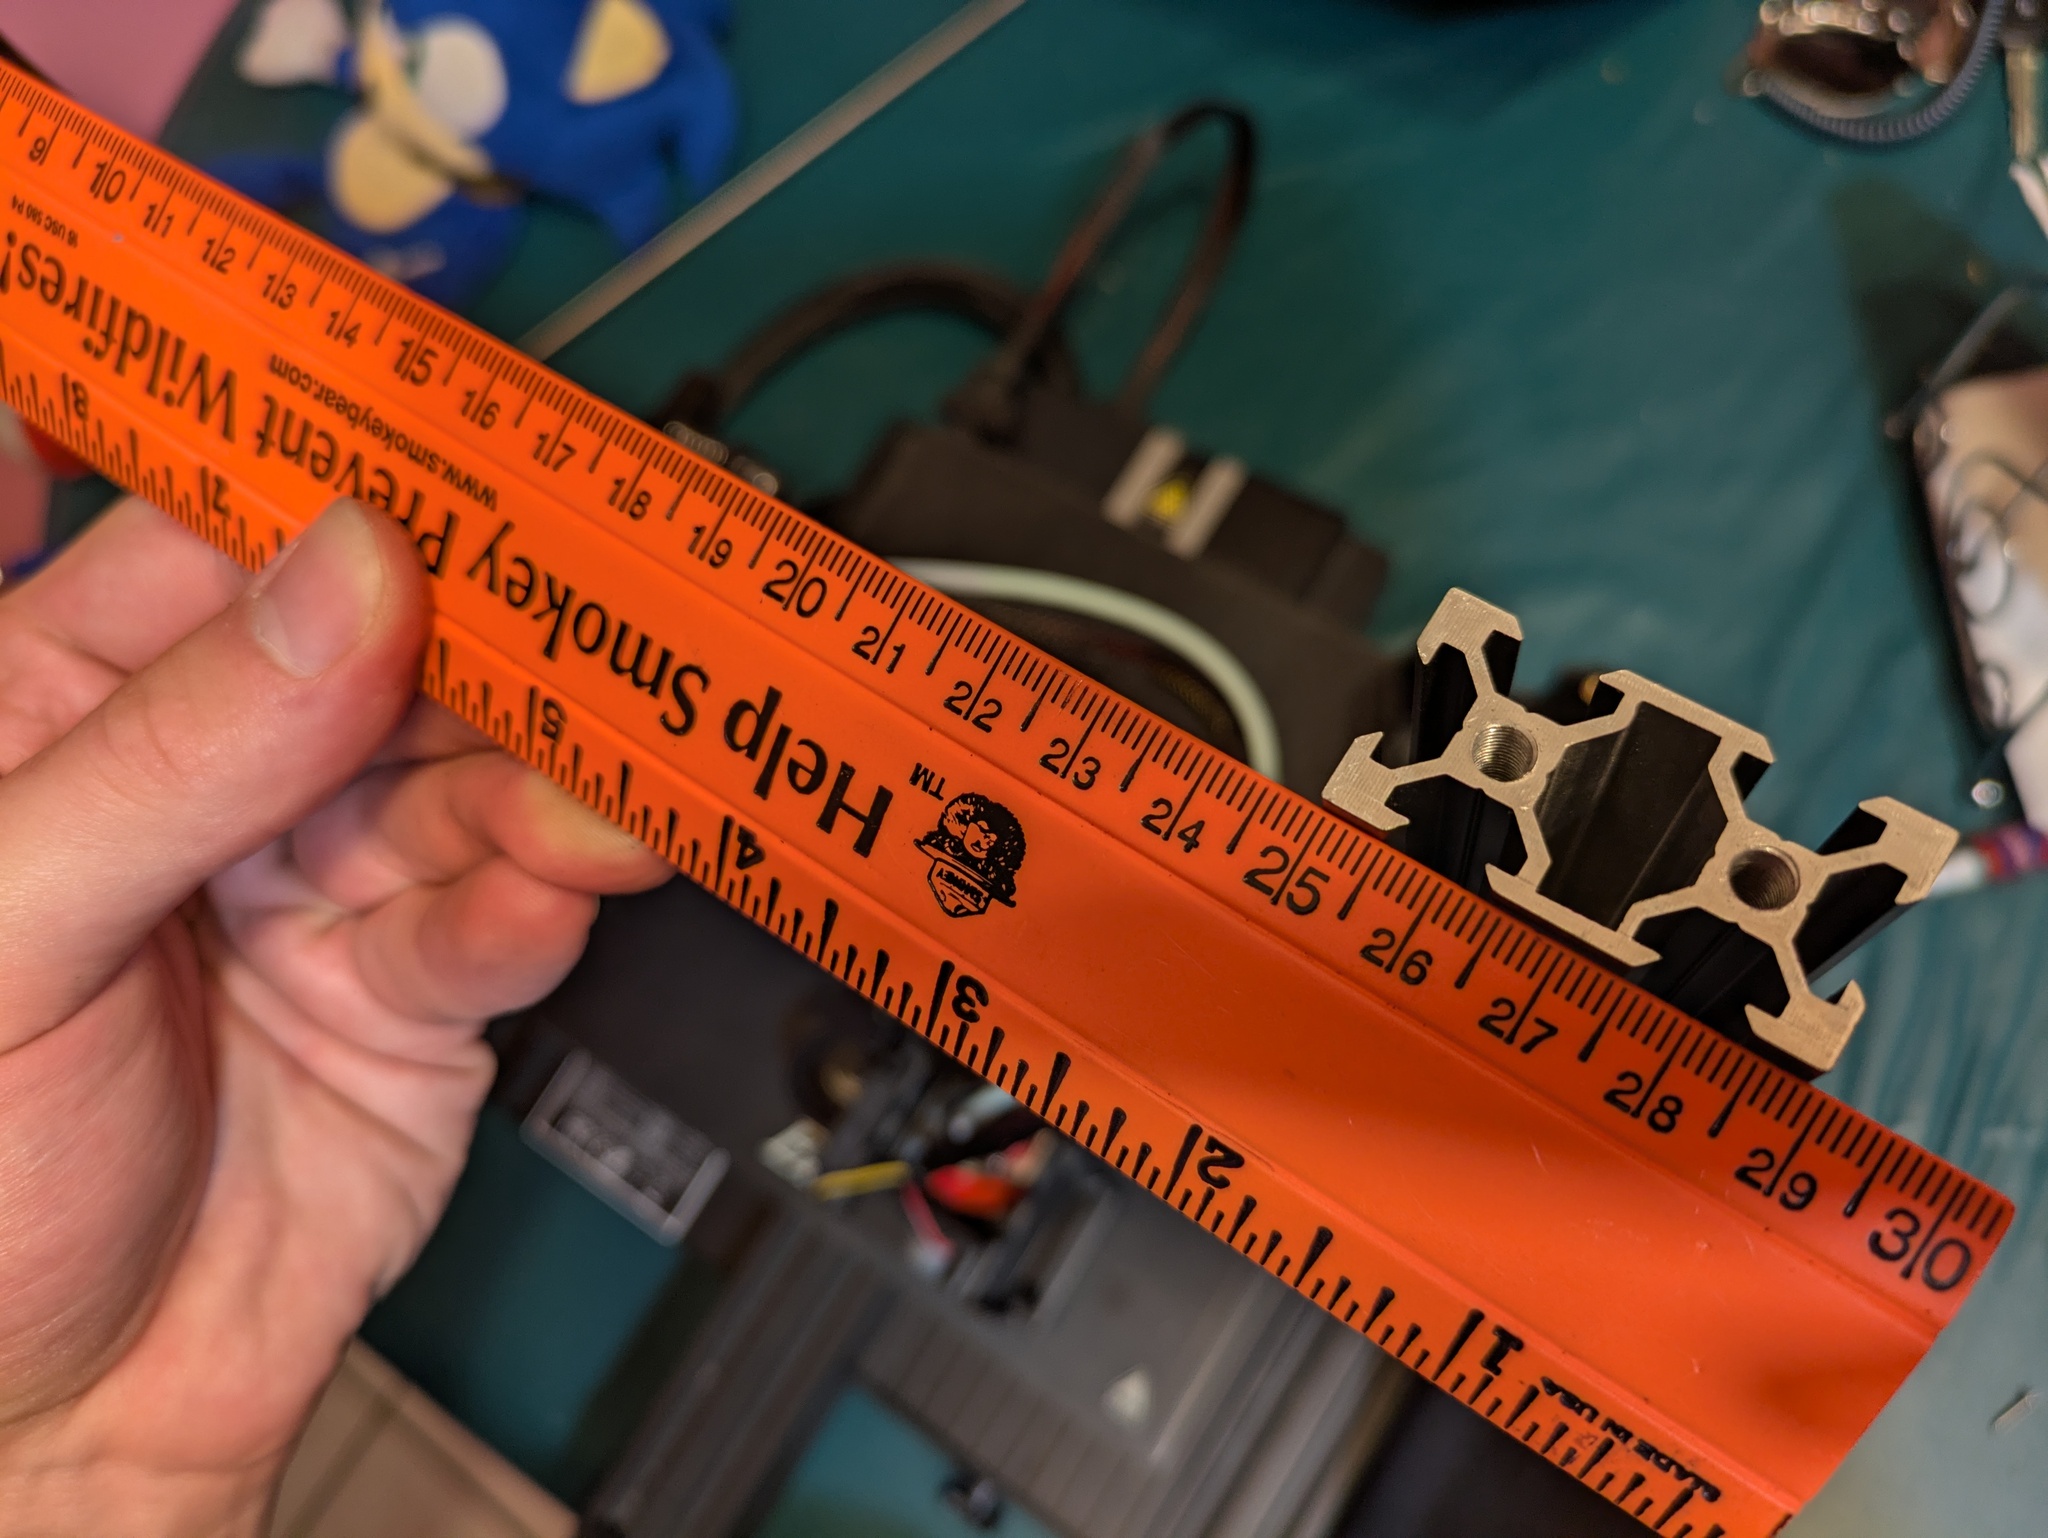
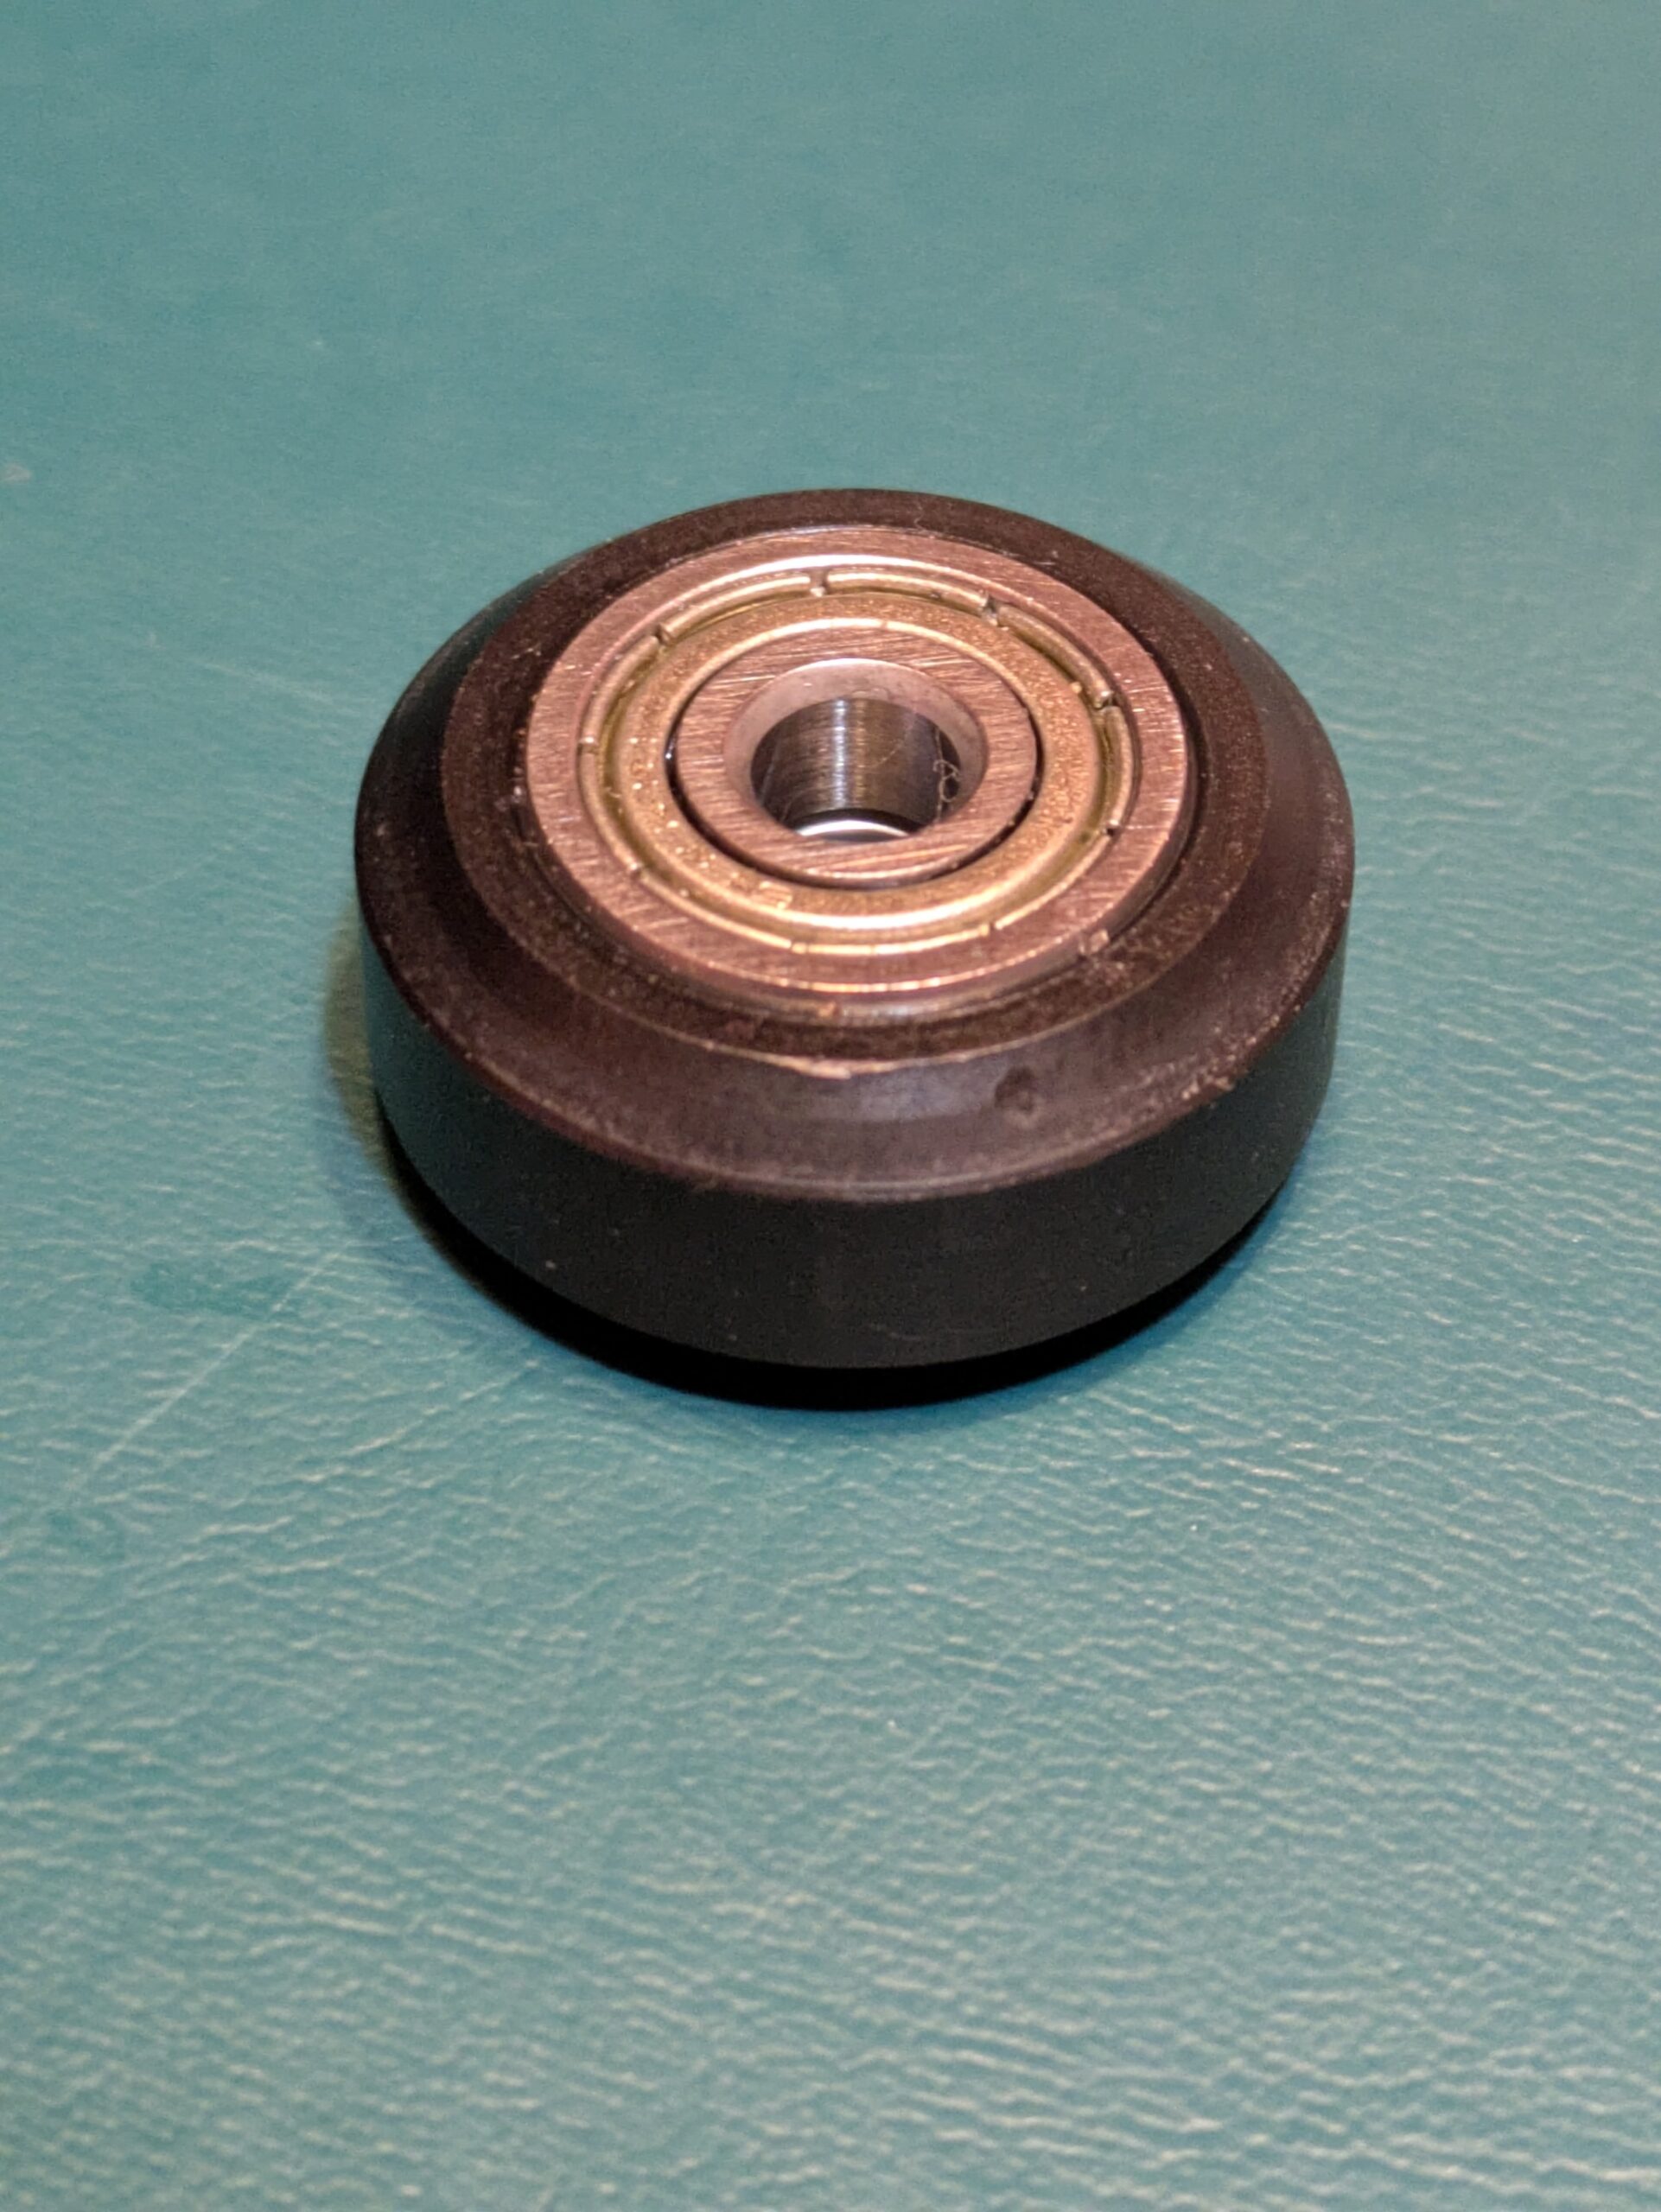
After these frame tweaks are done, I once again make sure things are square, by measuring the distance between the X-gantry and the frame on each side. It’s important not to measure it against the print bed, but the bottom frame. The print bed is an independent calibration job, specifically known as ‘bed tramming.’
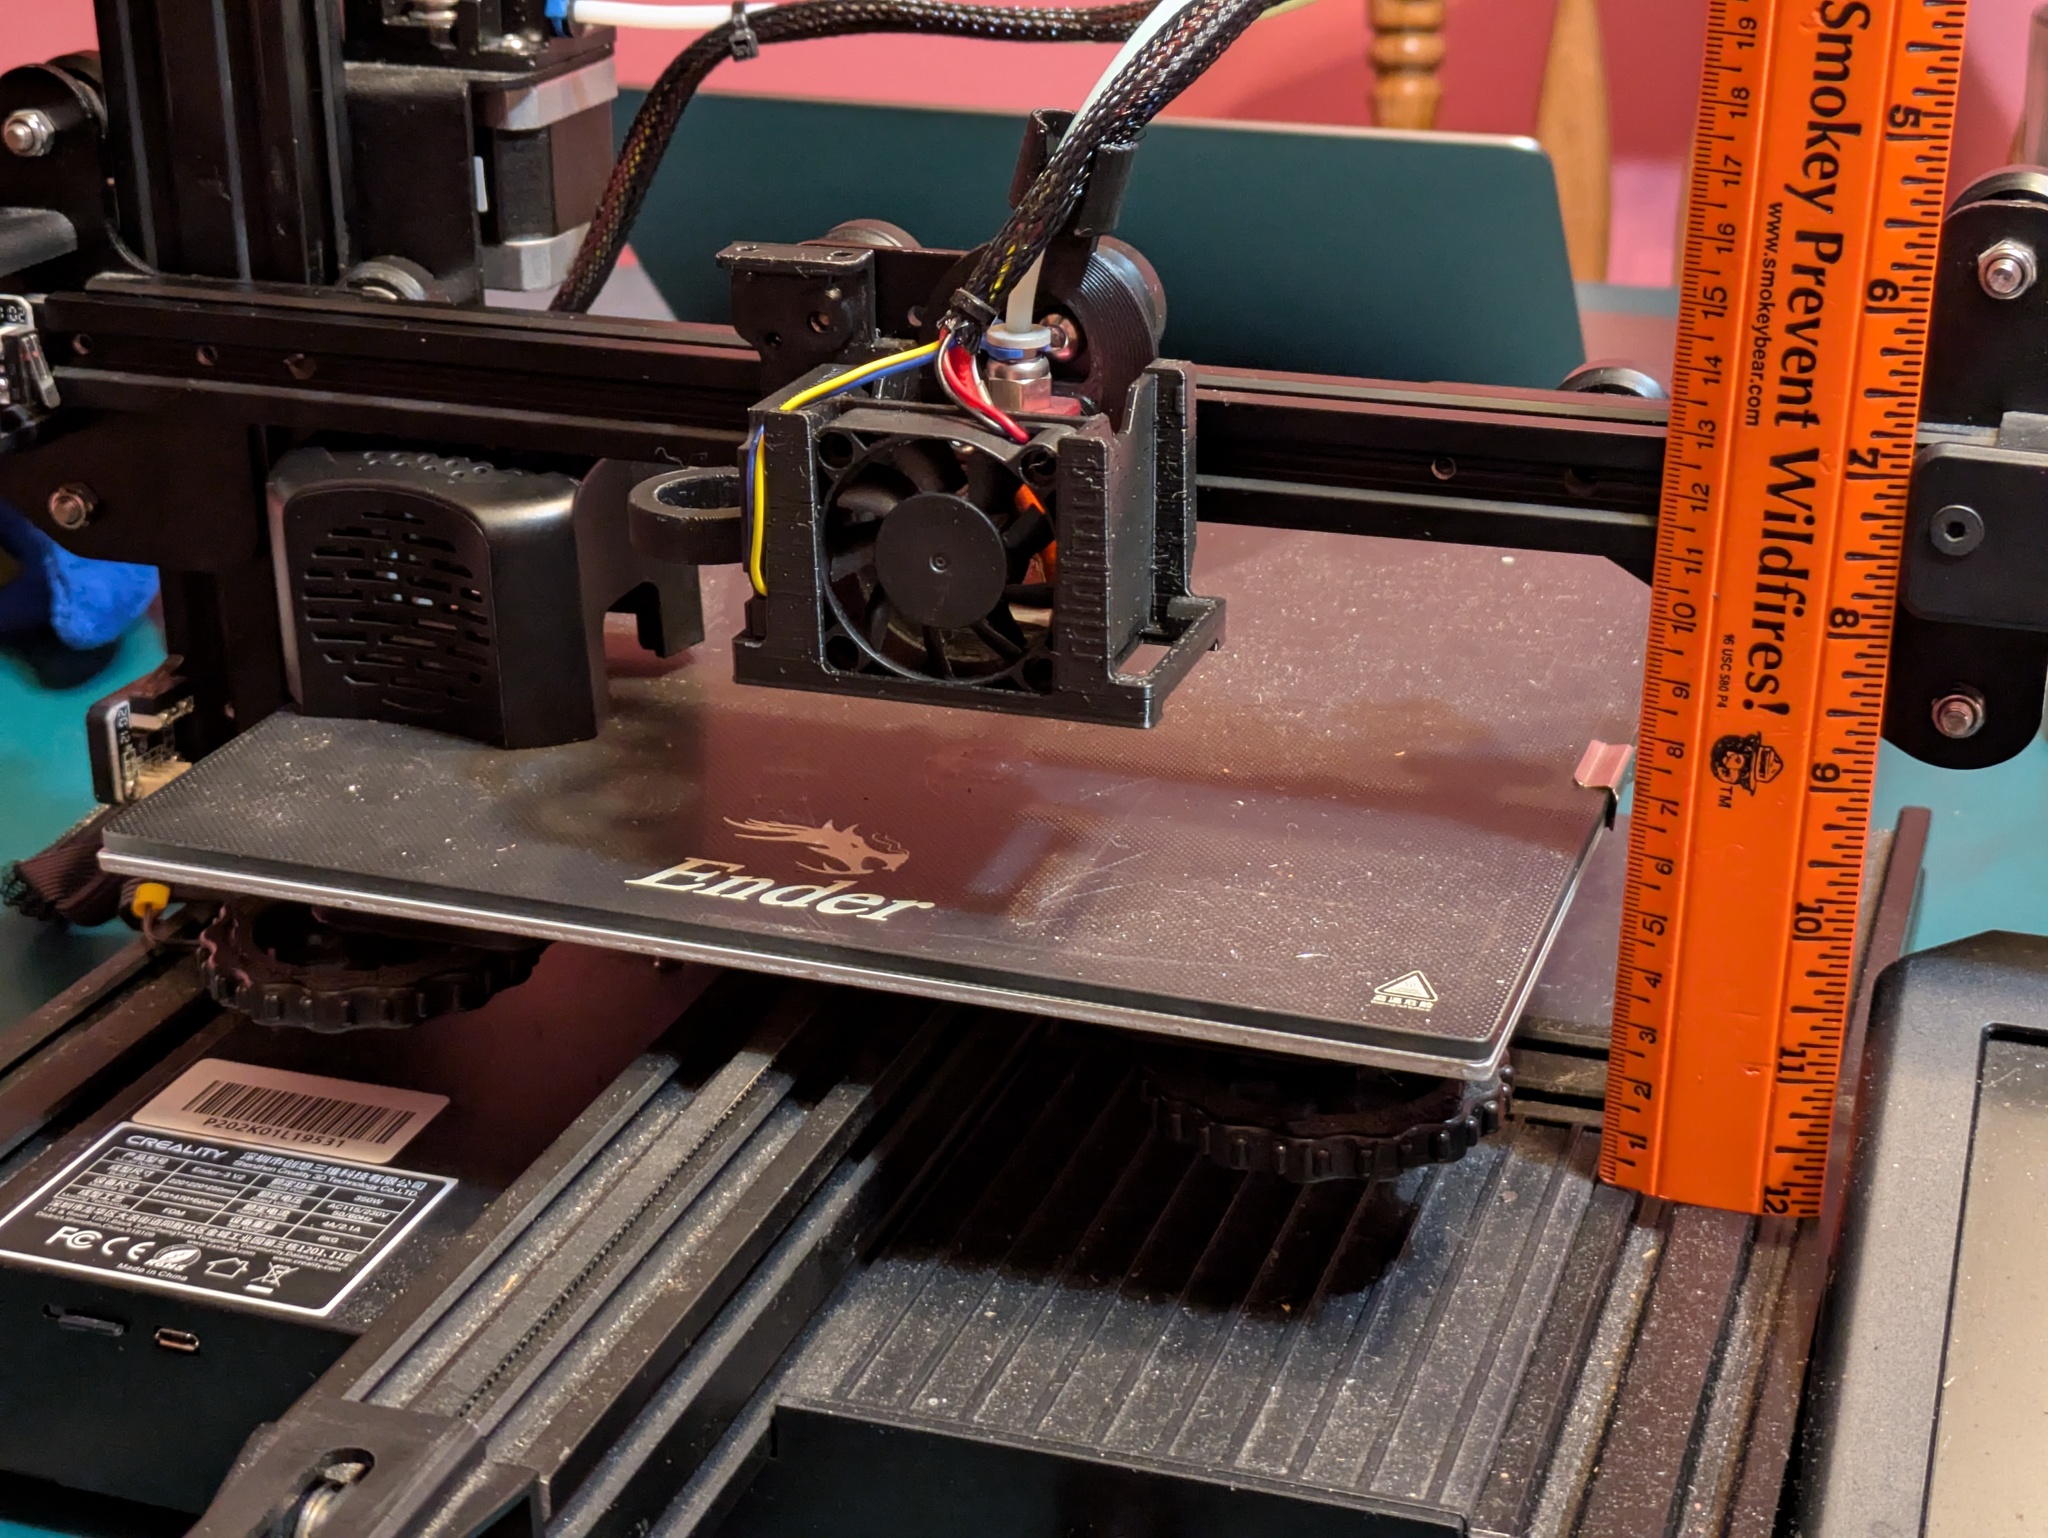
Here what I chose to do was: remove the right-side upright beam, properly torque the eccentric nut to get the X-gantry’s left side to hold on without wobble, then gently coax & measure the gantry at both sides to ensure it’s not leaning in any direction. Once it’s evened out, I drop the upright back in, and then tighten it down. Finally, I double-check the X-gantry to ensure it’s perfectly level at both sides.
With the X-gantry evened out and the whole frame squared, I next go for the Y-axis. Rather than keep the original springs, I have the allegedly ‘upgraded’ orange springs that are commonly sold for these printers, so I’ll use those instead! And while I’m here, I also correct the light bumpiness felt in the Y-axis ride by replacing the wheel bearings.
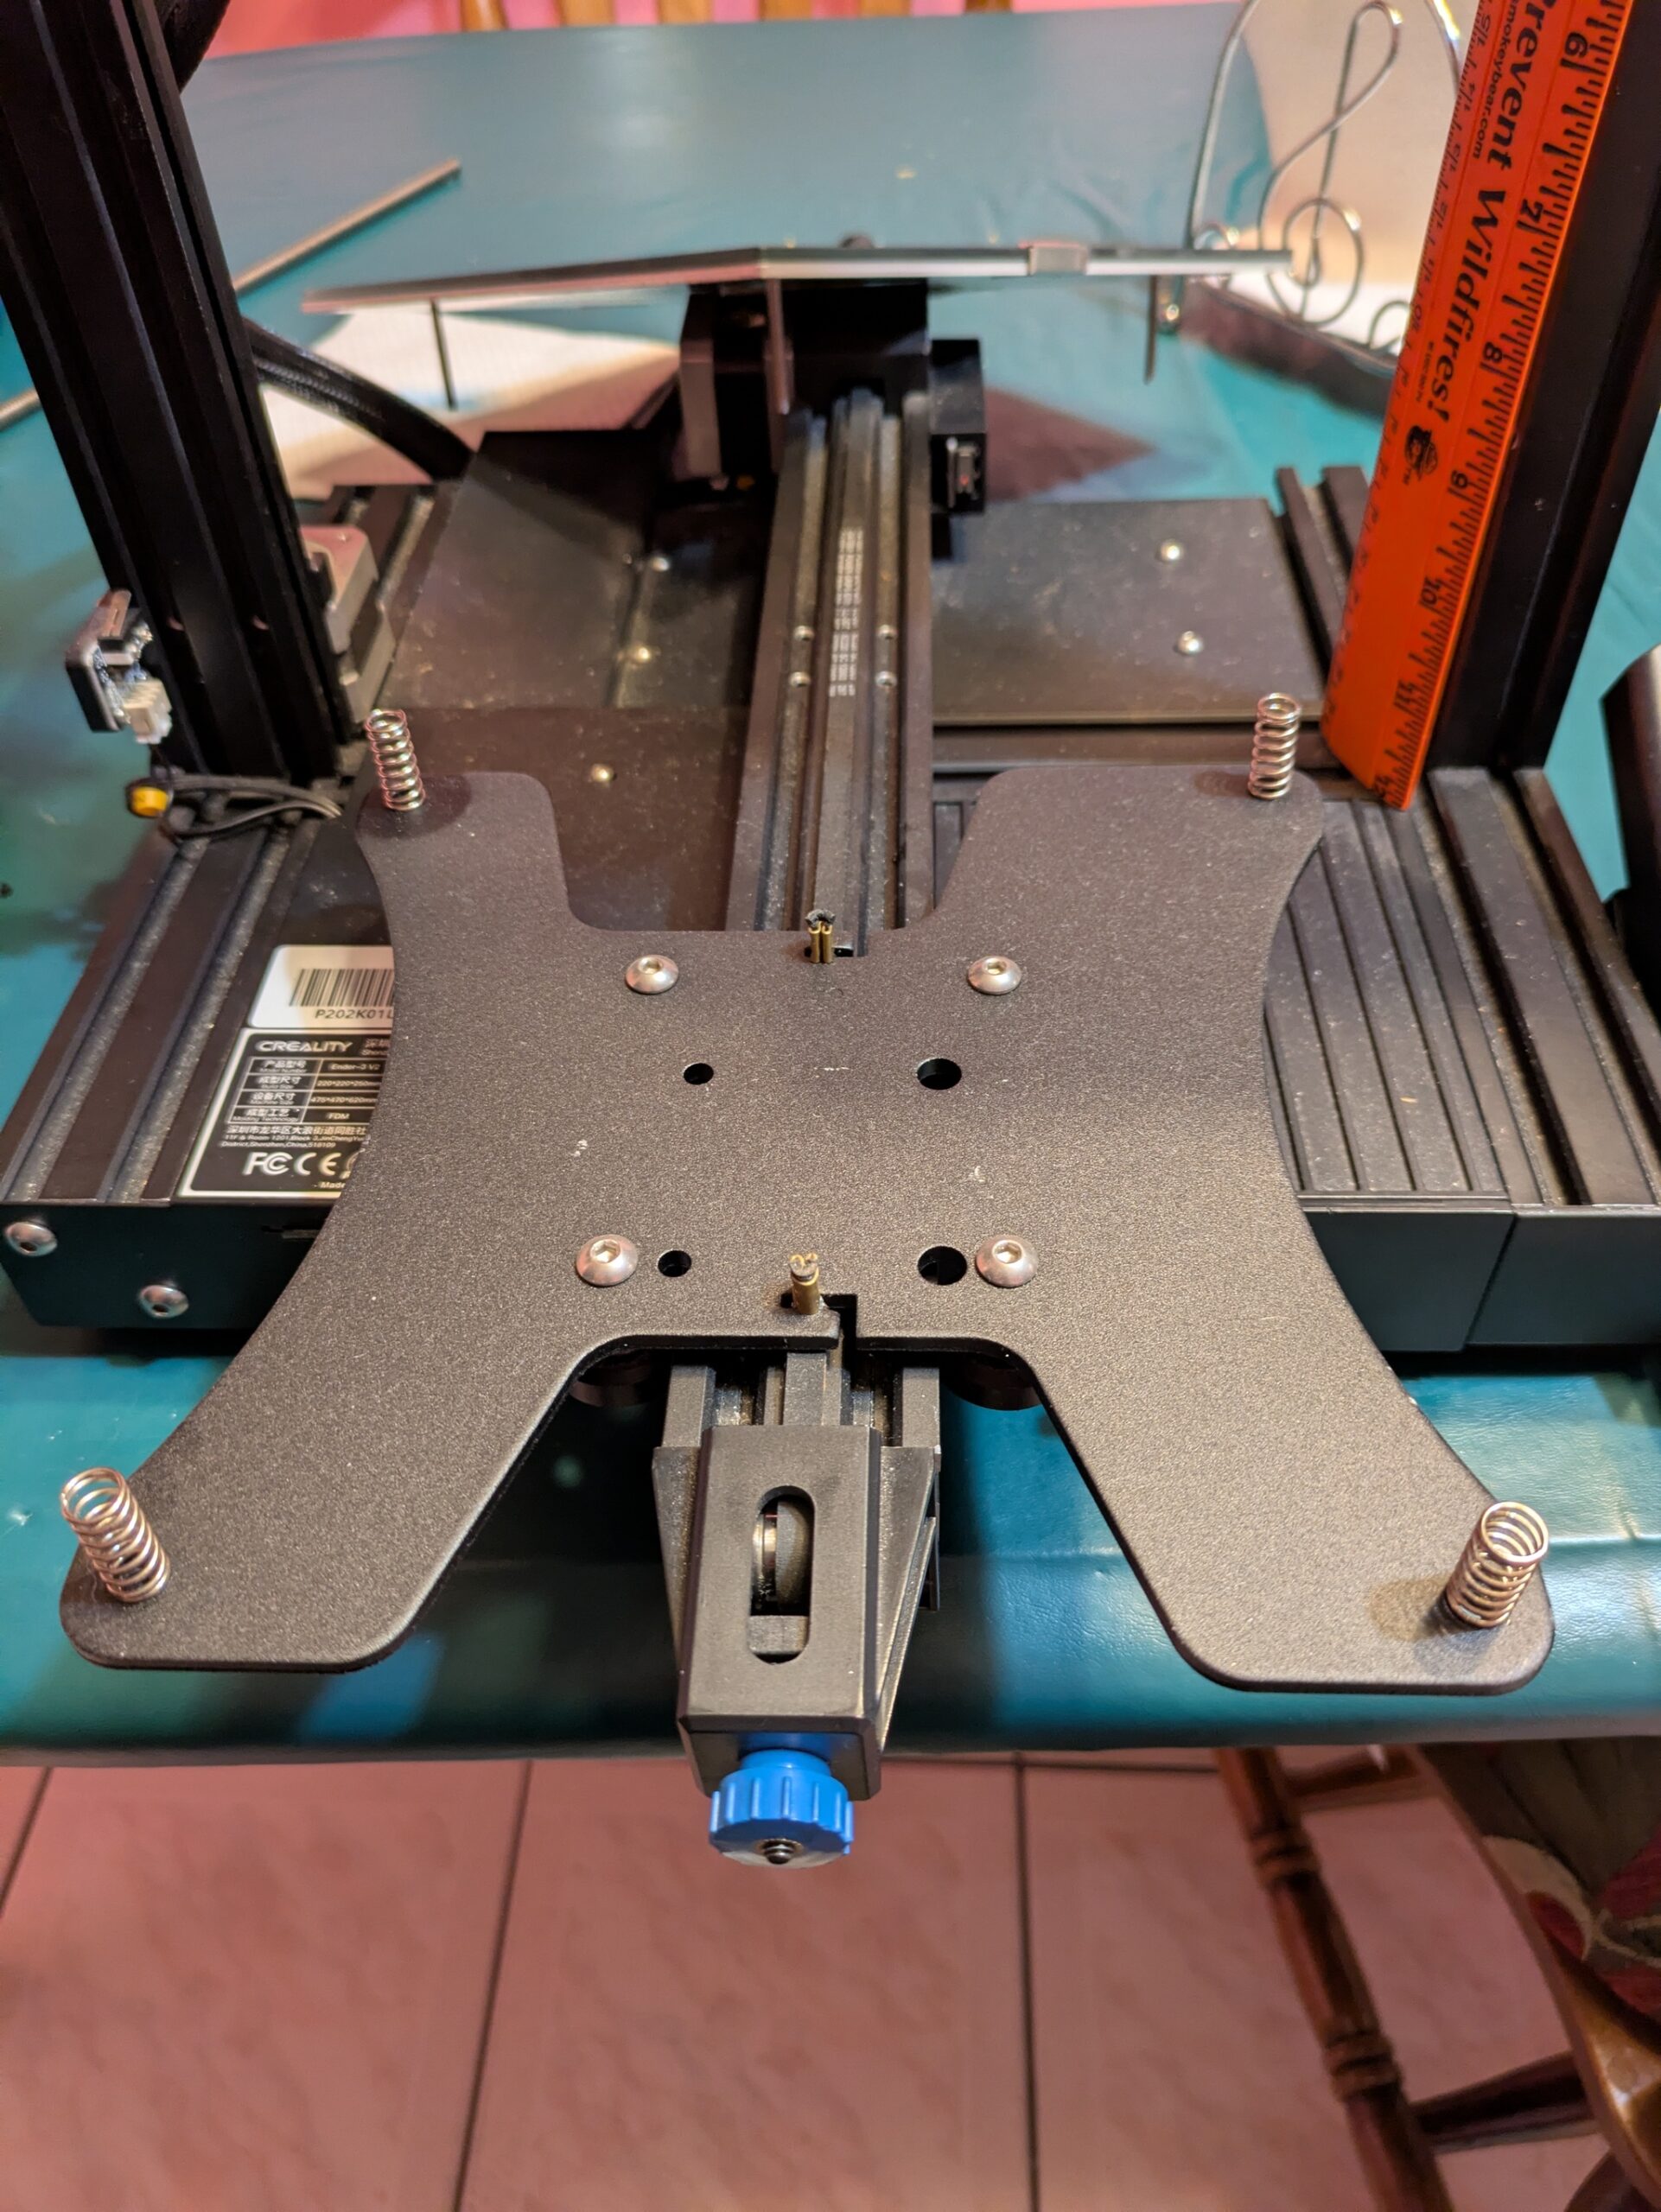
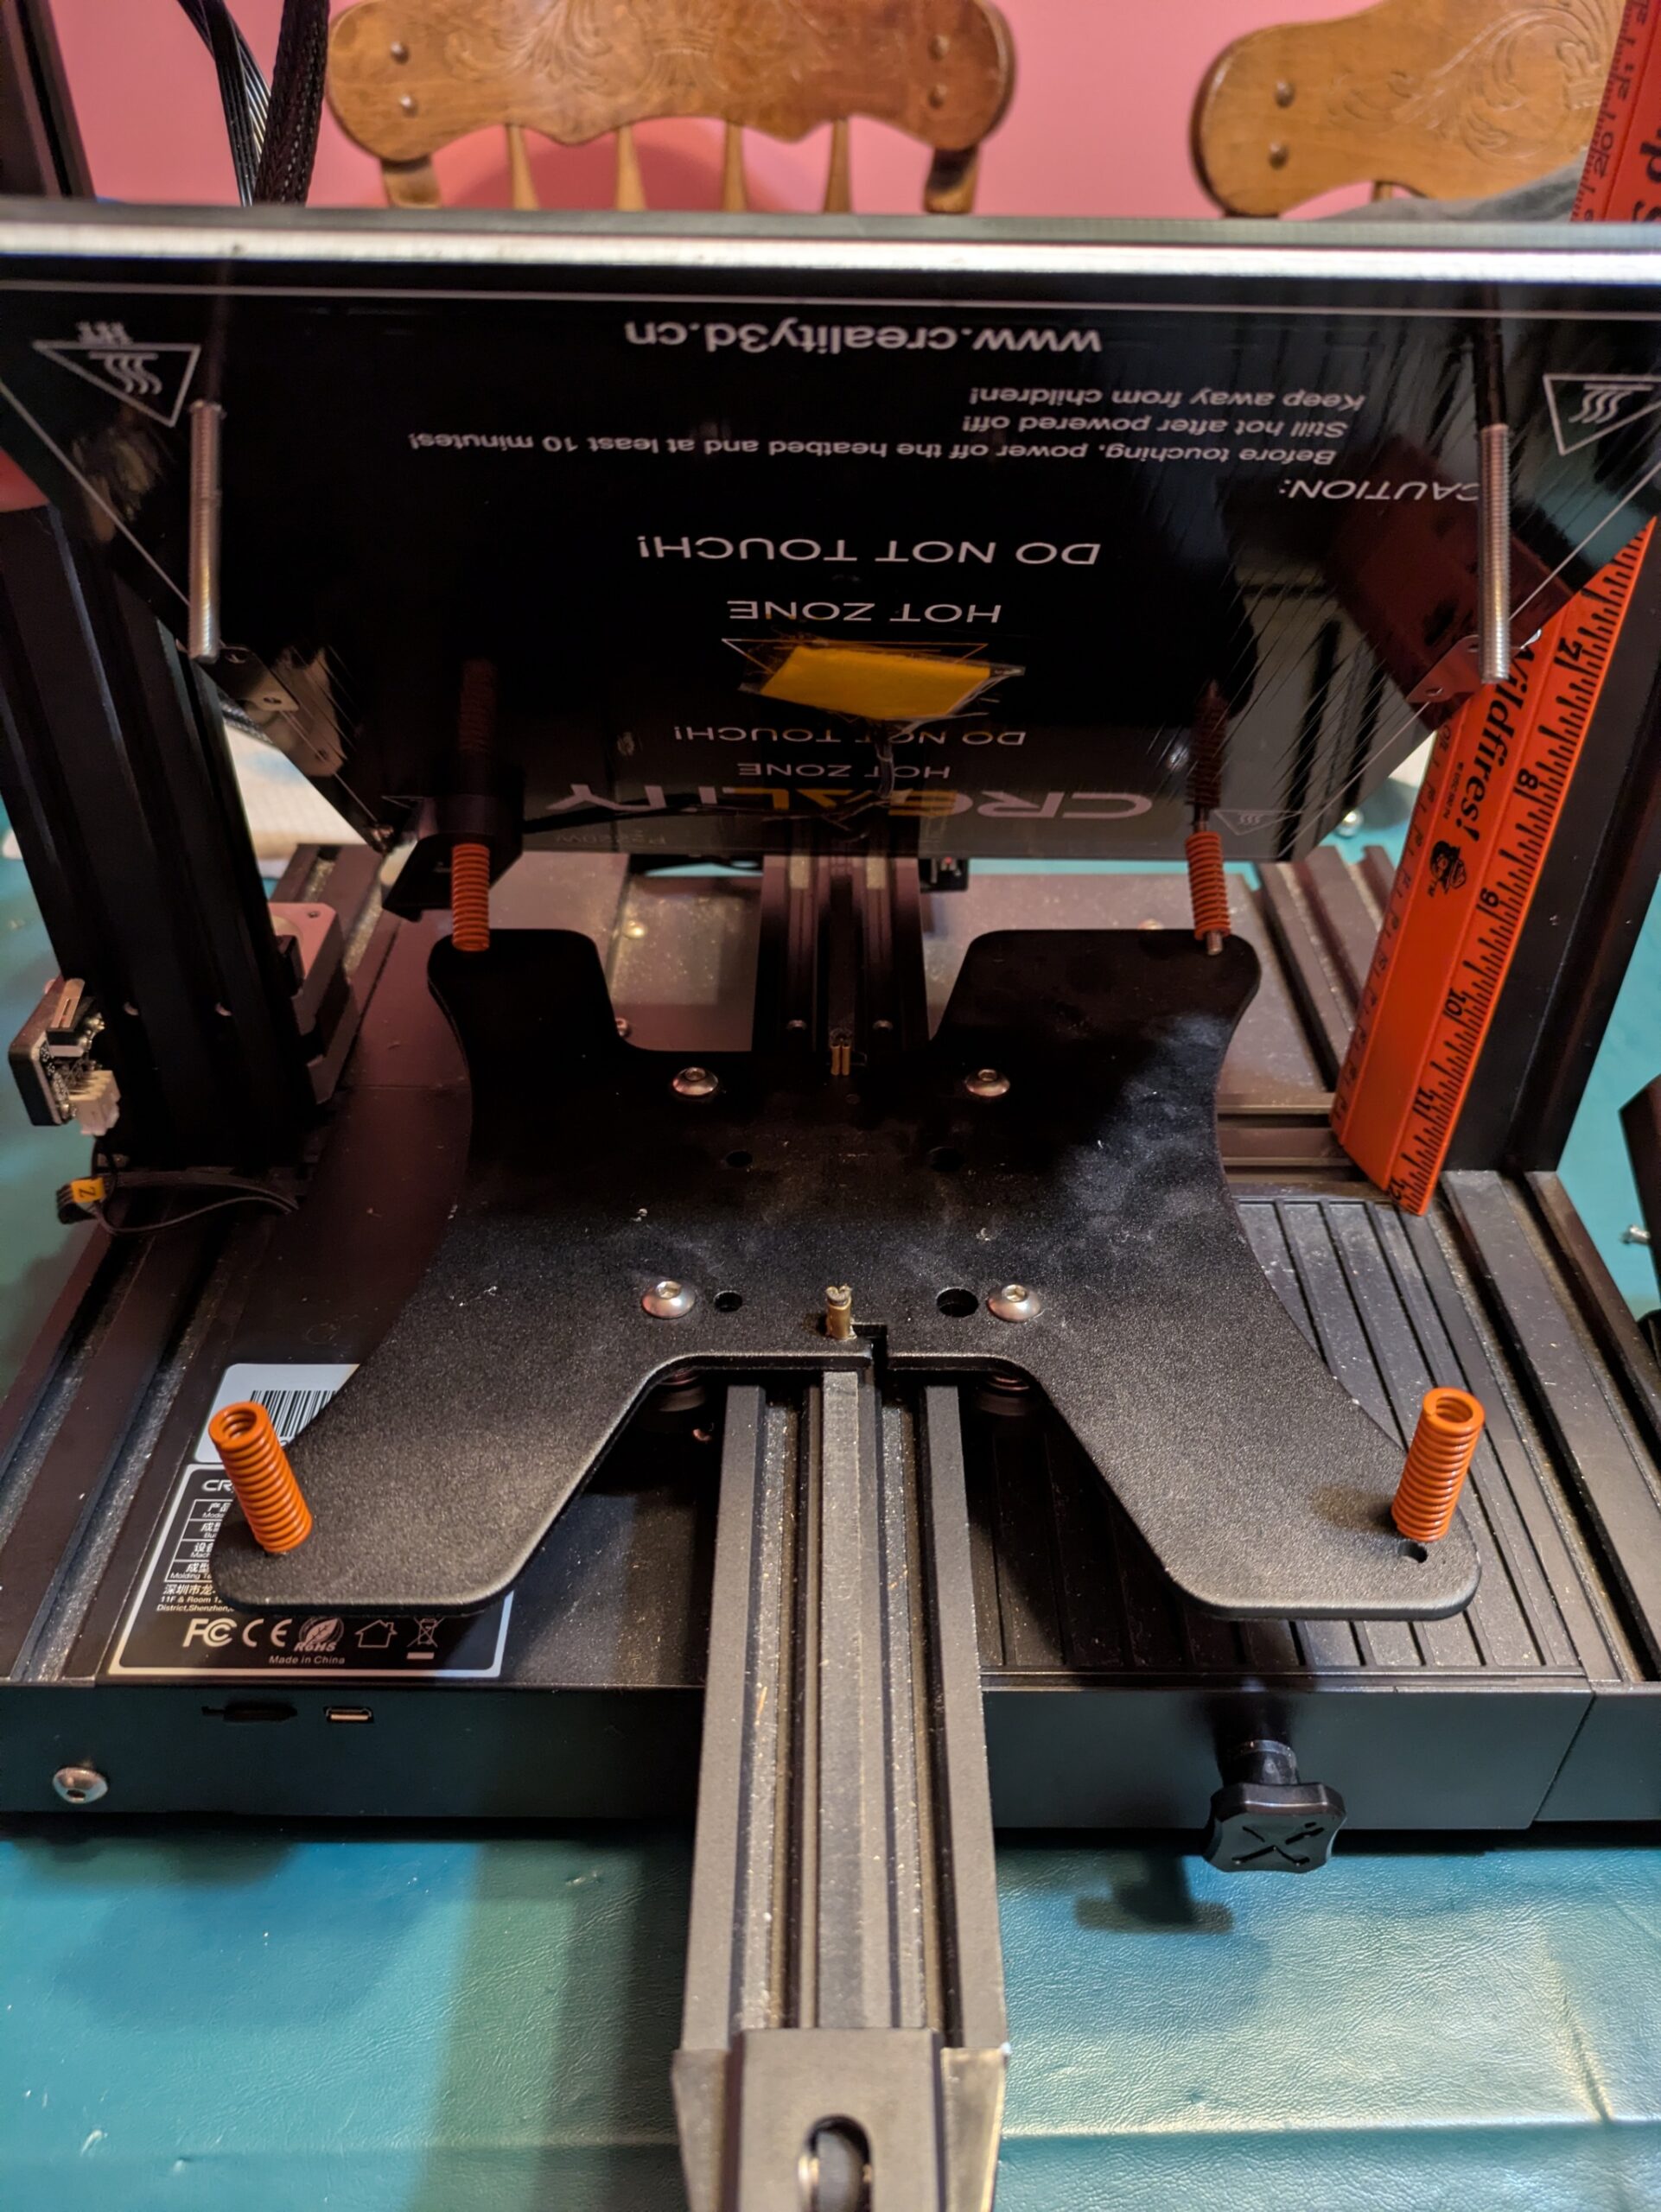
And now, for the fun part! Let’s do a little testing & bed tramming!
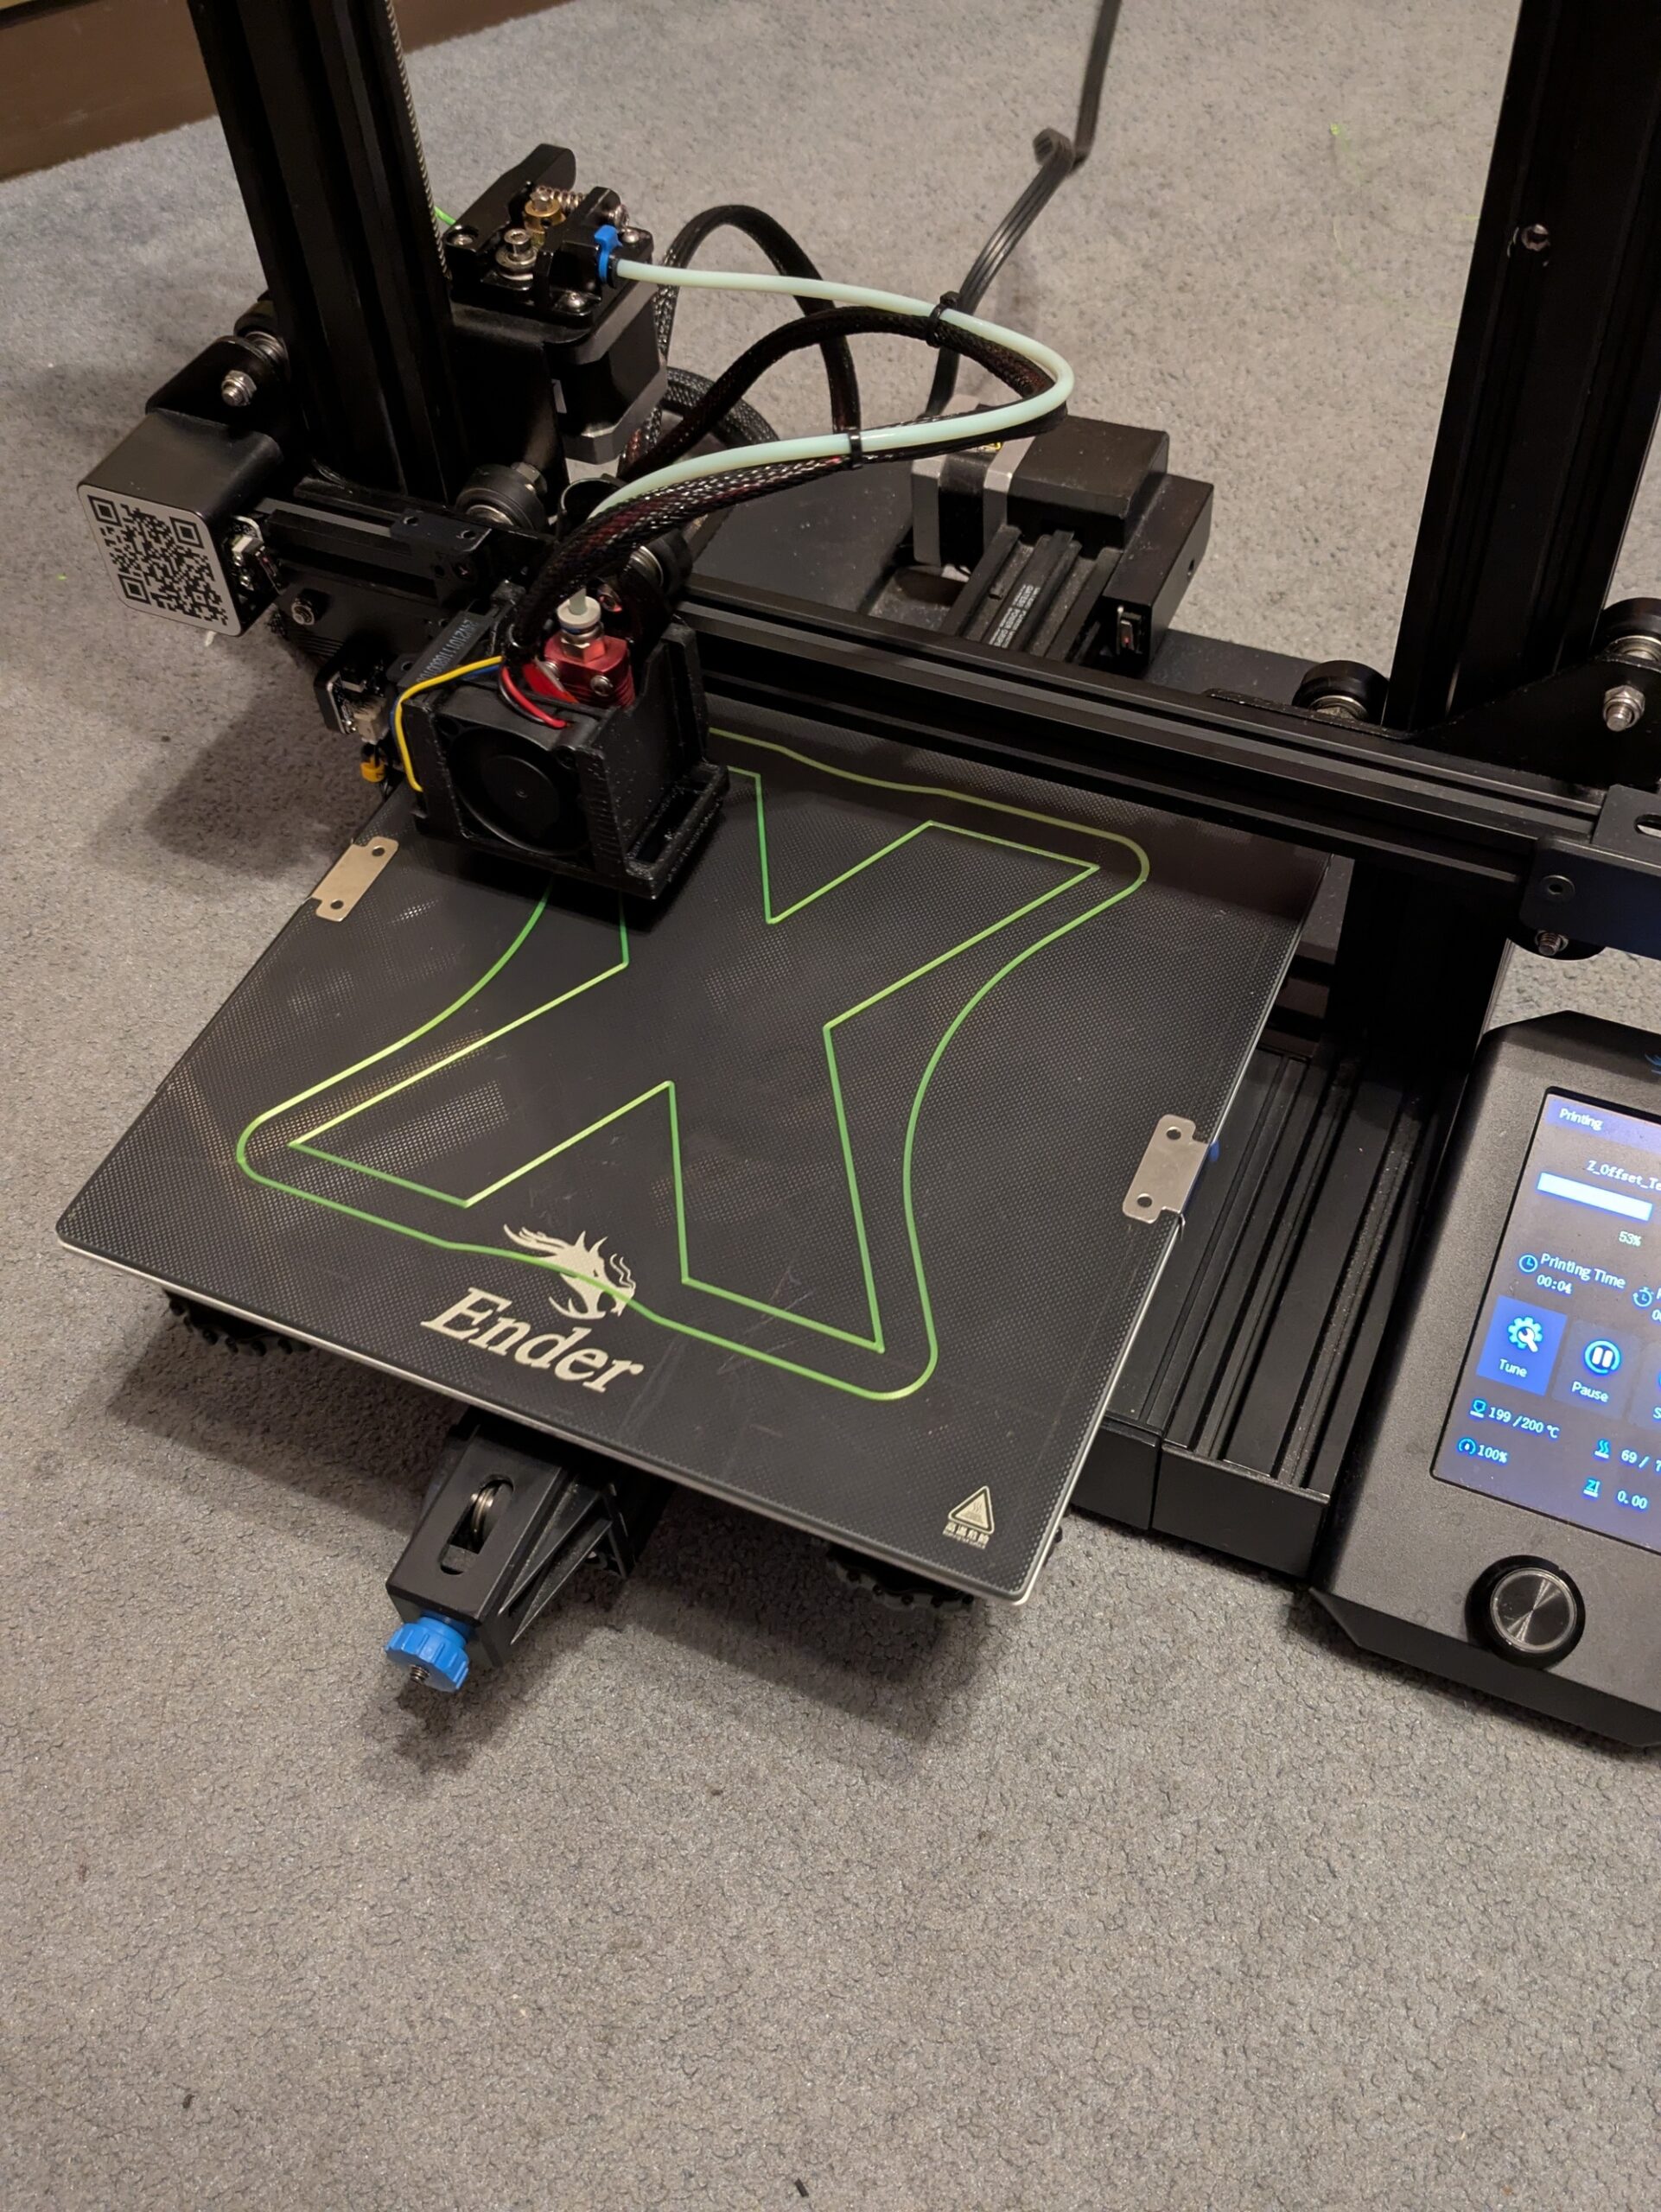
Huzzah! It works!! After giving the print bed a much-needed cleaning with dish soap, some futzing back & forth with the bed wheels, I’ve got a sweet-looking first layer! Not at all bad for $40, some spare parts and a few hours of time!
Upgrades
While it’s come a long way, it’s far from perfect!
As excellent a design as the Minimus hotend cooler is, this printer reminds me just how terrible the stock Creality fans are! They are LOUD! The instant you flick on this printer’s power switch, the hotend fan (frontmost) spins up to a loud whine, then once it reaches its top speed, a low, vibrating hum resonates throughout the printer and into the resting surface below!
It sounds like a dusty, disgruntled computer from 1999 with worn-out bearings, and when the power supply fan also kicks on, it really makes its presence known. And while the sound of an old computer is charming to me, this particular combination is less than pleasant, especially in comparison to my well-modded Ender 3 Neo. Every fan has been replaced on my main unit, and it’s actually tolerable to be around. I’m definitely going to be doing the same here.
Here’s what all I’ll be doing:
- Add a CR Touch auto bed leveling probe!
- Add a filament runout sensor
- Also add a silicone nozzle cleaning brush holder
- Print a carrying handle
- Print a grille & cooling ducts for the Minimus hotend cooler
- Replace the awful Creality fans
- Replace some missing cosmetic pieces
Stay tuned!
Fans, Cables & CR Touch
I’m back again! I’ve tackled these thus far:
- Lazily install CR Touch (needs cable management)
- Whip up a silicone brush holder print
- Replaced the motherboard cooling fan (still more fans to go)
These are definitely appreciable upgrades! However, the hotend still desperately needs upgraded fans, and good cable management to go along with that. The stock fans are VERY ANNOYING!! With such tightly-packed wiring however, it’s very time-consuming. But that’s just what I’m here to take care of!
On a note of curiosity, Creality hooks up the motherboard cooling fan to one of the two speed-controlled headers for print cooling. Seeing as the motherboard has its hot, hard-working motor drivers on for as long as they’re instructed to engage the motors – regardless of how much airflow your 3D print needs – this is less than ideal. So, I hook up this replacement fan for cooling the board up to the same line as the hotend fan, which always runs.
In addition to improving cooling, it also frees up the second fan header, to use with a second print cooling fan. That’s a much better way to utilize this header!
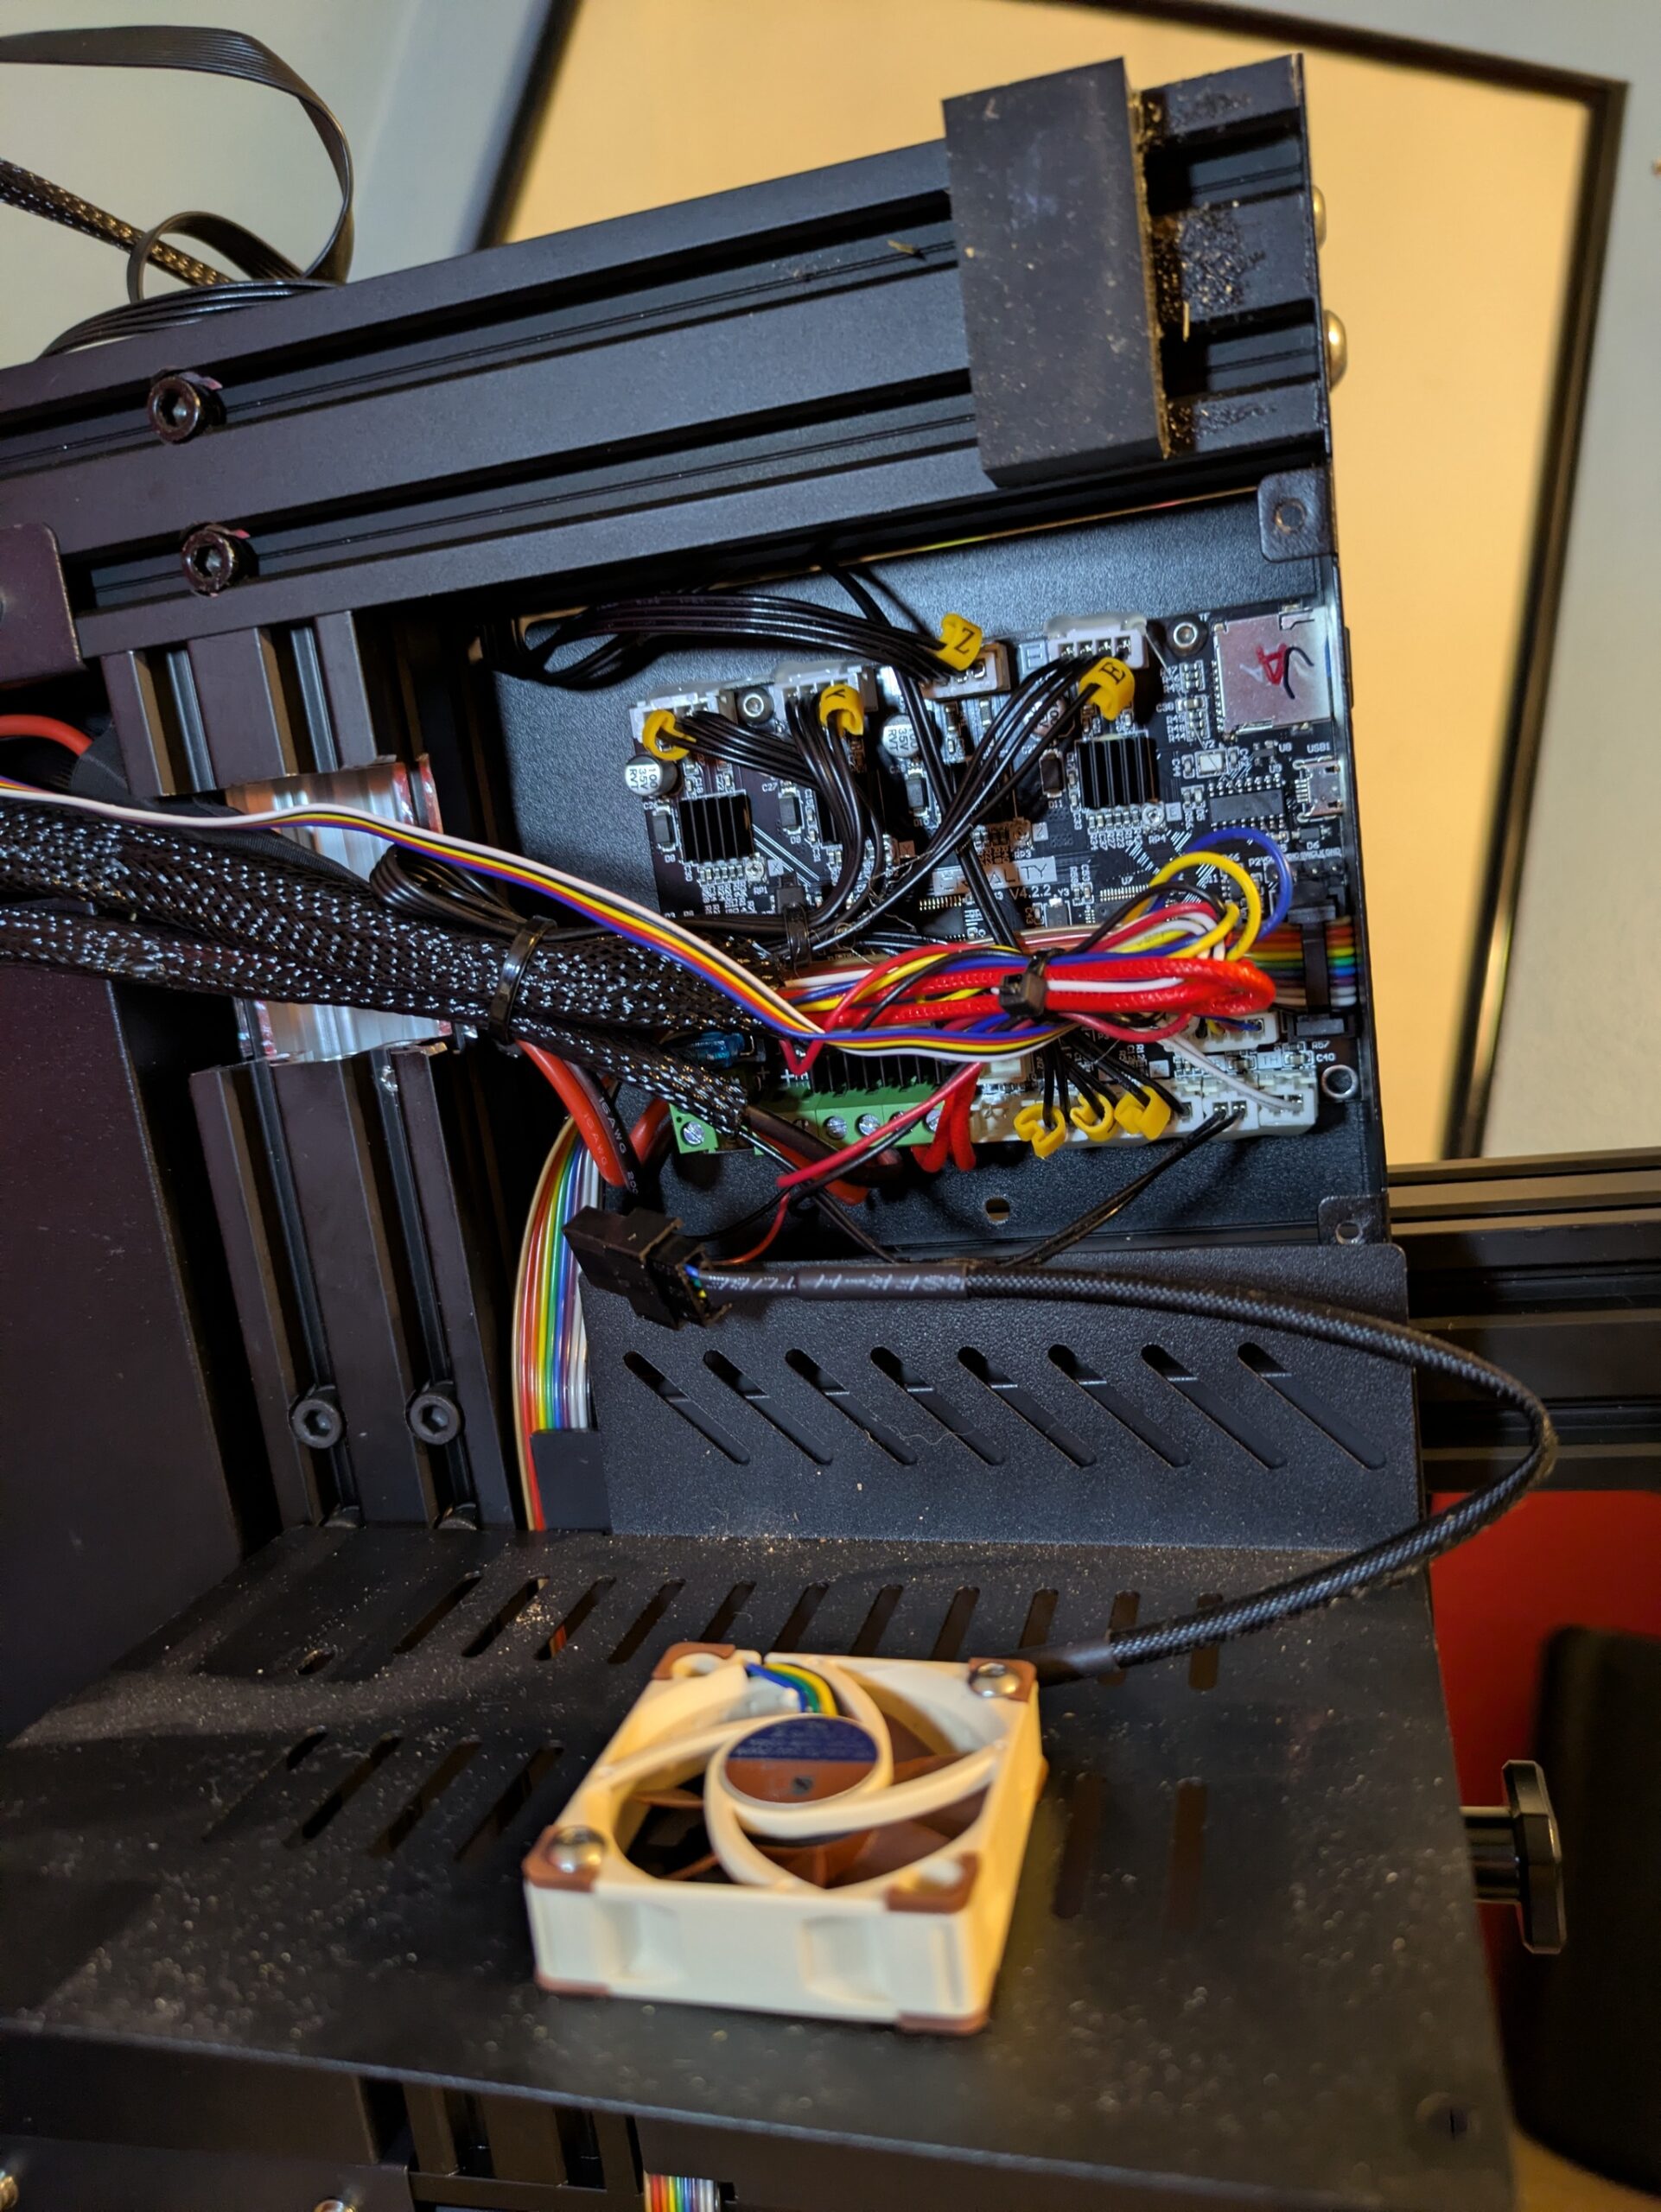
The first step in installing new hotend fans is to get to the hotend wiring harness. First I cut the zipties, and following the disconnection of the respective wires from the motherboard, the sheath shown here must then be pulled off. This then allows all wires to be accessed.
As you’ll see, this then shows the true messiness of all the four-foot hotend wires!
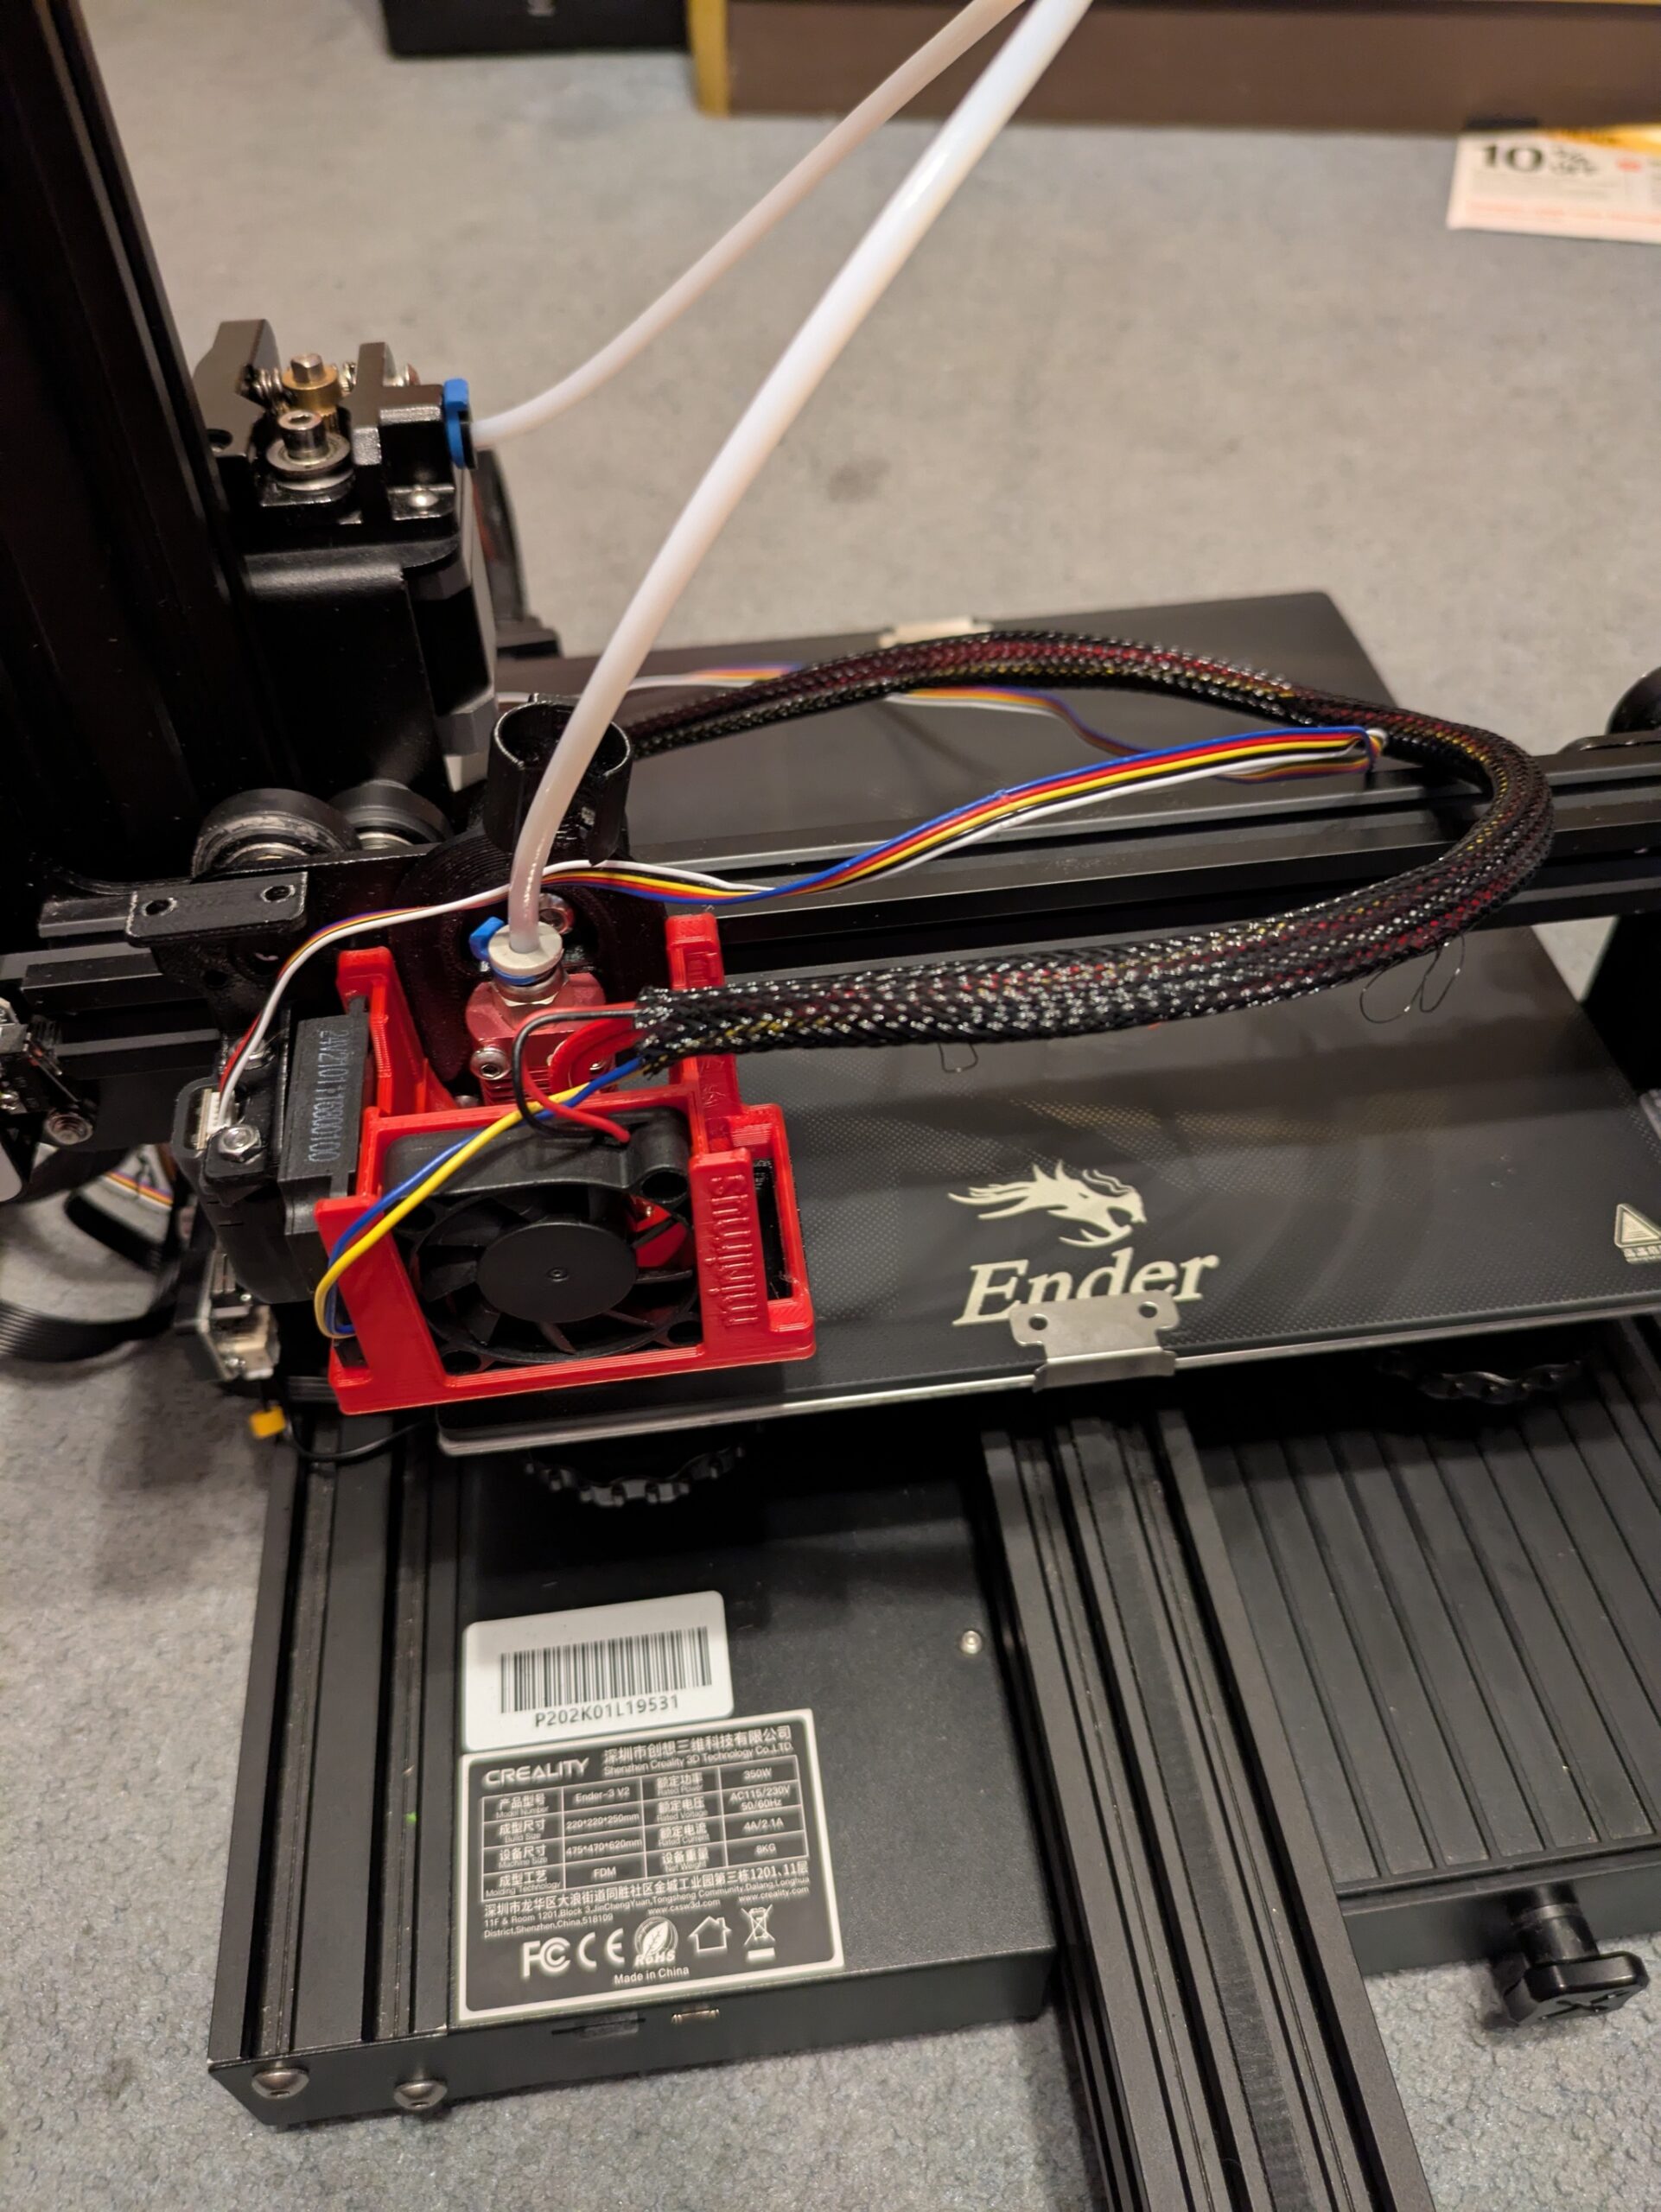
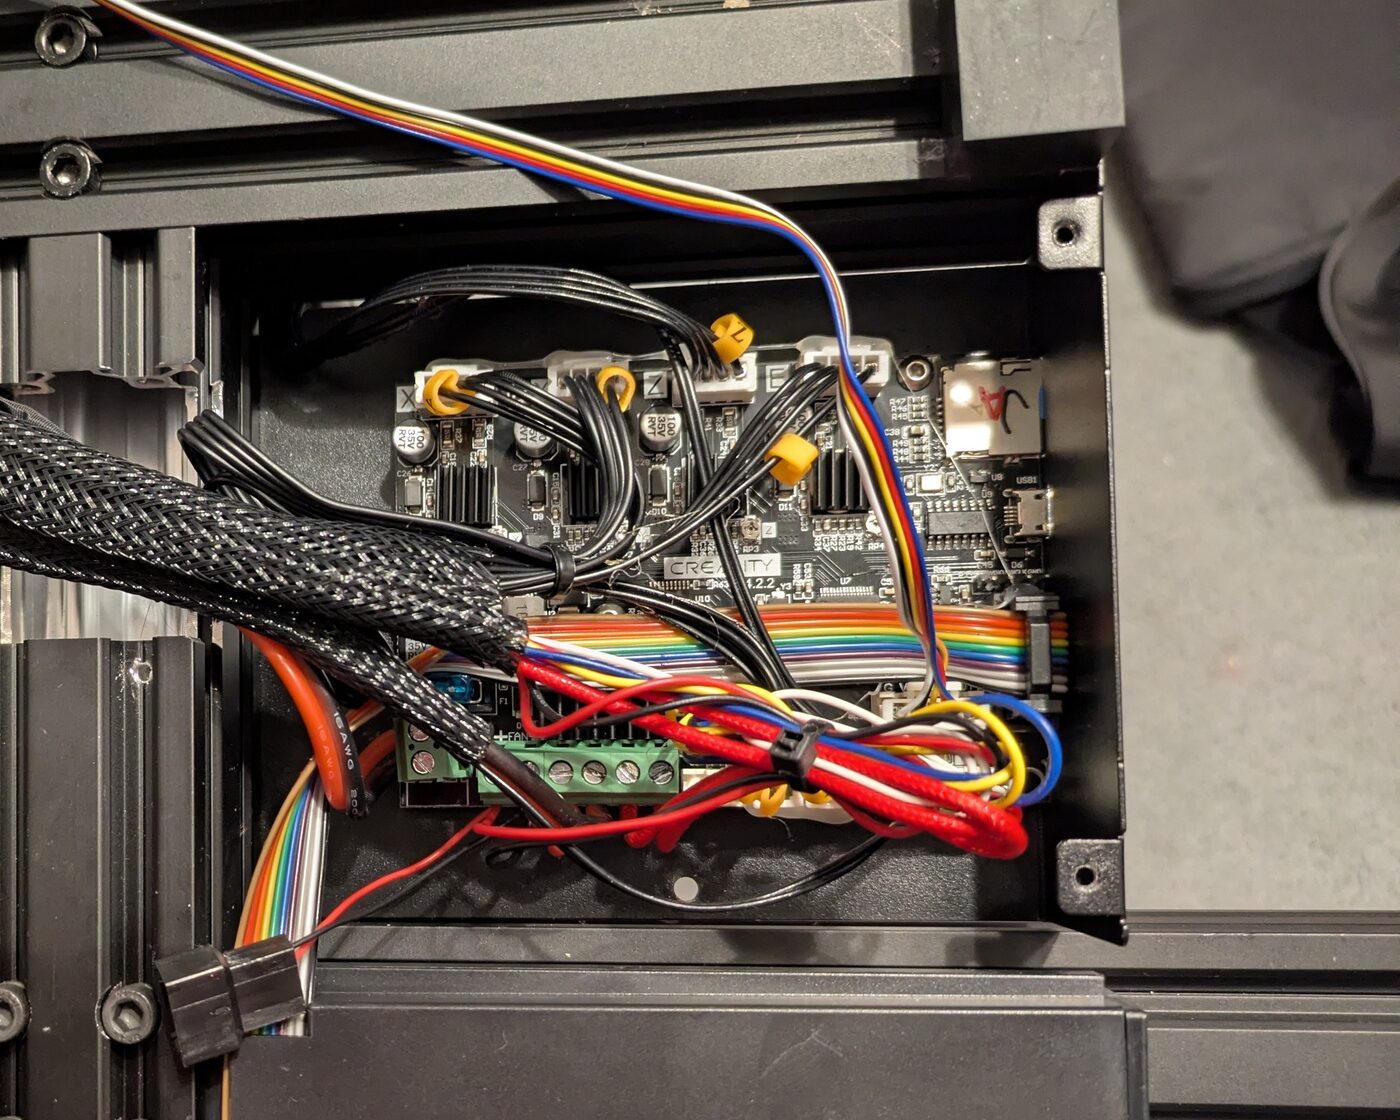
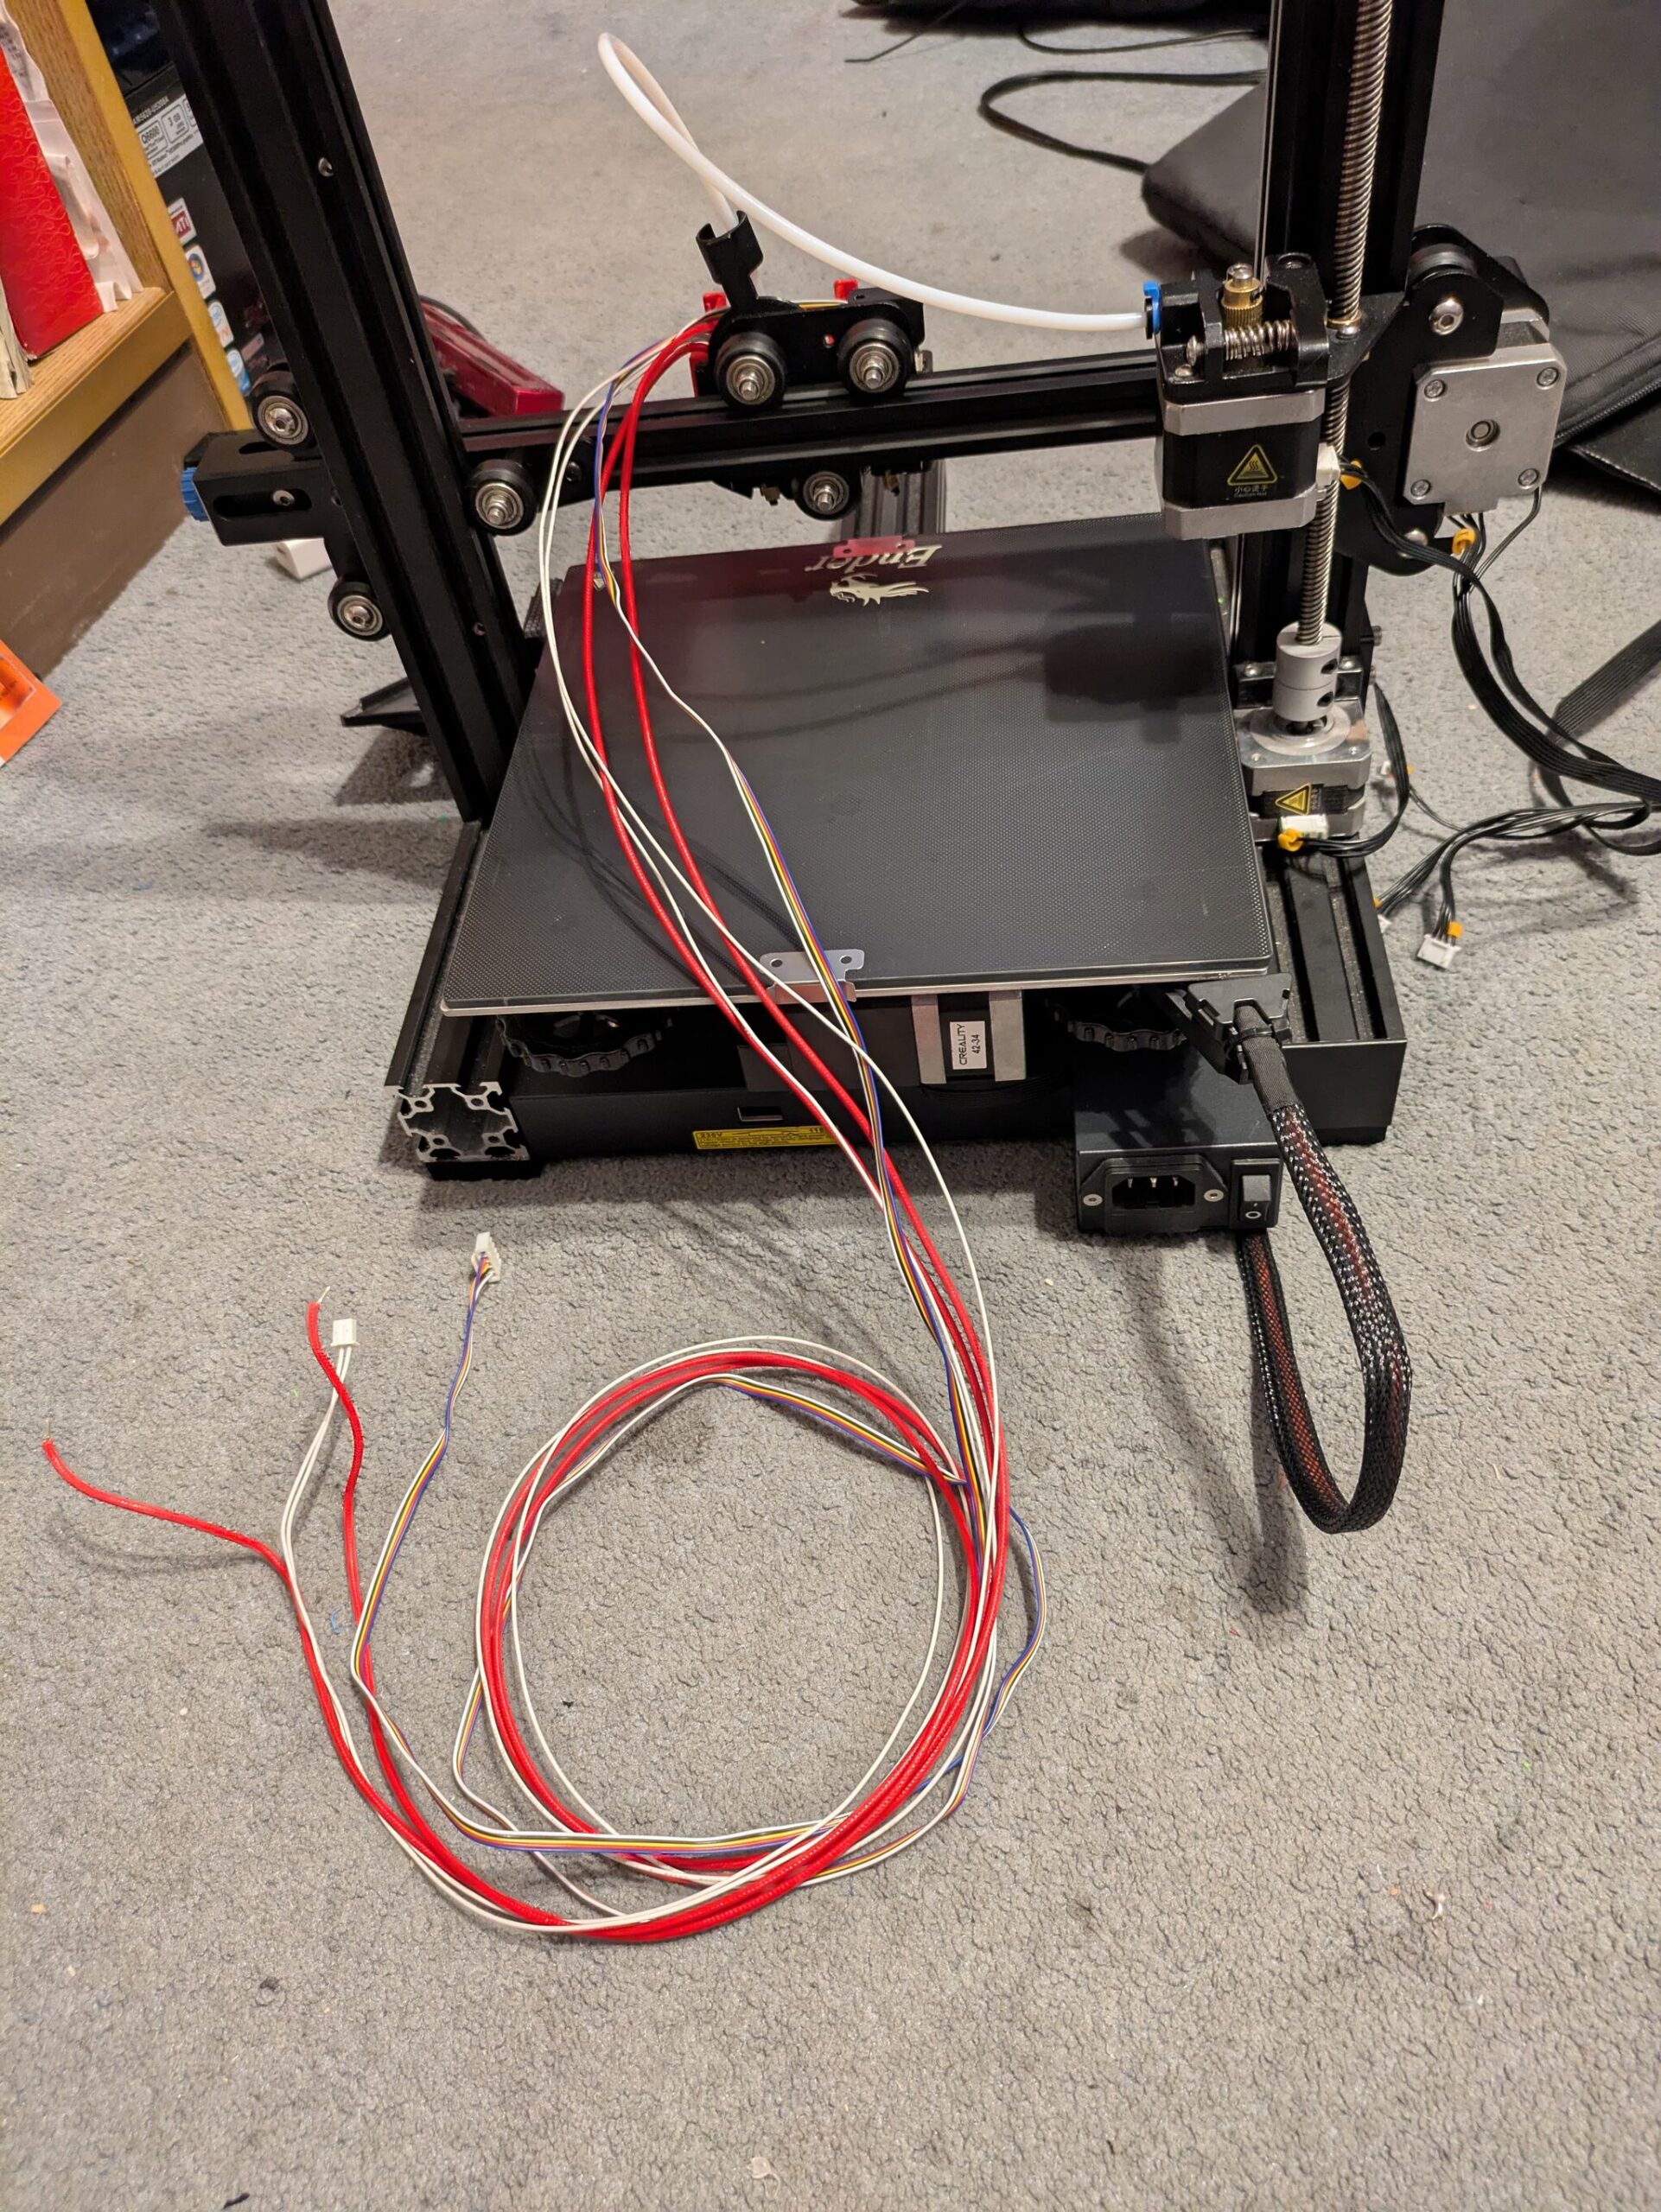
Finally, the horrendous Creality fans have been released! They’re all getting swapped, because I have high-quality replacement parts!
The new fans come with only about 12″ of wiring, when I need four times that. It’s easy to transfer wires from fans – all you do is peel the back sticker, then de/solder the wires. Easy. Doing this, I transferred the wiring harness from the old fan to the new.
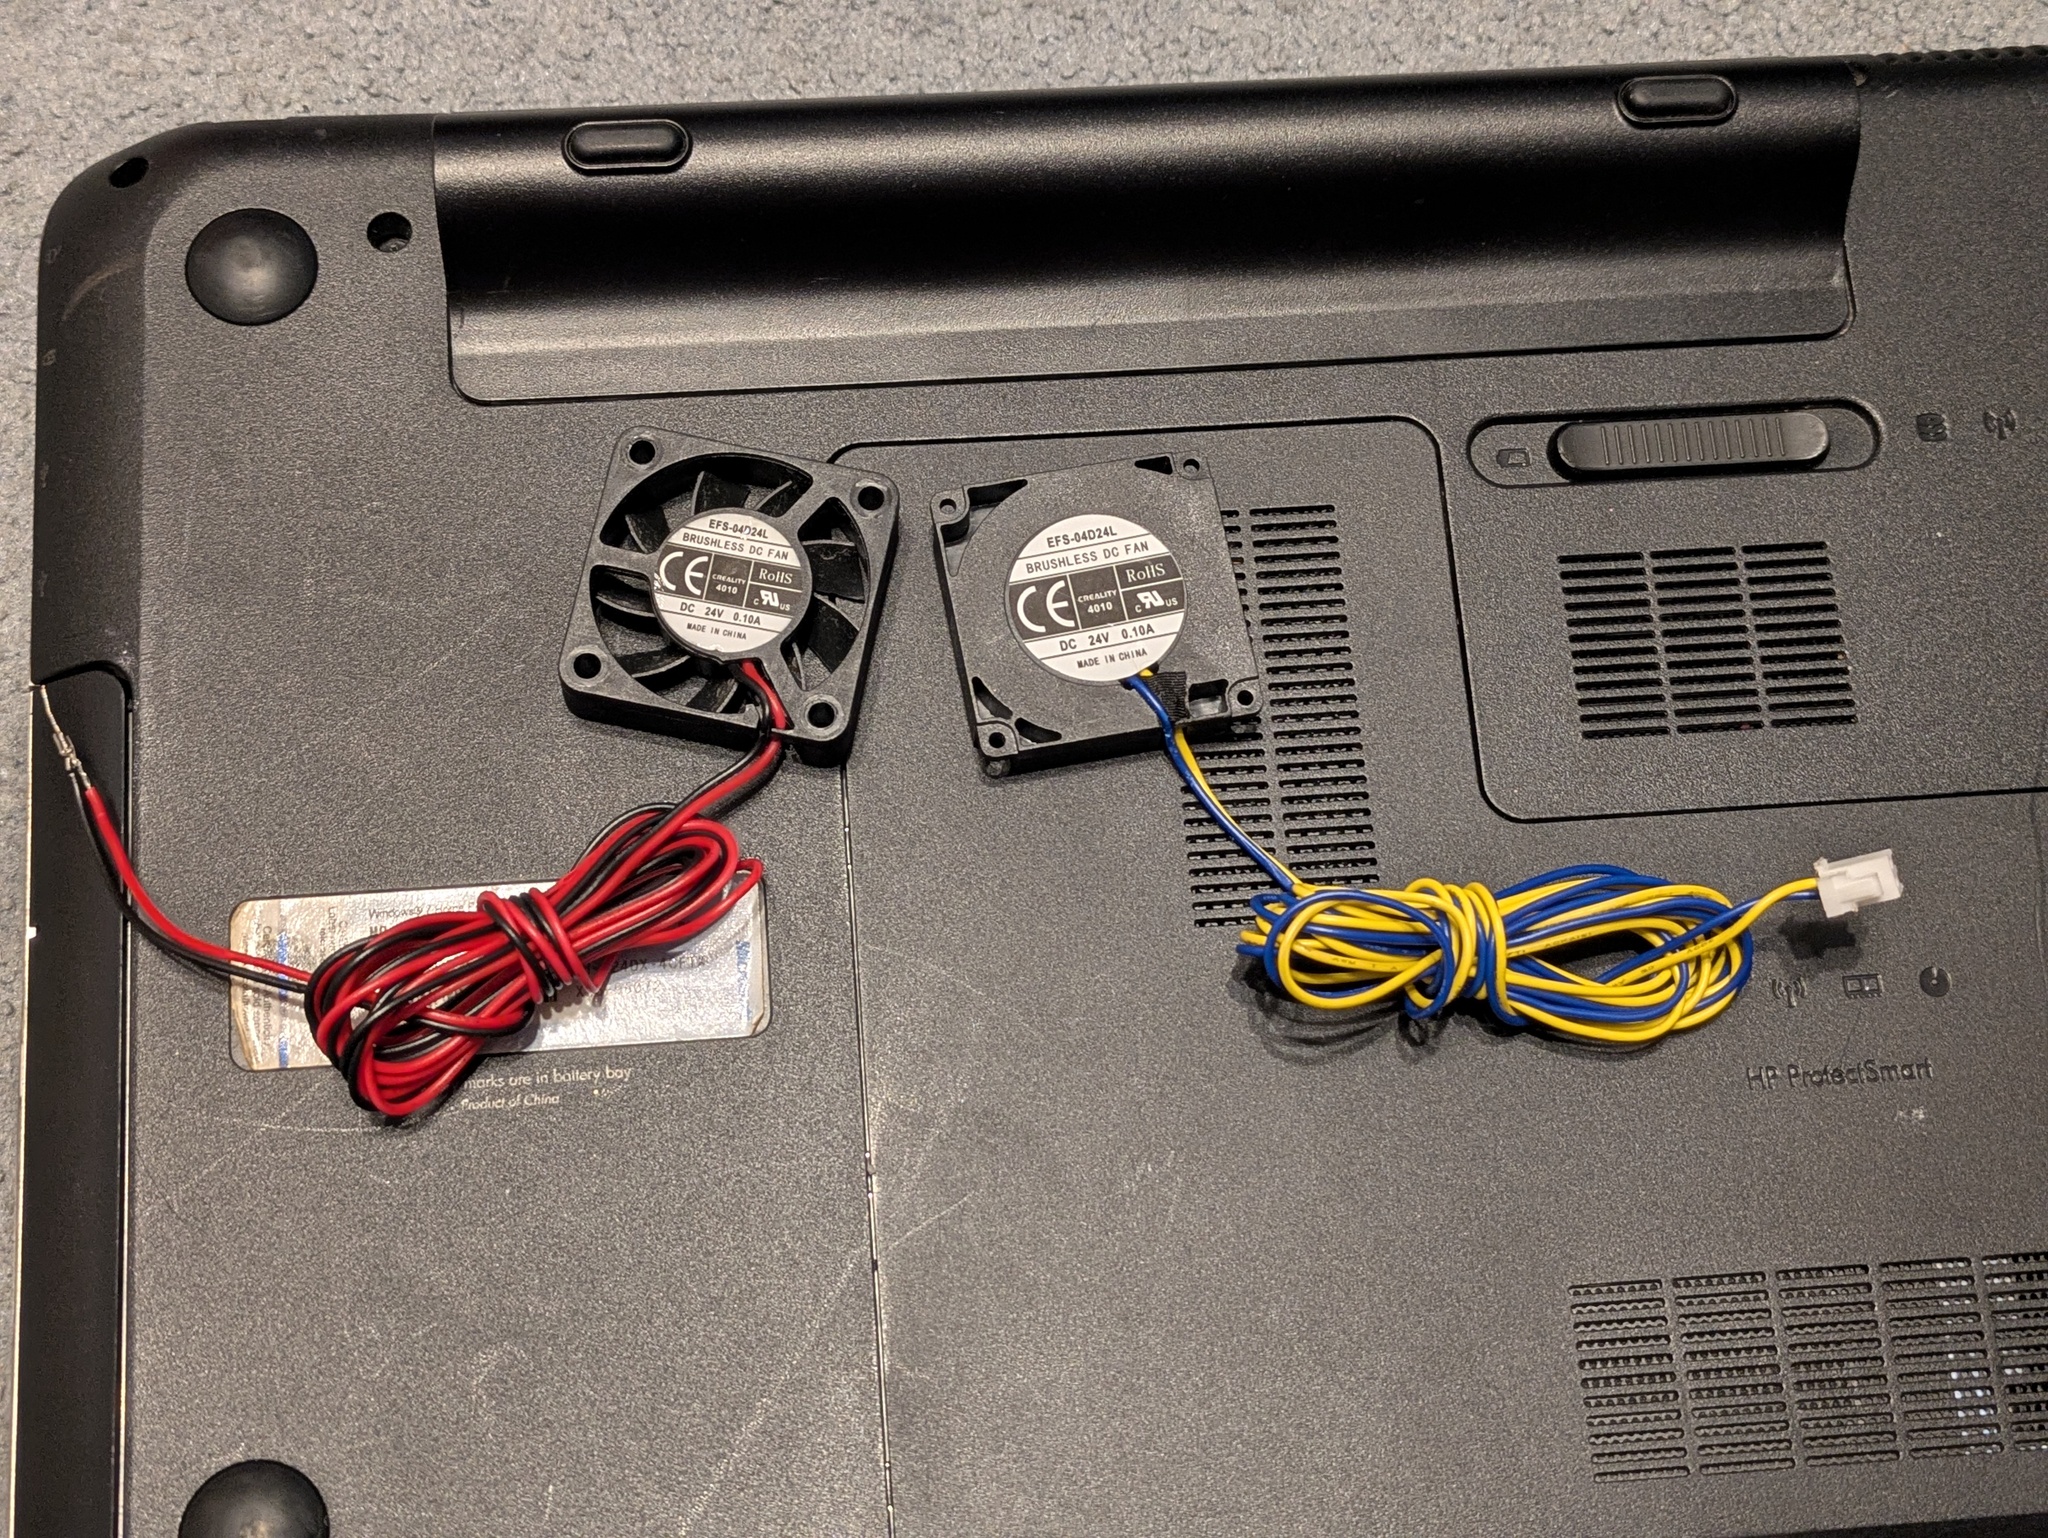
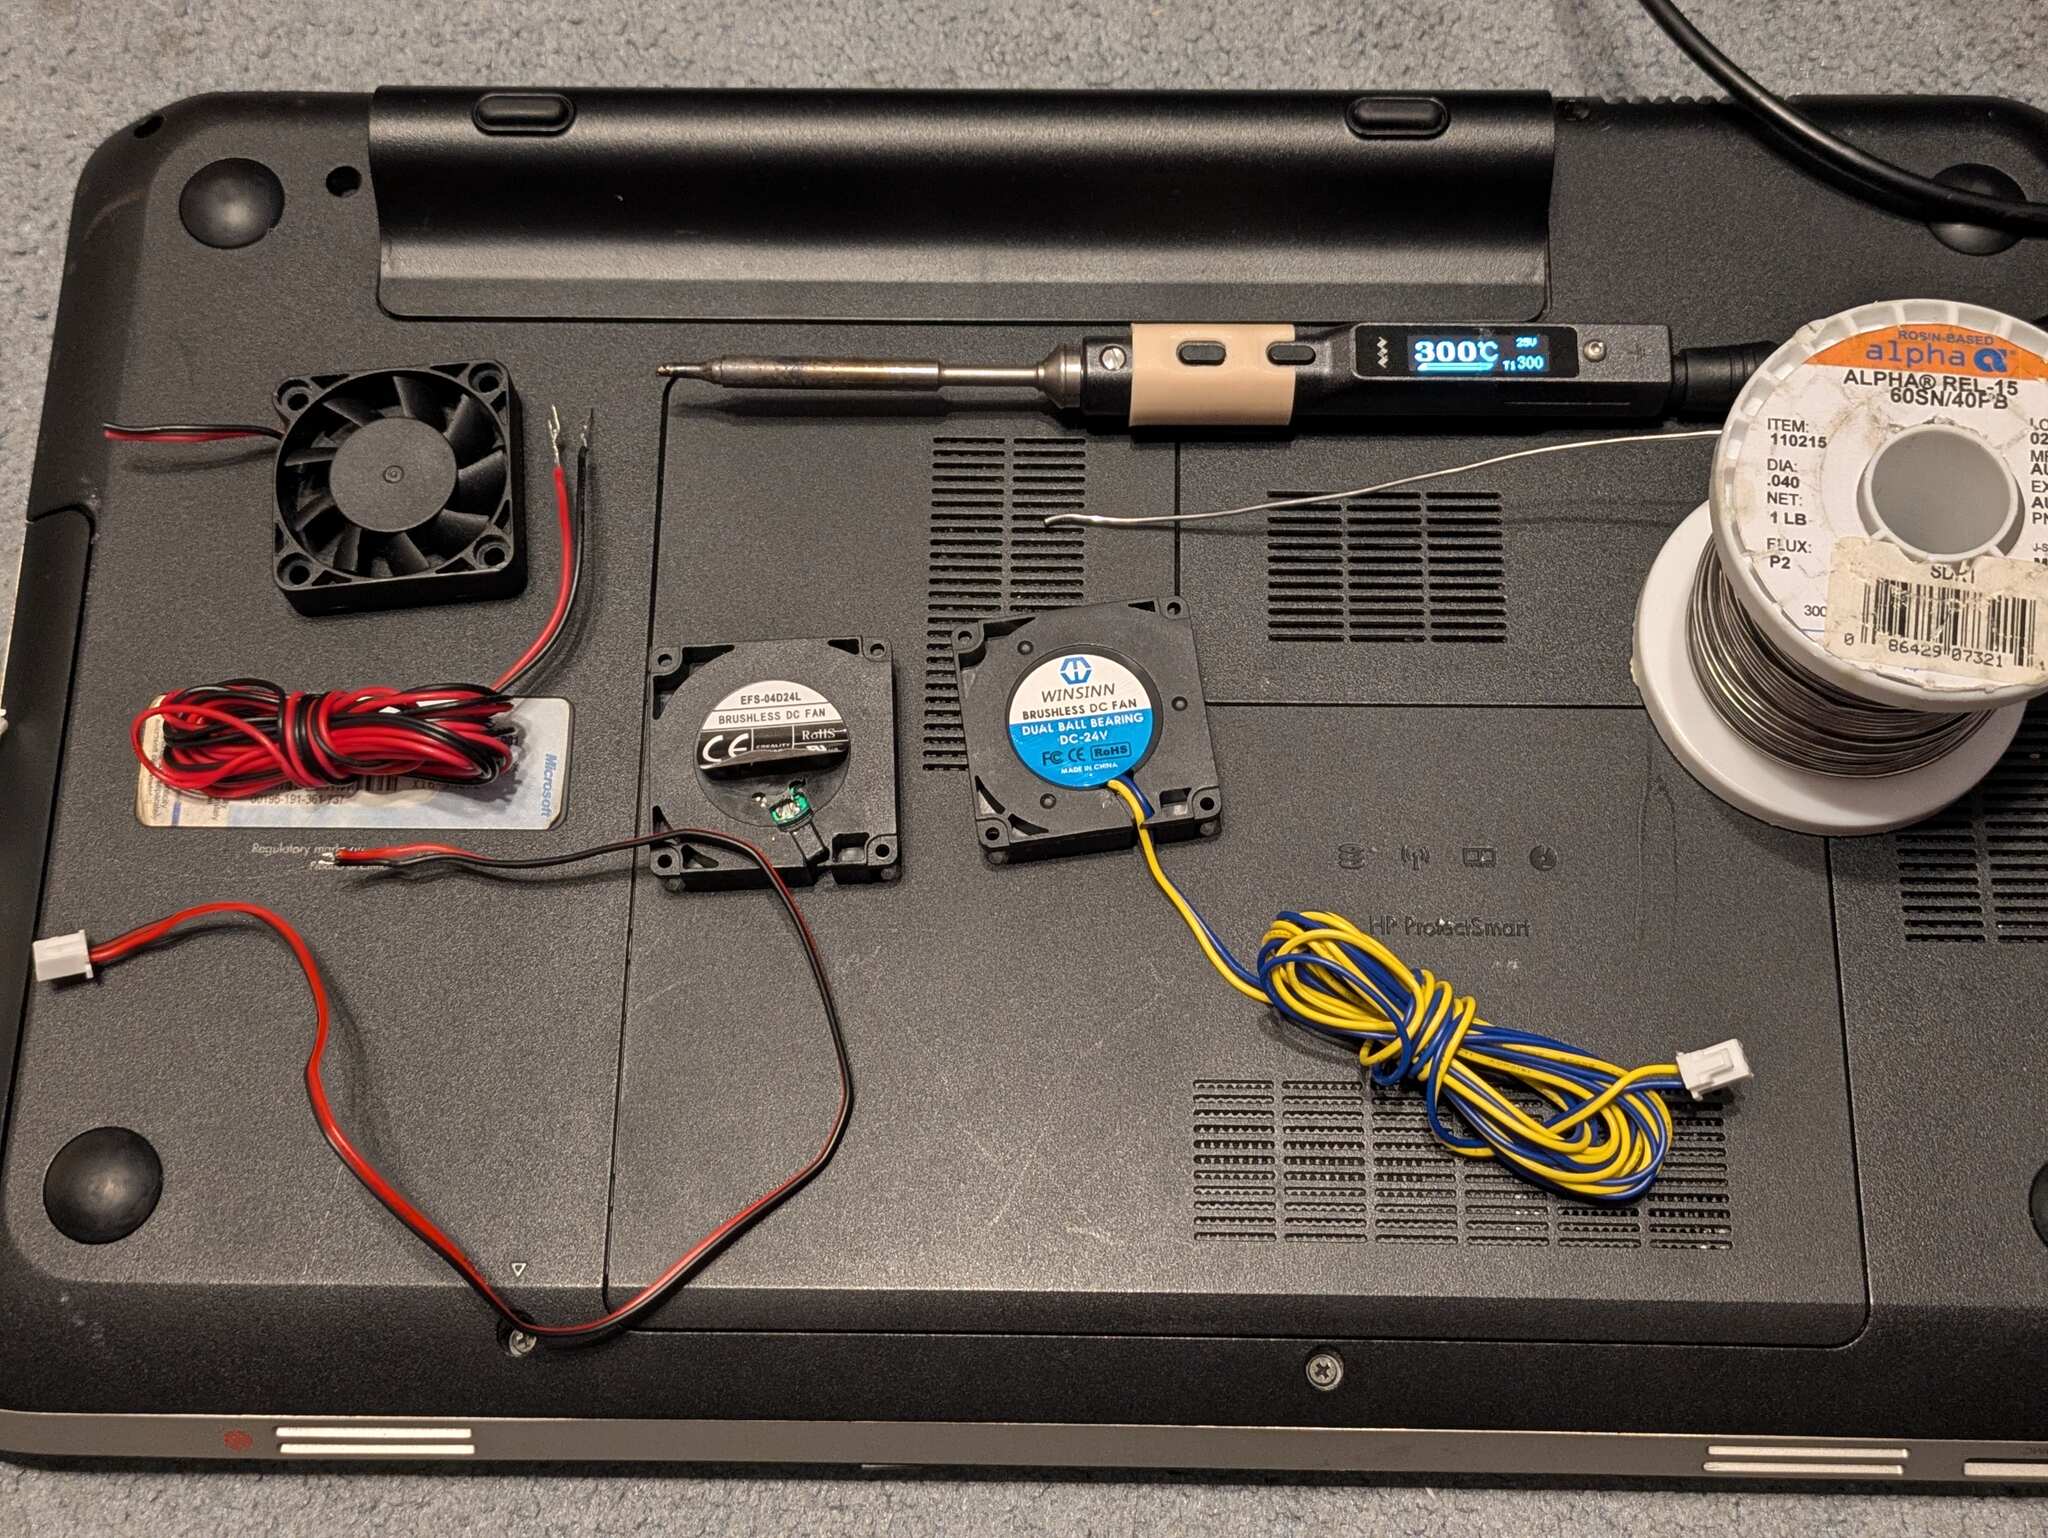
Now for the second print cooling fan, I’m going to need another 4′ wiring harness. I chose to harvest such from an old, long-unused DC barrel plug extension I made years ago, which has a suitable, similarly-thin gauge of wiring. That works out!
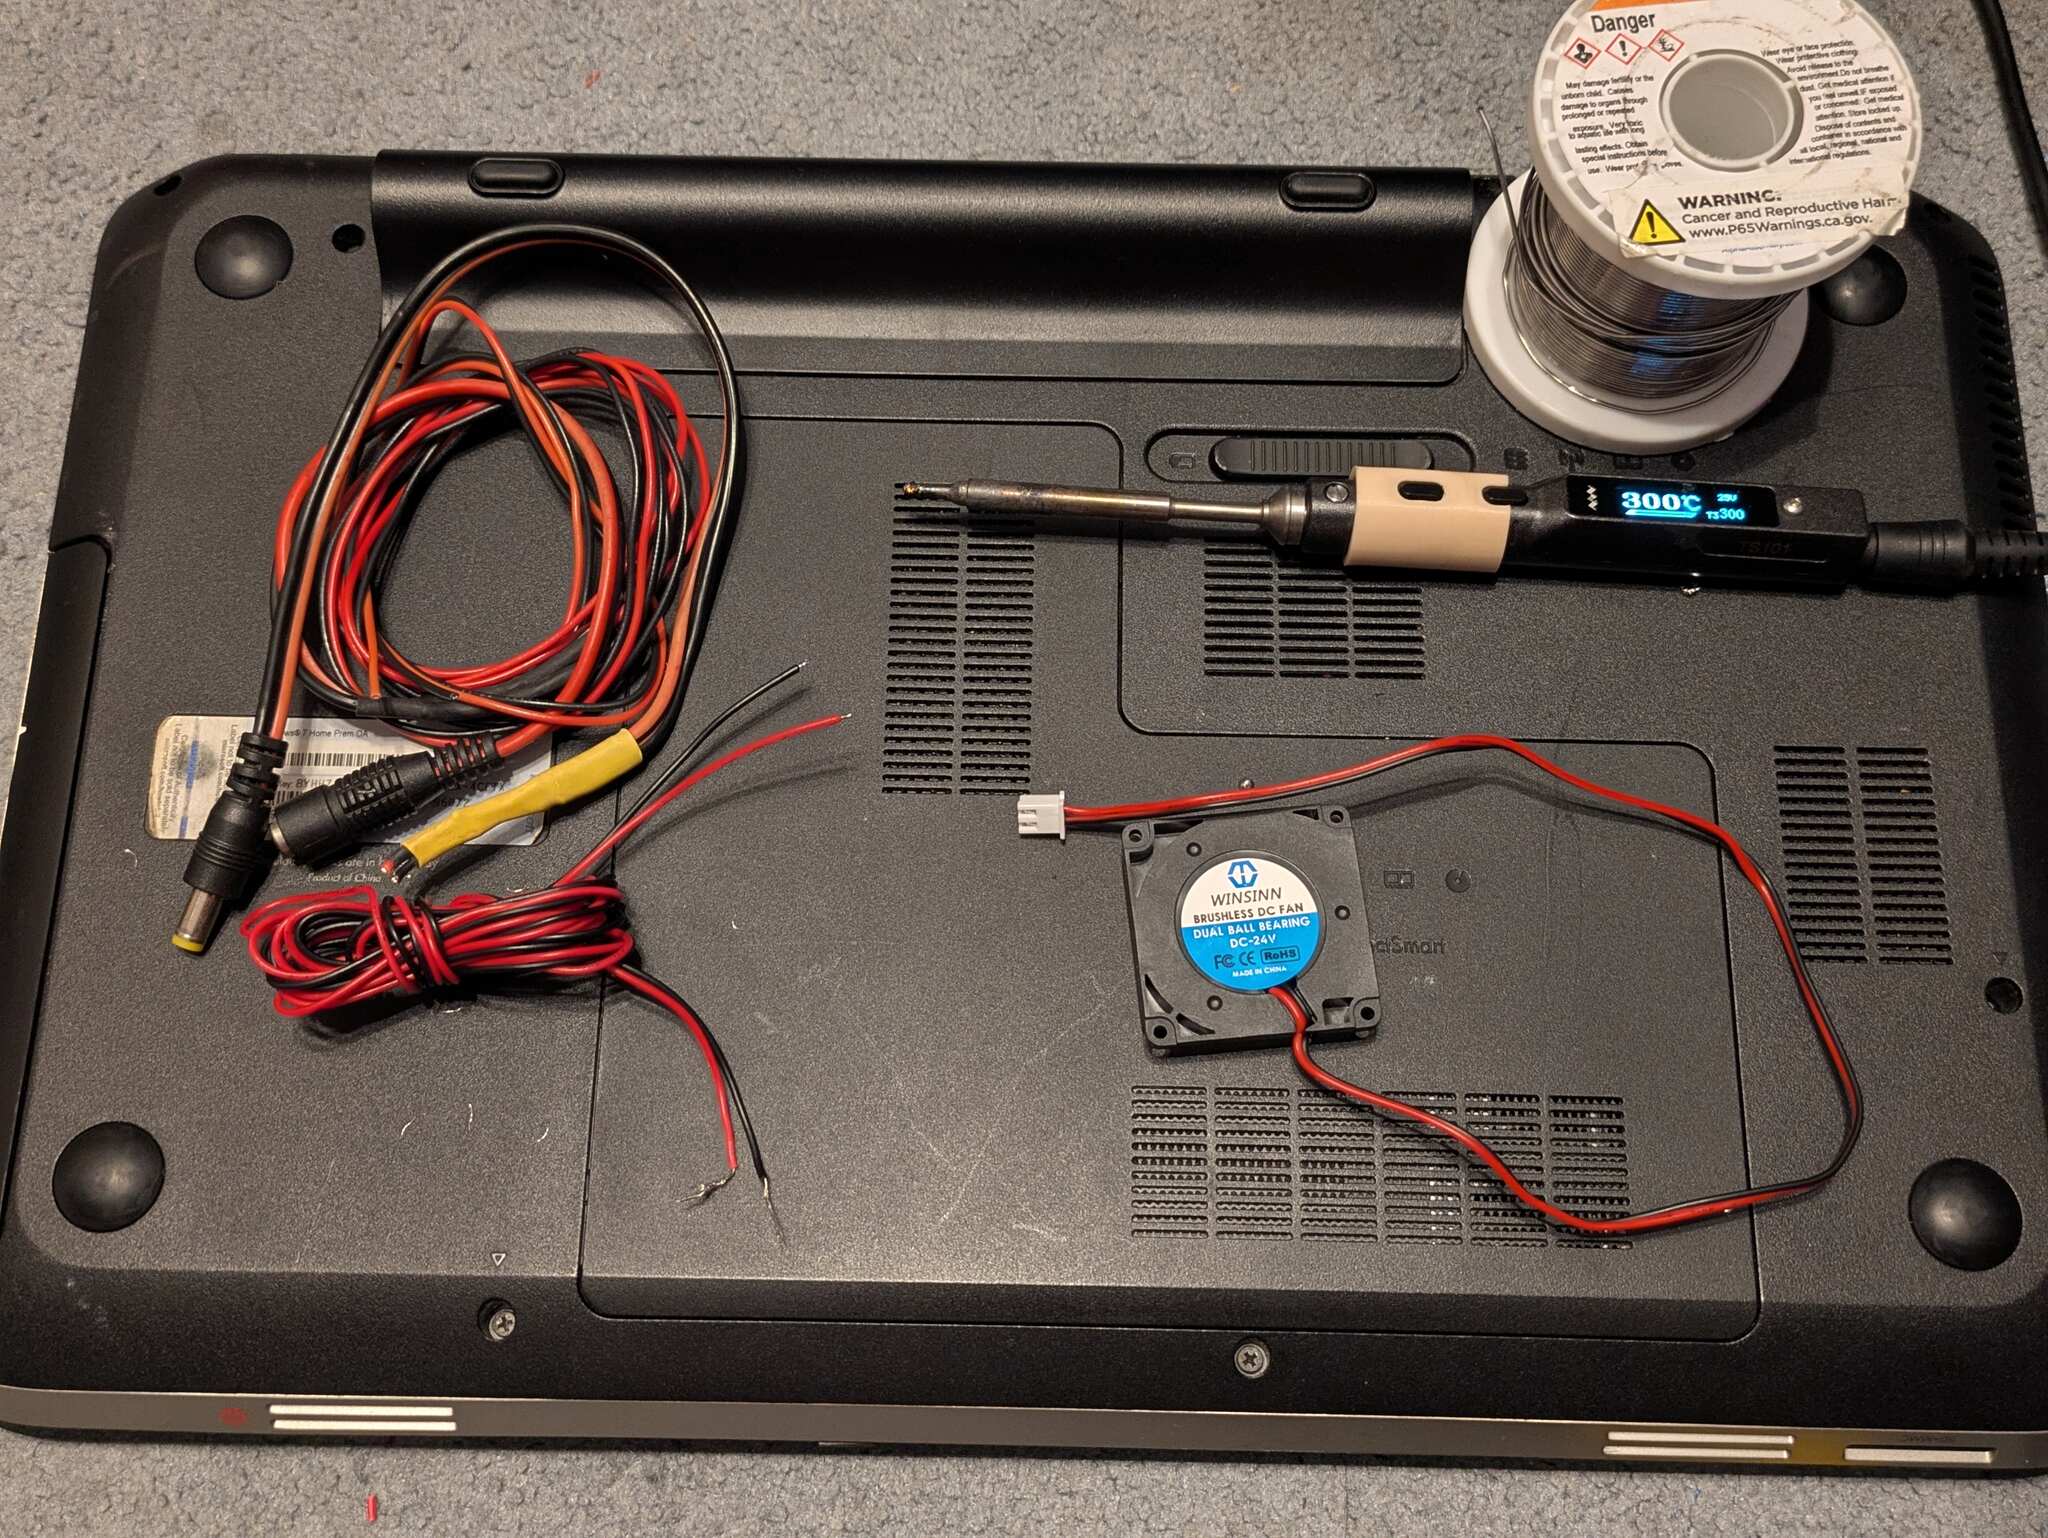
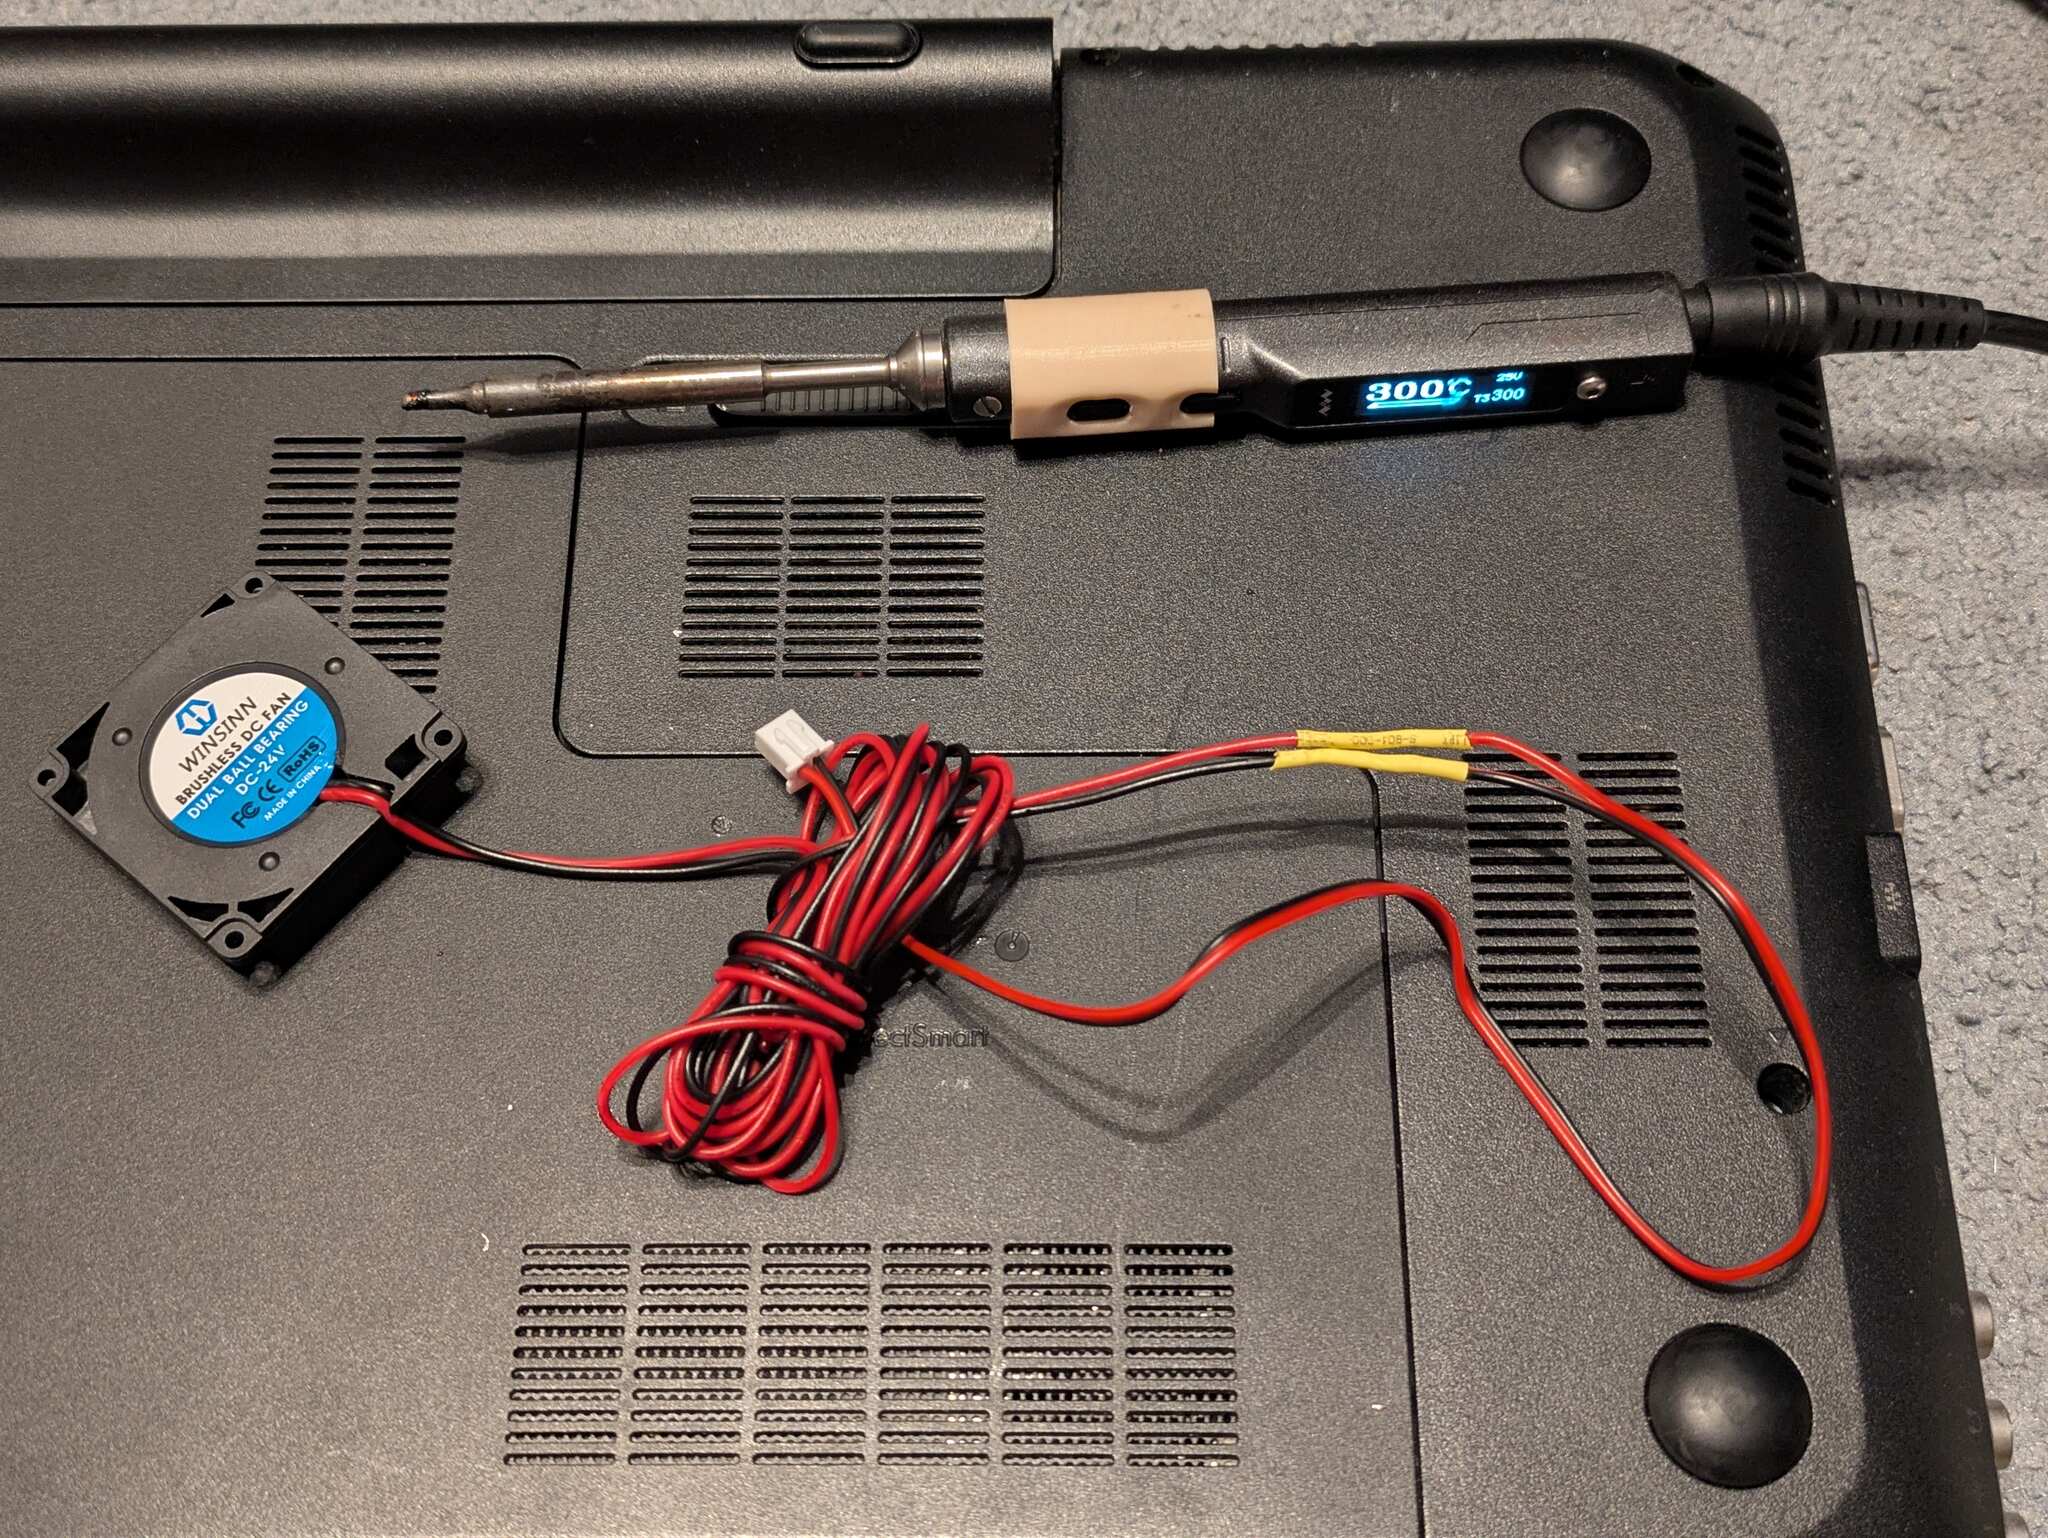
I then repeated this type of process for the new Noctua hotend fan, taking the harness I saved off the original and soldering it onto the adapter Noctua provides.
After this comes the tedious process of running all the wires back thru the braided sheath! They’re just like a Chinese finger trap, where the way to expand it is by pushing it together, and pulling will make it contract. Between the fans and the wire management, this whole process took well over an hour!
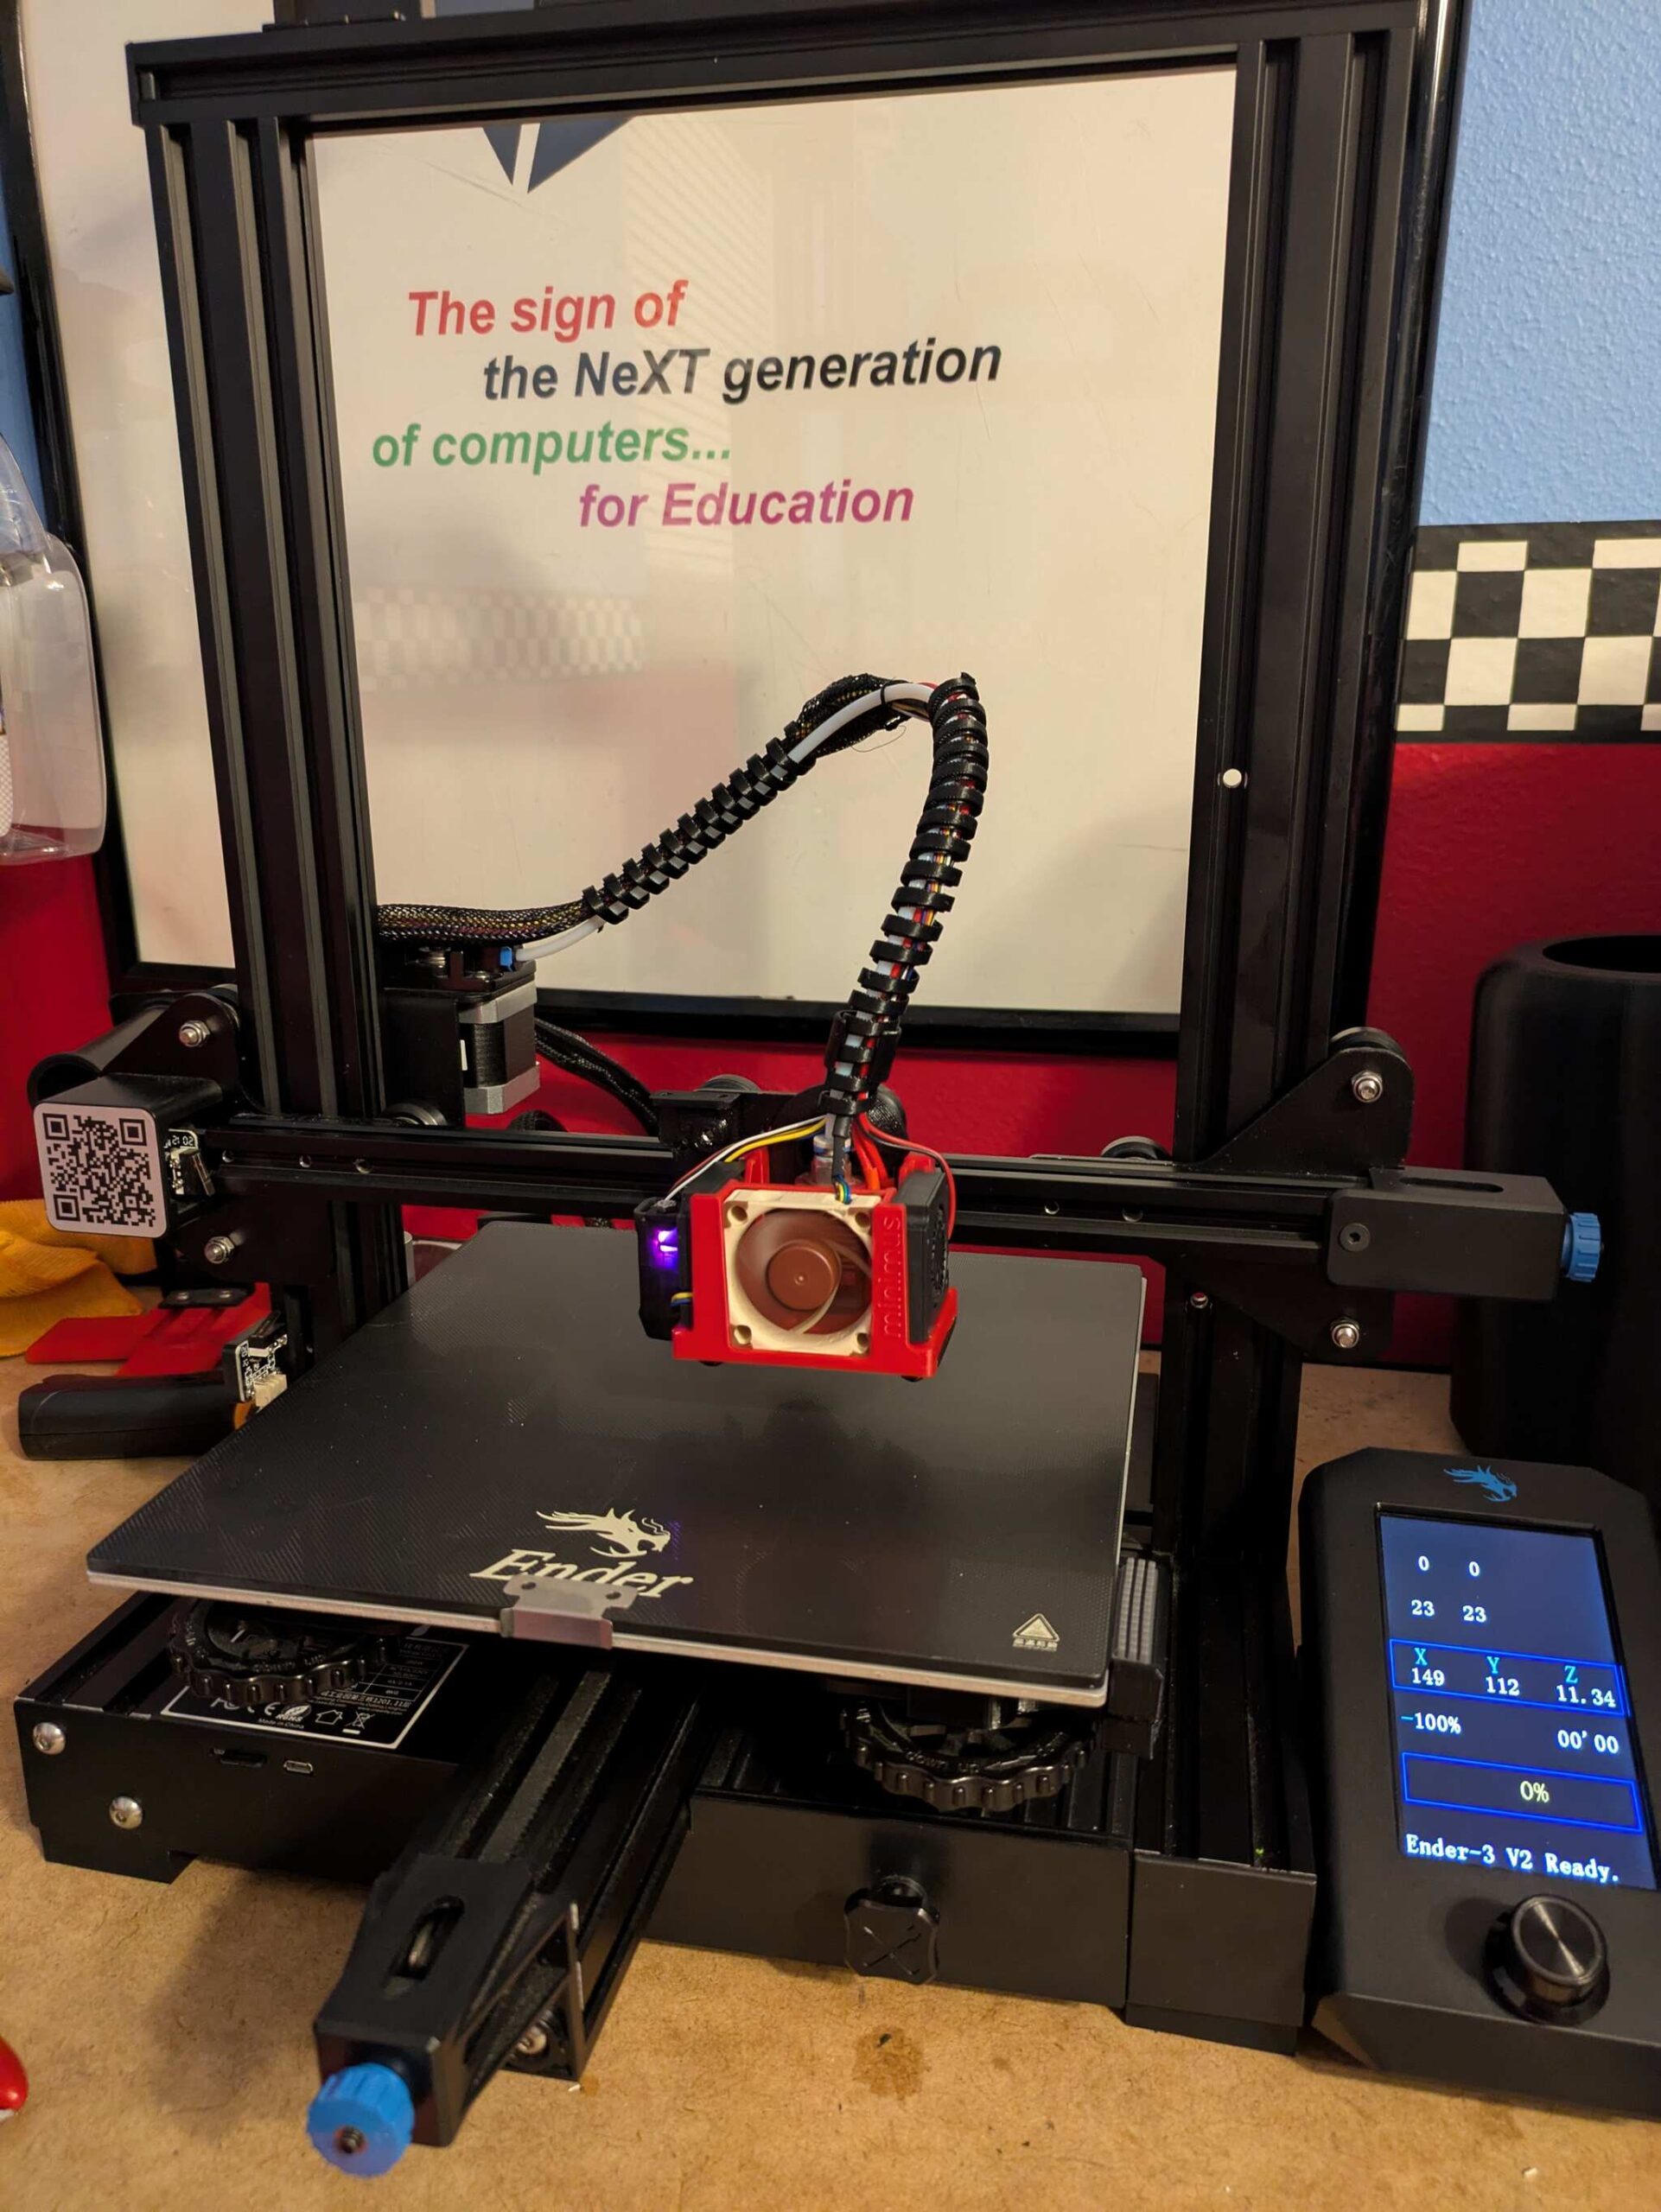
It’s done!! And boy, is it MUCH quieter now! What a massive upgrade!
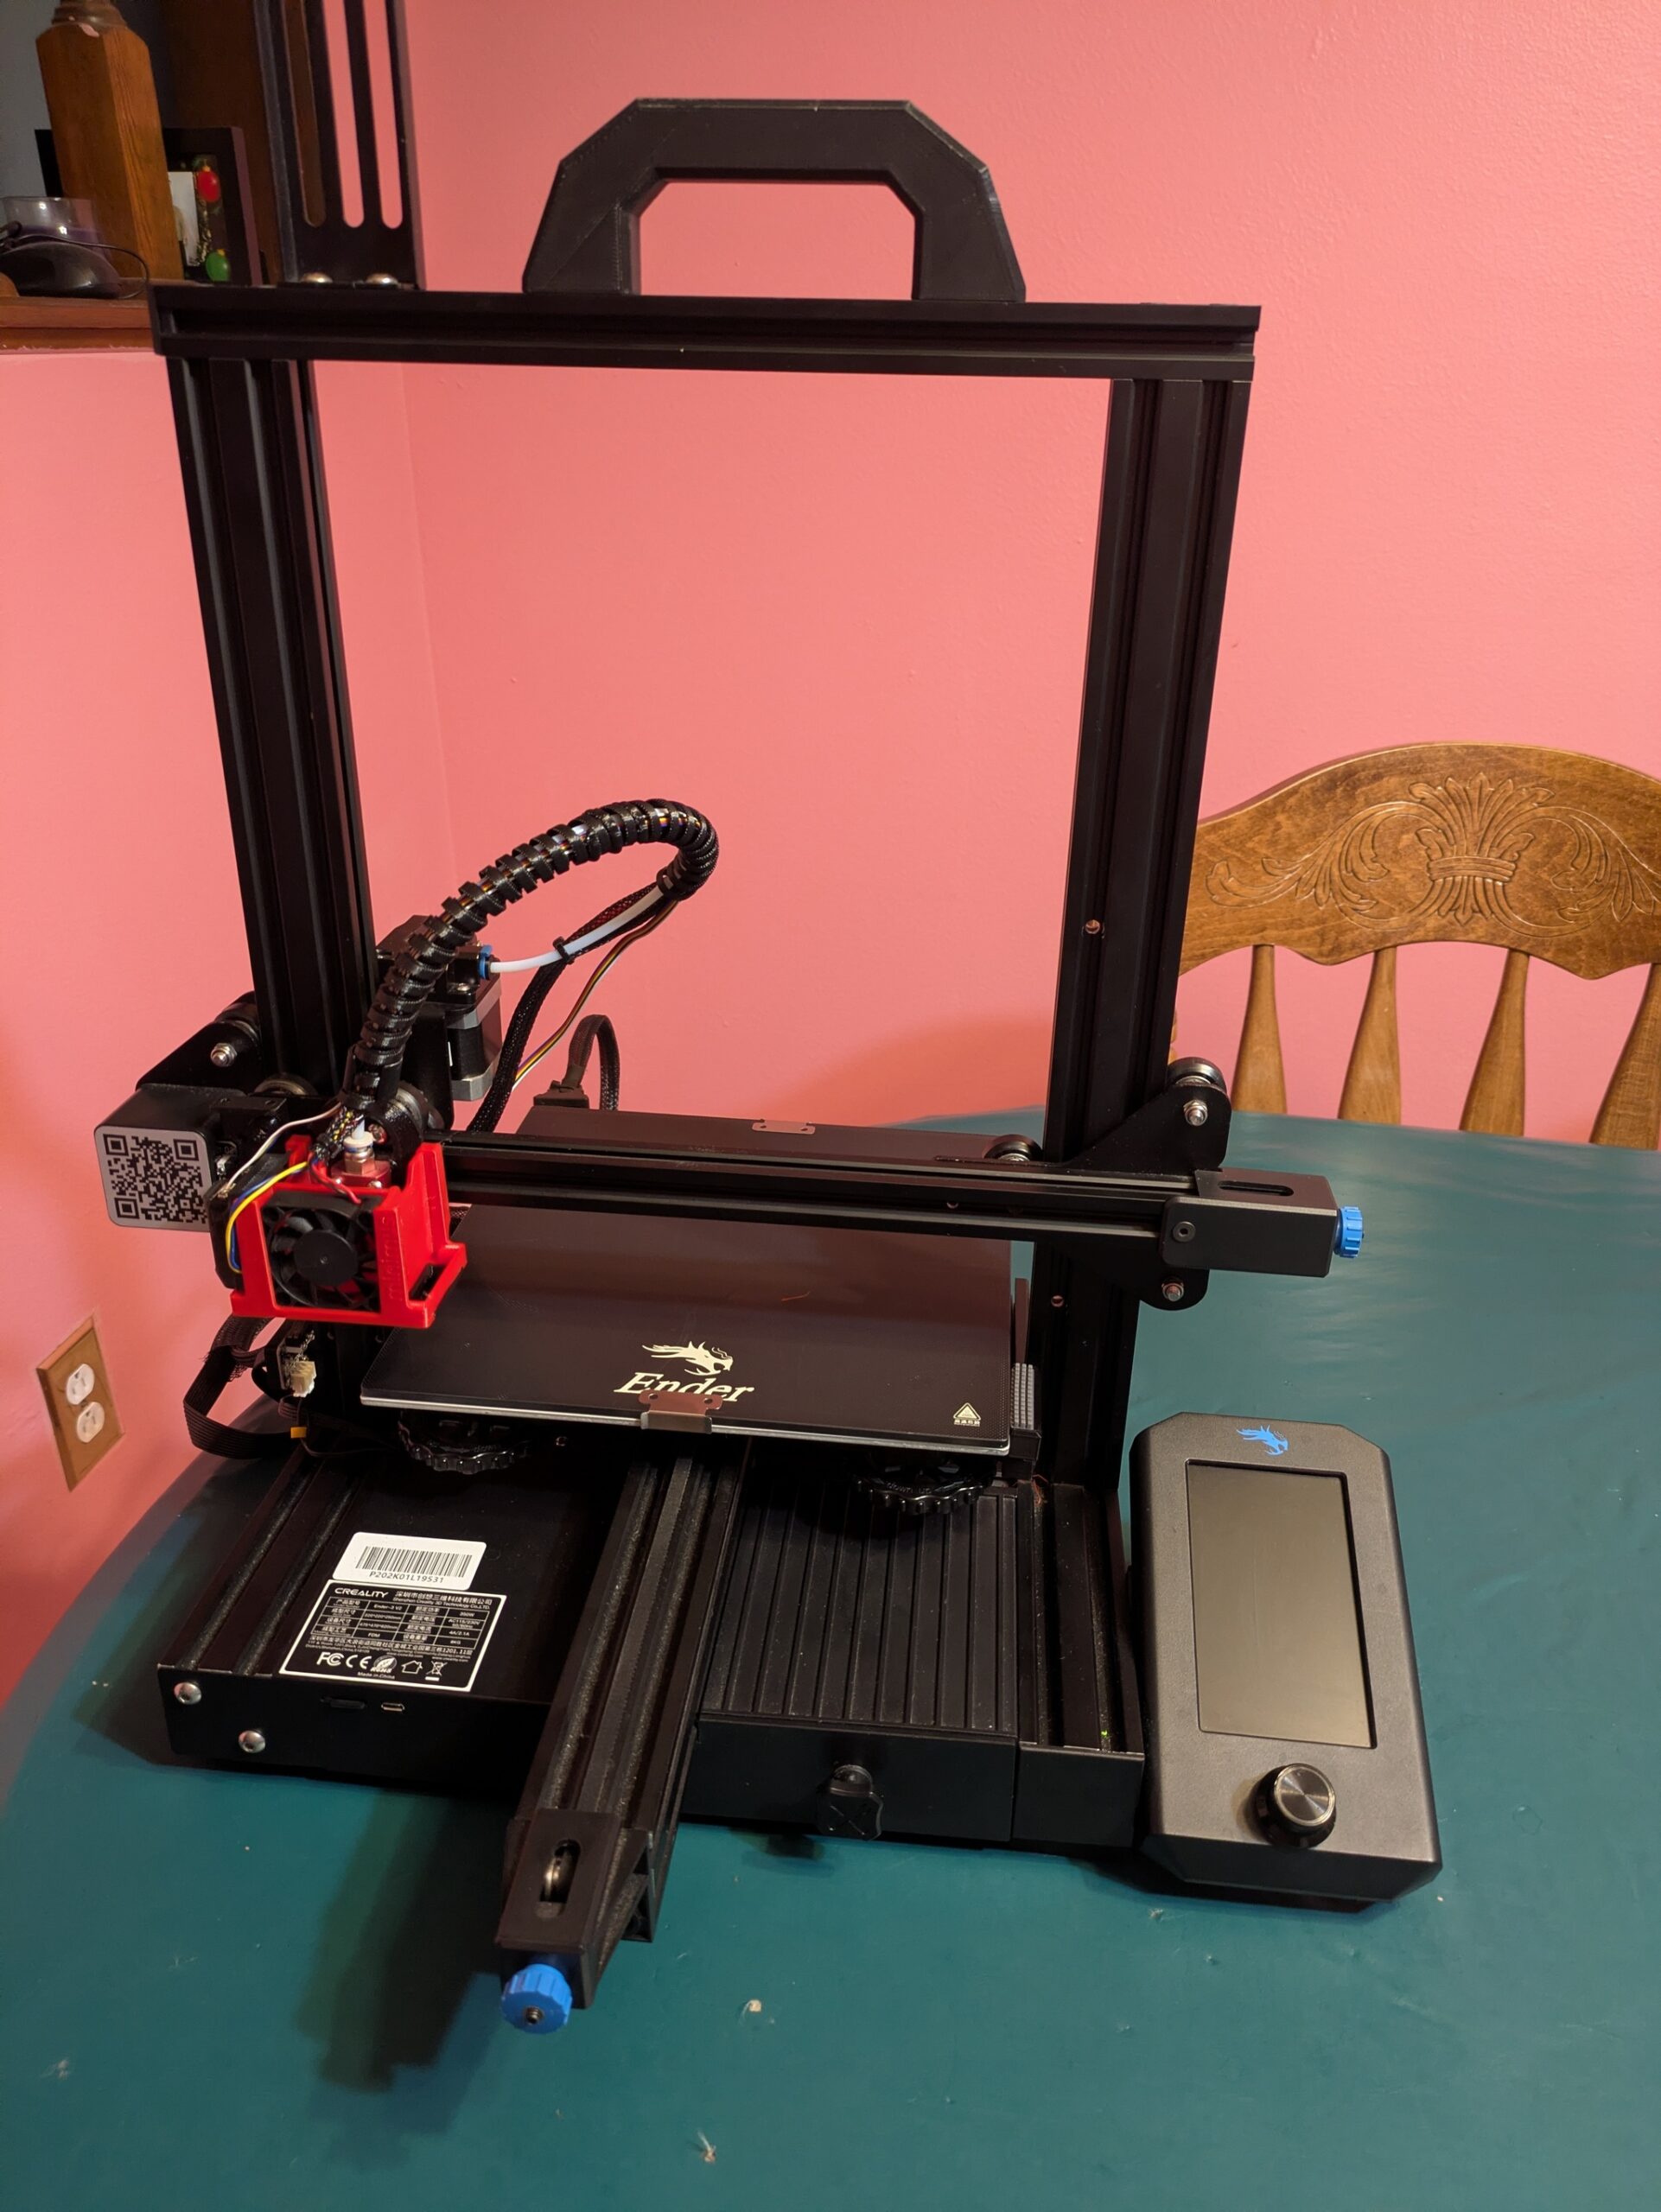
In addition to the motherboard fan, you’ll also see I’ve printed some cool, coily cable management conduits. These are called the Armadillo Flex, made by the same guy who made the Minimus hotend cooler! Also here is the CR Touch probe, which now gets to enjoy nicer cable management alongside everything else.
Now, putting in the CR Touch isn’t as simple as just screwing it in and hooking up the cables – the firmware must also be reflashed! To do that, I custom-configure the Marlin Firmware, compile it from source, and flash it to the 3D printer. After a good bit of messing around (and finding that VS Code is a horrible way to do things, in comparison to just doing it manually on Linux), I’ve got it all working!
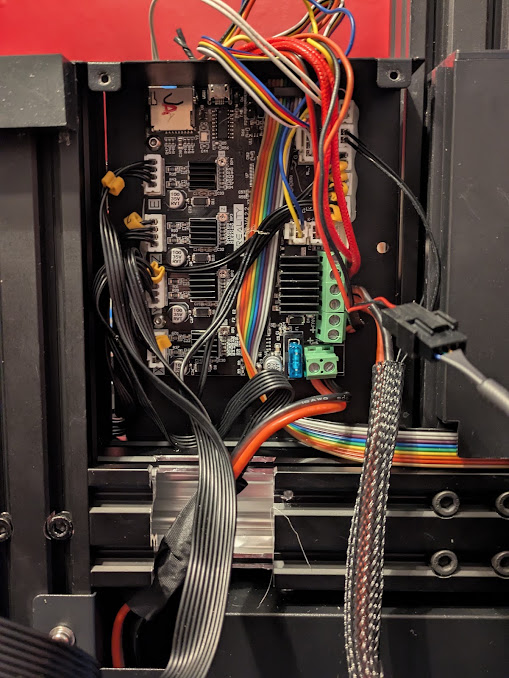
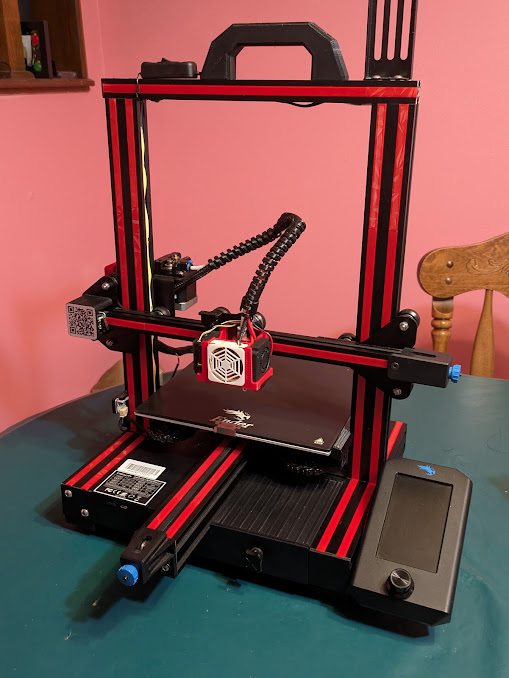
In addition to doing the best I can with cable management by the motherboard, I also spent some time 3D printing a bunch of cool aesthetic pieces, such as a fan grille, and V-slot covers for a snazzy, sporty look! I think it’s coming out awesome!
There’s still more to do, but that’s some big stuff out of the way!
Power Supply Fan
Now that I’ve got the hotend taken care of, and although the printer is far more pleasant to be around than it was prior, now the sound of the power supply’s fan really sticks out like a sore thumb. Here comes another upgrade!
The Ender 3 V2 uses a Meanwell LRS-350-24 power supply, a good part. Higher quality than the Cheng Liang P360W24V on my Ender 3 Neo, which I upgraded with a dead-silent, low-speed 120x25mm fan, which has worked well over a year by now without trouble.
For the Meanwell supply, common 3D printed fan shrouds include 60x25mm, 80x25mm, and 92x25mm. Seeing as I’ve got a nice 92×25 fan in that list that’s sitting in a misfortuned, scrapped Antec SL350 PC power supply, that’s what I’m going to use! Unlike the Cheng Liang, the fan connector on the Meanwell actually puts out 12V, so no buck converter is needed. Handy!
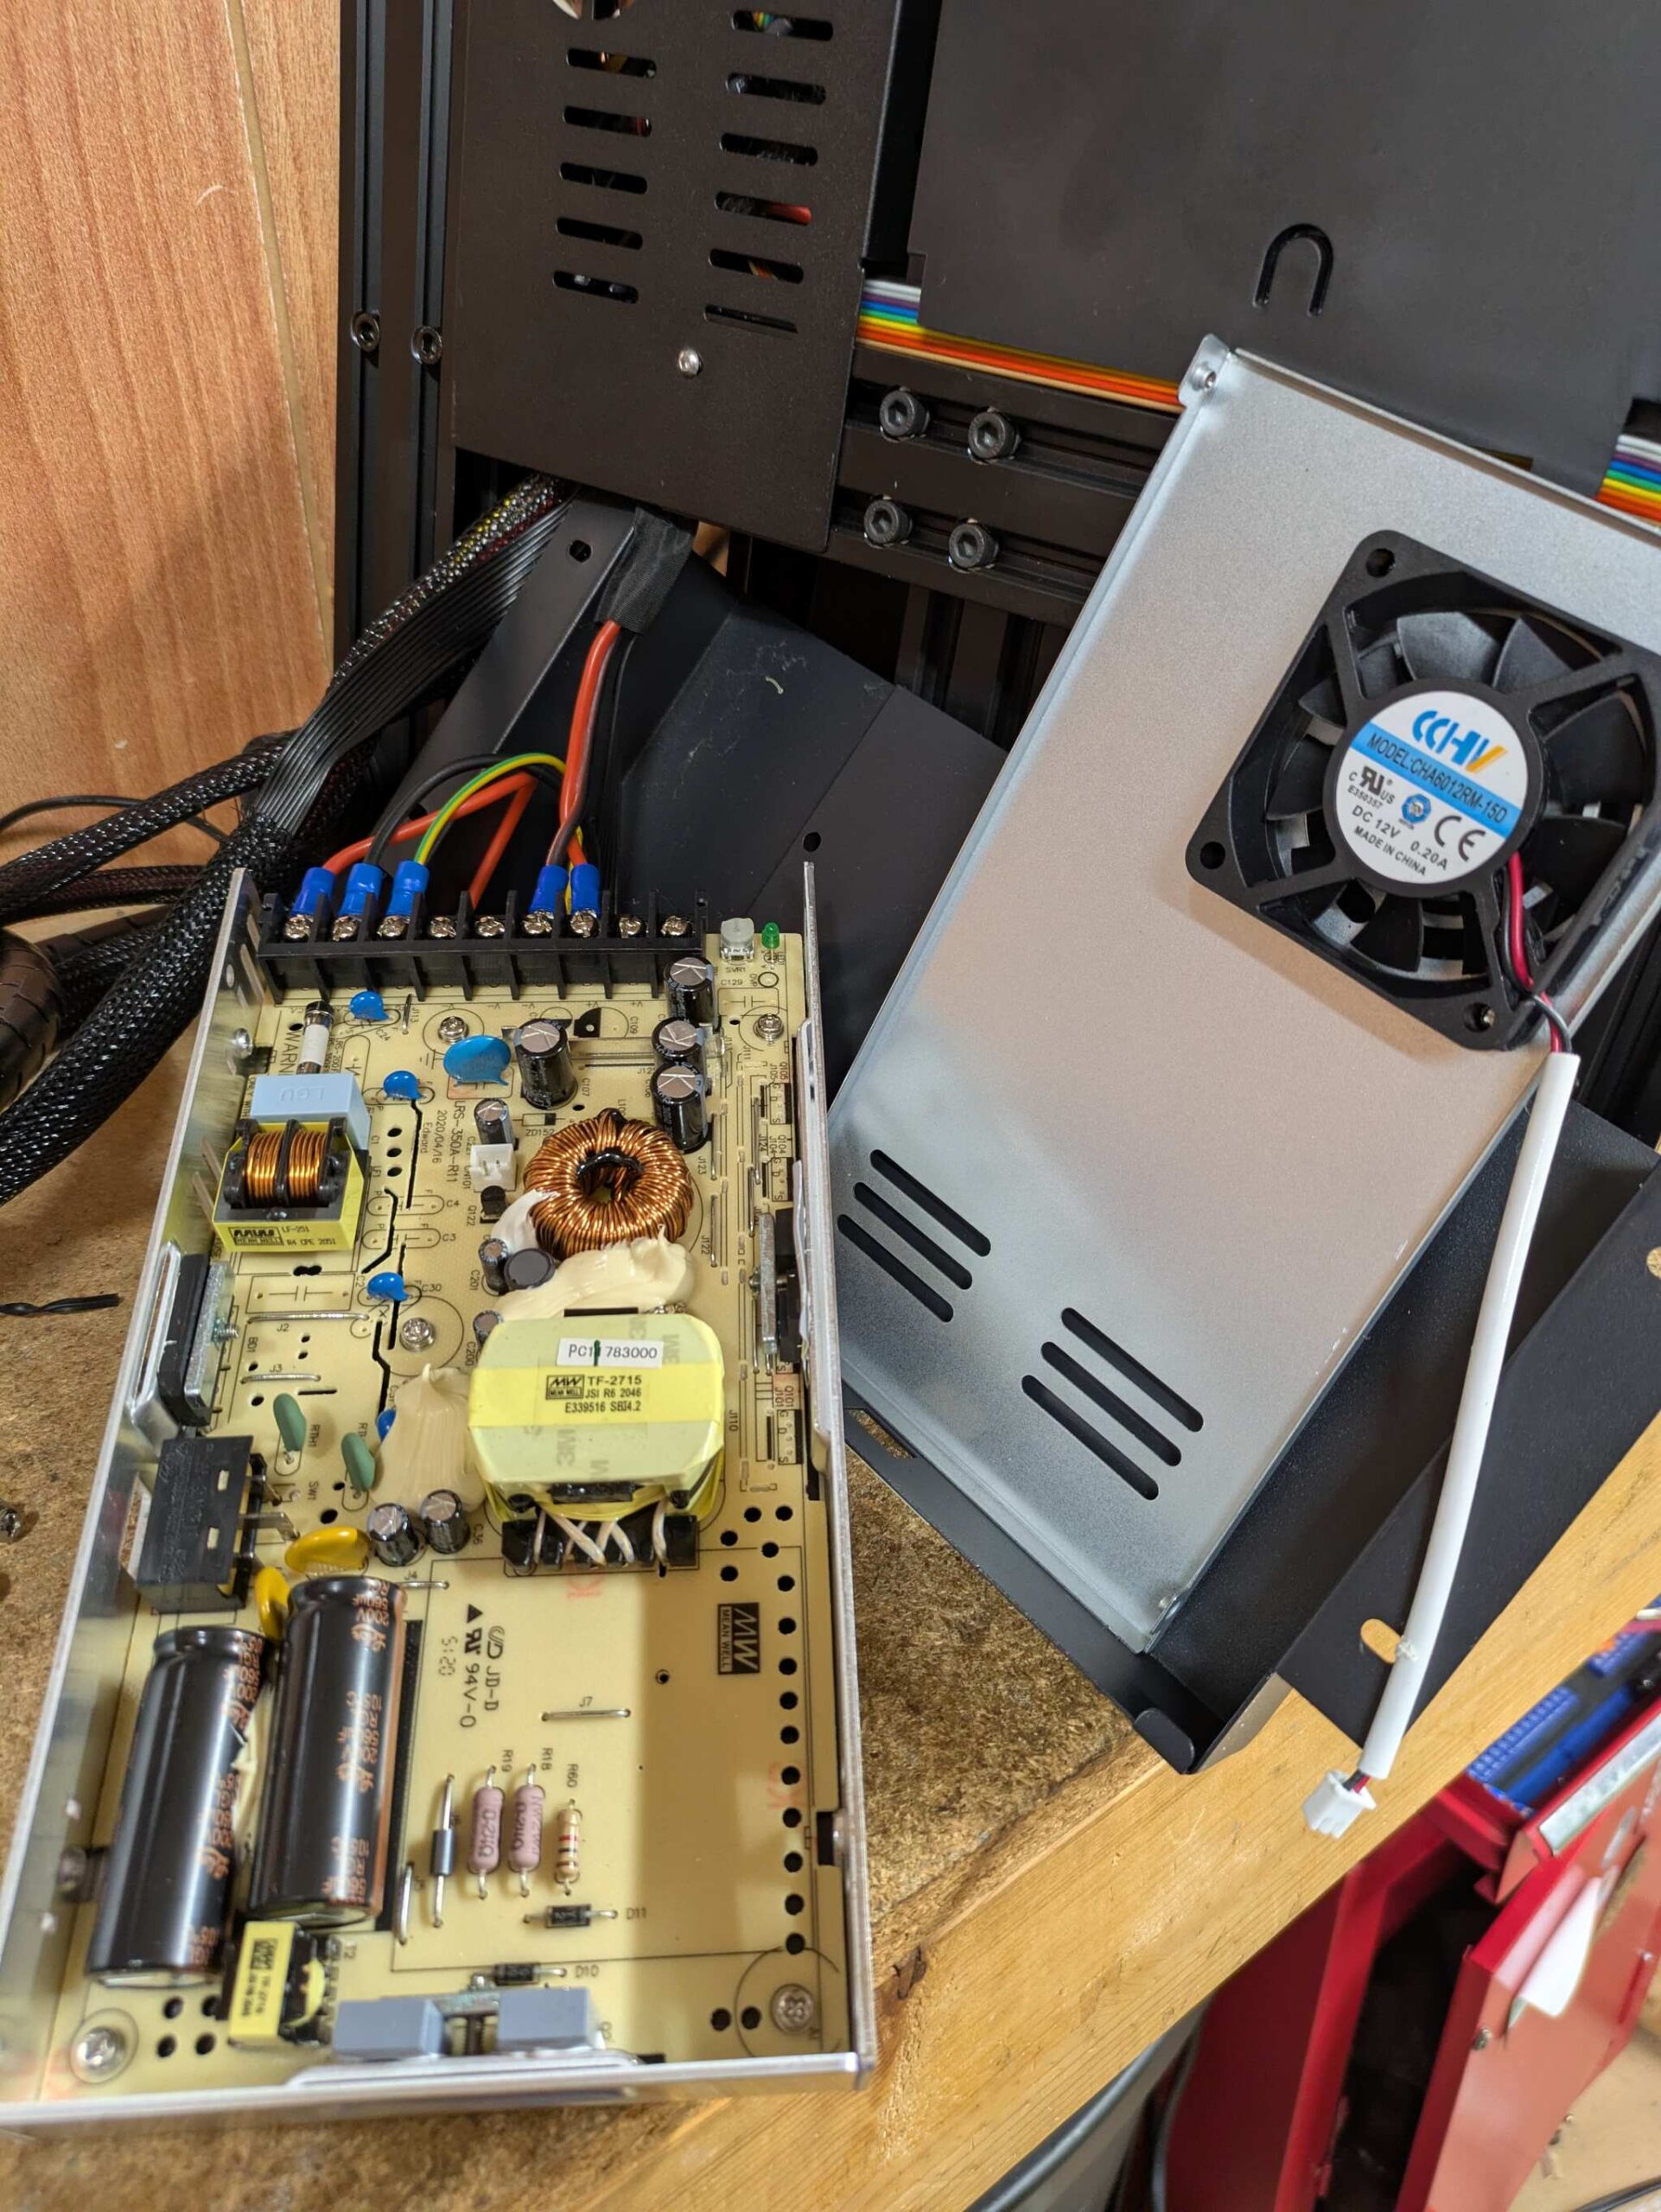
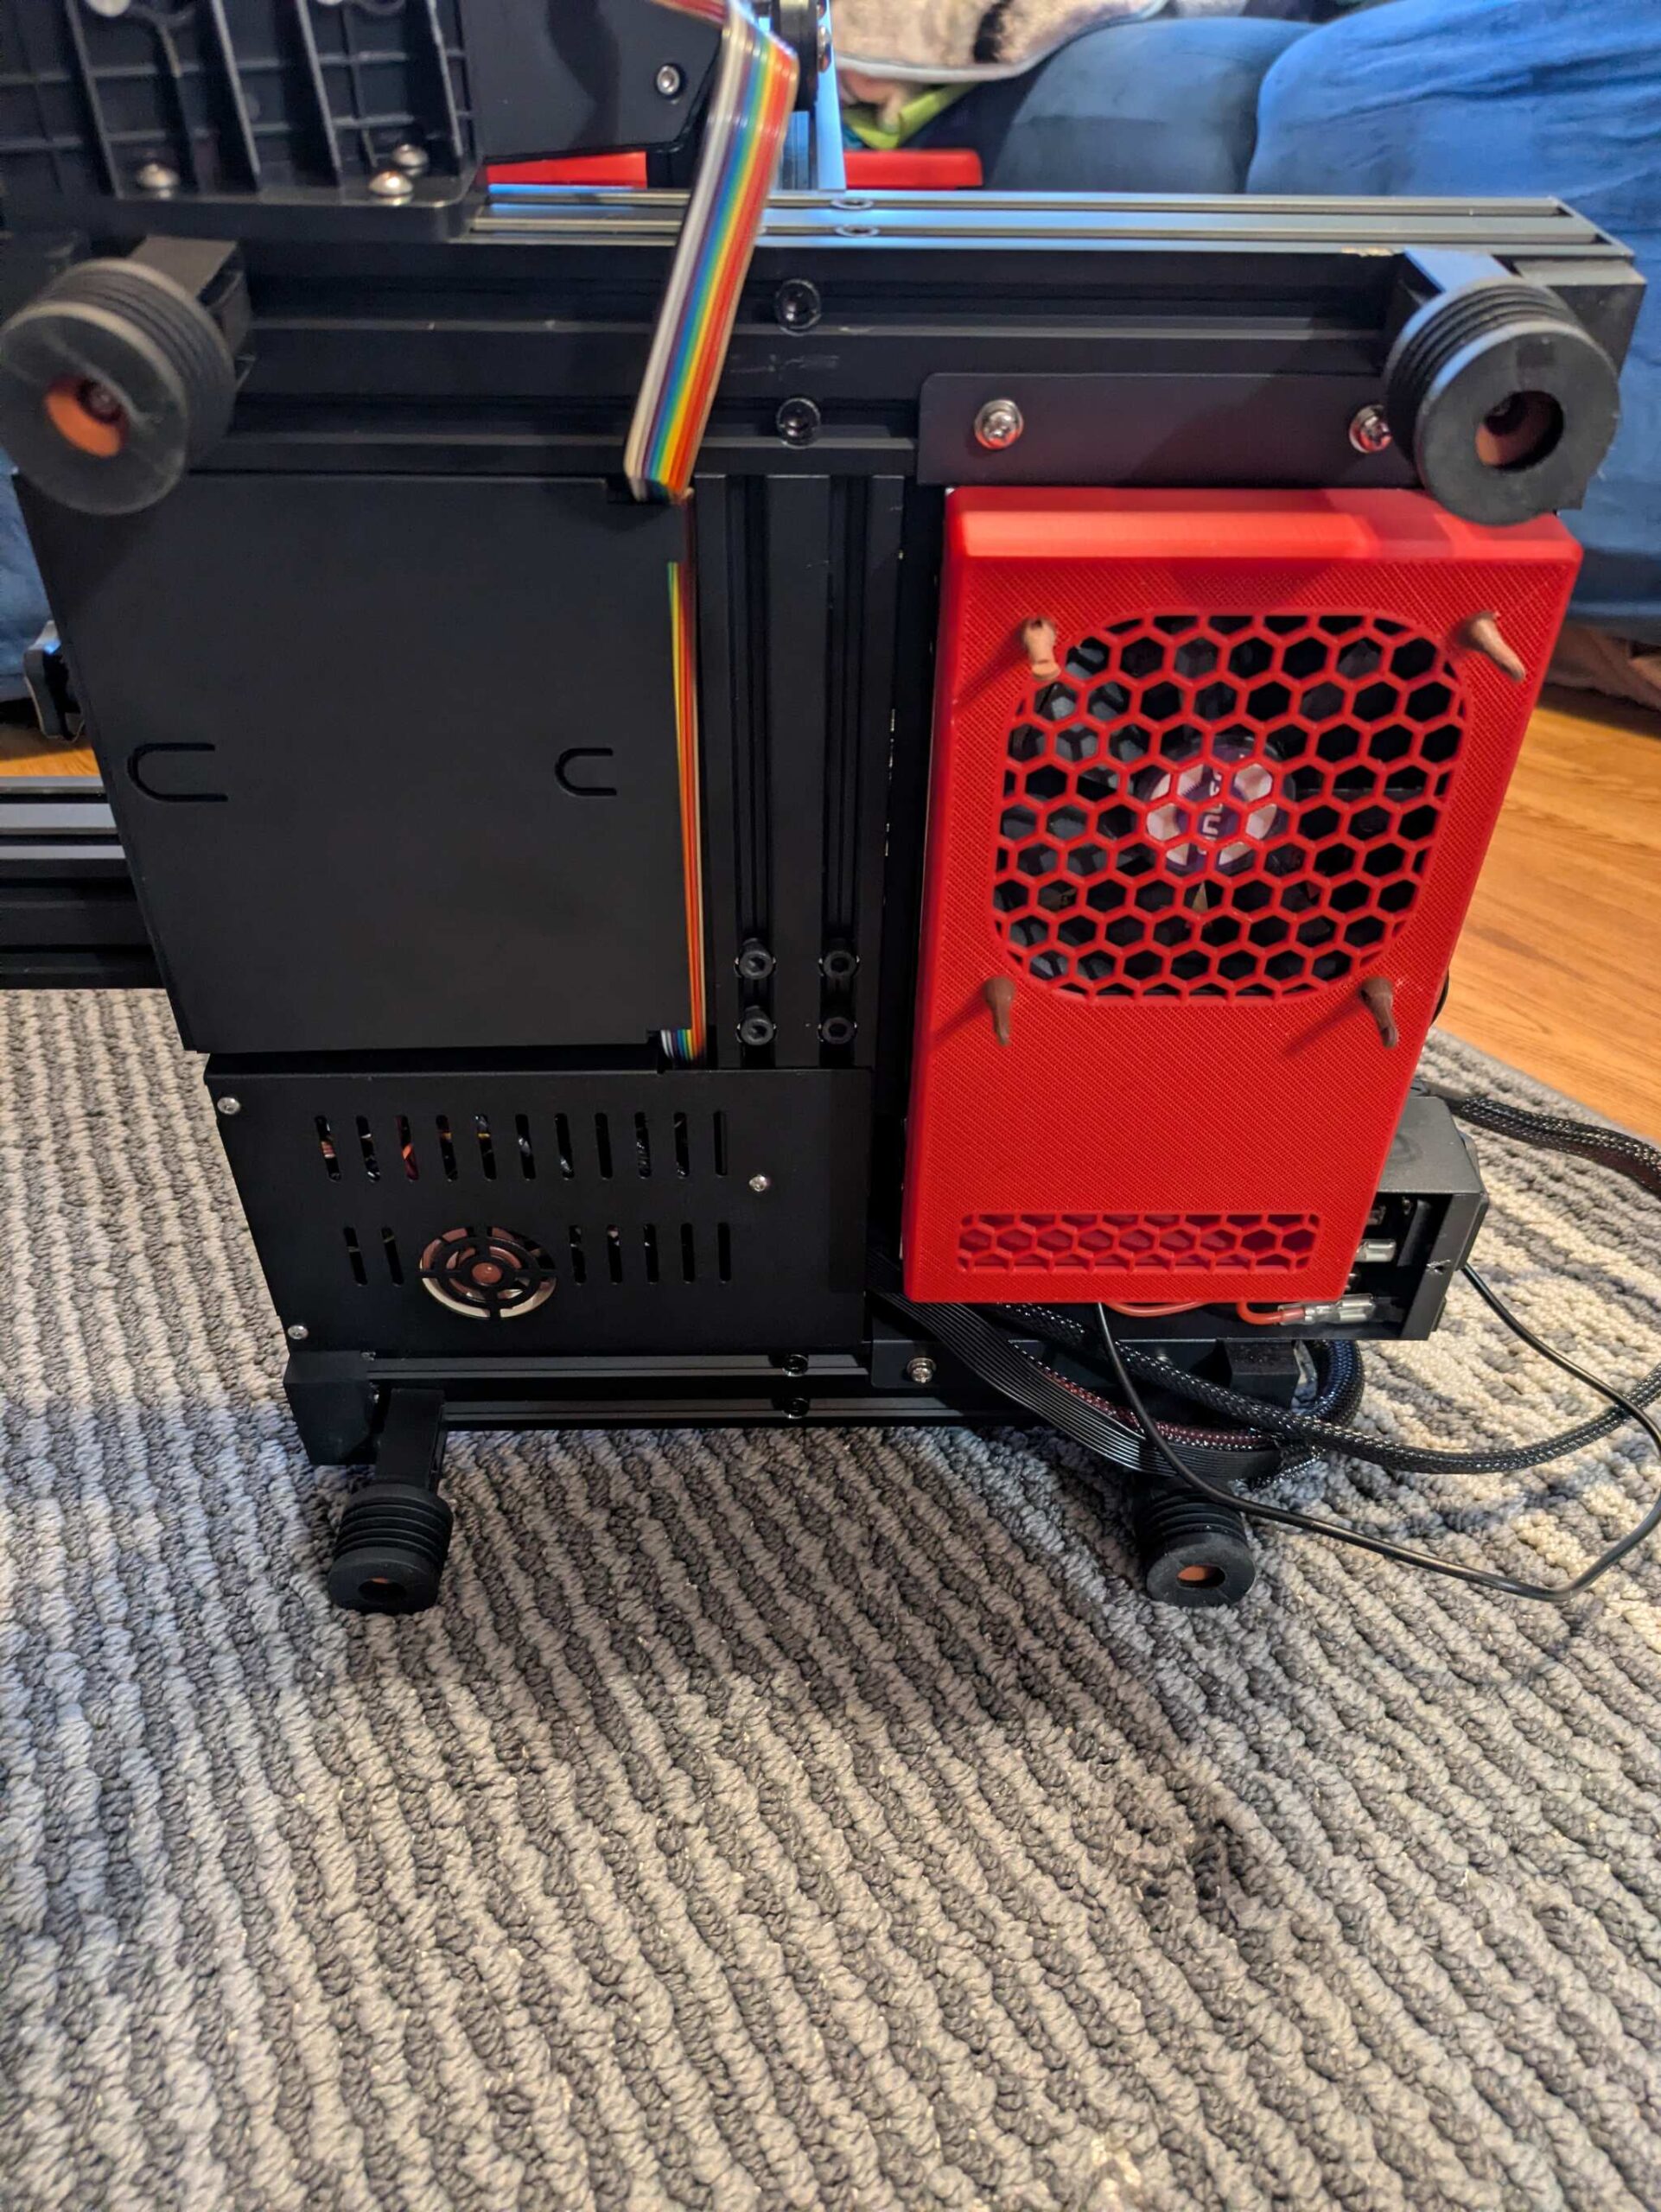
I chose this design, which I like for its screw terminal legends, so that there’s no confusion on what terminal does what on the power supply. That’s important! And I chose to print it on my V2. It was printing while I was asleep, and I was very pleased to see that it came out wonderfully! Yay!!
And sure enough, WOW, the difference is incredible! Although it’s not silent like the 120mm on my Neo, it’s a far cry from the 60mm, and so it’s well more than enough to be appreciable change. Success! Funny enough, the fan I used even had the right connector already installed on it! How’s that for convenient?
To accommodate the extra heft, I installed shock-absorbent rubber feet for the printer, which can easily be found on Amazon for $16, in addition to my 1.25″ T-nut extenders to further lift up the printer. It all works wonderfully!
Furthermore, I also added the UniTak3D LED lighting kit, another inexpensive and highly-effective upgrade you can buy on the ‘zon. It’s really awesome to have! This thing is doing an amazing job, and really stands as a great contender to my Neo!